
Products: How to Use AI to Design Functional Products
A practical workflow from idea to printable model, and the next step toward injection moulding.
Introduction
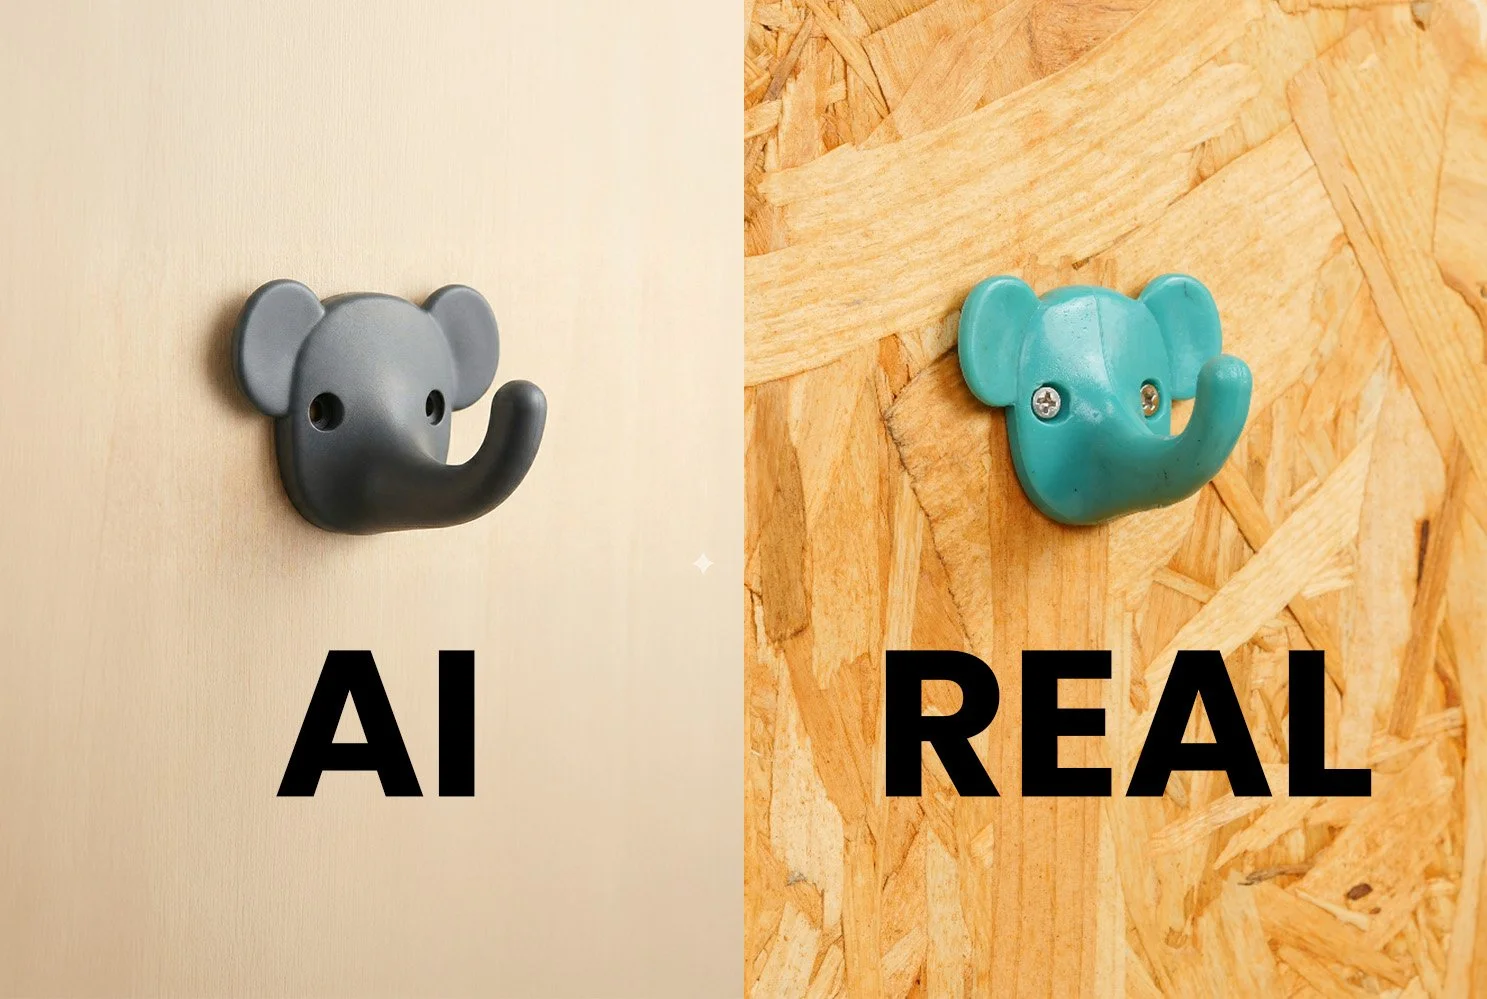
AI is brilliant at getting you from “blank page” to “something real” fast. But it is not magic, and it definitely is not a mechanical engineer. The sweet spot is using AI for speed, variety, and visualisation, then bringing in the human brain for function, tolerances, and manufacturability.
This guide walks through a workflow you can use to go from a concept to a printable prototype, with a clear path toward desktop injection moulding.
Along the way, we will cover strengths, limitations, and the opportunities that open up when you combine AI, fast prototyping, and recycled plastic.
What AI is great at (and what it is not)
Strengths
AI is especially useful when you need momentum:
Idea generation at speed: rapid brainstorming with ChatGPT or any LLM.
Fast visual exploration: creating believable “product renders” without doing hours of CAD.
Style and form studies: seeing options you might not have drawn yourself.
Early decision making: choosing a direction before investing time in engineering.
Limitations
AI will happily produce things that look right but do not work:
Hidden geometry issues: thin walls, impossible overhangs, enclosed voids, non manifold meshes.
No built-in understanding of injection moulding rules: draft angles, split lines, undercuts, uniform wall thickness.
Dimension uncertainty: AI outputs do not start with a true scale unless you impose it later.
Mesh heaviness: models can be too dense for CAD workflows, especially if you want editable solids.
Opportunities
When you accept the limits and build a process around them, AI becomes powerful:
Faster product iteration: more attempts, more learning, less CAD grind early on.
Lower barrier for beginners: you can prototype functional ideas without being a Fusion wizard from day one.
Closed loop recycling: prototype with scrap, test, refine, then move to production methods like a desktop injection molding machine.
Turning waste into value: you can literally recycle old 3D prints into a new product by shredding and injecting new prototypes.
Carbon & Water Impact (and how recycled plastics offset this)
A common topic when mentioning the use of AI is its water consumption and energy usage. So let’s look at the numbers and break this down (with sources).
A reasonable “generate a 3D model” session might involve 30 text prompts (idea, refinement, constraints) plus 10 image generations (to land a clean background render worth converting). Hannah Ritchie summarises the best current estimates at roughly 2 to 3 g CO2 per LLM query. Scope3’s Sustainable AI Image Gen Report estimates a high quality AI generated image at about 5.6 g CO2e (model-dependent, but useful as a ballpark).
That puts the AI footprint at roughly (30 × 3 g) + (10 × 5.6 g) = 146 g CO2e for one end-to-end concept to render pass.
To offset that with recycled polypropylene, APR and Franklin Associates report virgin PP at ~1.84 kg CO2e/kg vs recycled PP at ~0.53 kg CO2e/kg. Which equates to a saving of ~1.31 kg CO2e per kg of PP recycled. That means the recycled PP needed to offset the AI carbon above is 0.146 / 1.31 = 0.112 kg, or 112 g of recycled PP.
For water, the most cited public estimate is that running GPT style inference for 10 to 50 queries can consume around 500 ml of water, depending on where and when it runs (cooling plus electricity-related water use). Using that benchmark, 30 prompts lands around 0.3 to 1.5 L of water.
On the plastics side, the APR 2018 LCI reports virgin PP at ~8.58 L/kg vs recycled PP at ~4.65 L/kg, saving ~3.93 L per kg recycled. That means you would need about 0.08 to 0.38 kg of recycled PP (roughly 80 to 380 g) to offset the water impact of the text prompt portion of a typical workflow, noting that water estimates for AI are still variable across data centres and regions.
For reference, our Injection Mini V2 has a barrel capacity of 80g.
Remember, Sustainable Design Studio can help you design your product even if you don’t have concept sketches.
The workflow: from idea to printable prototype
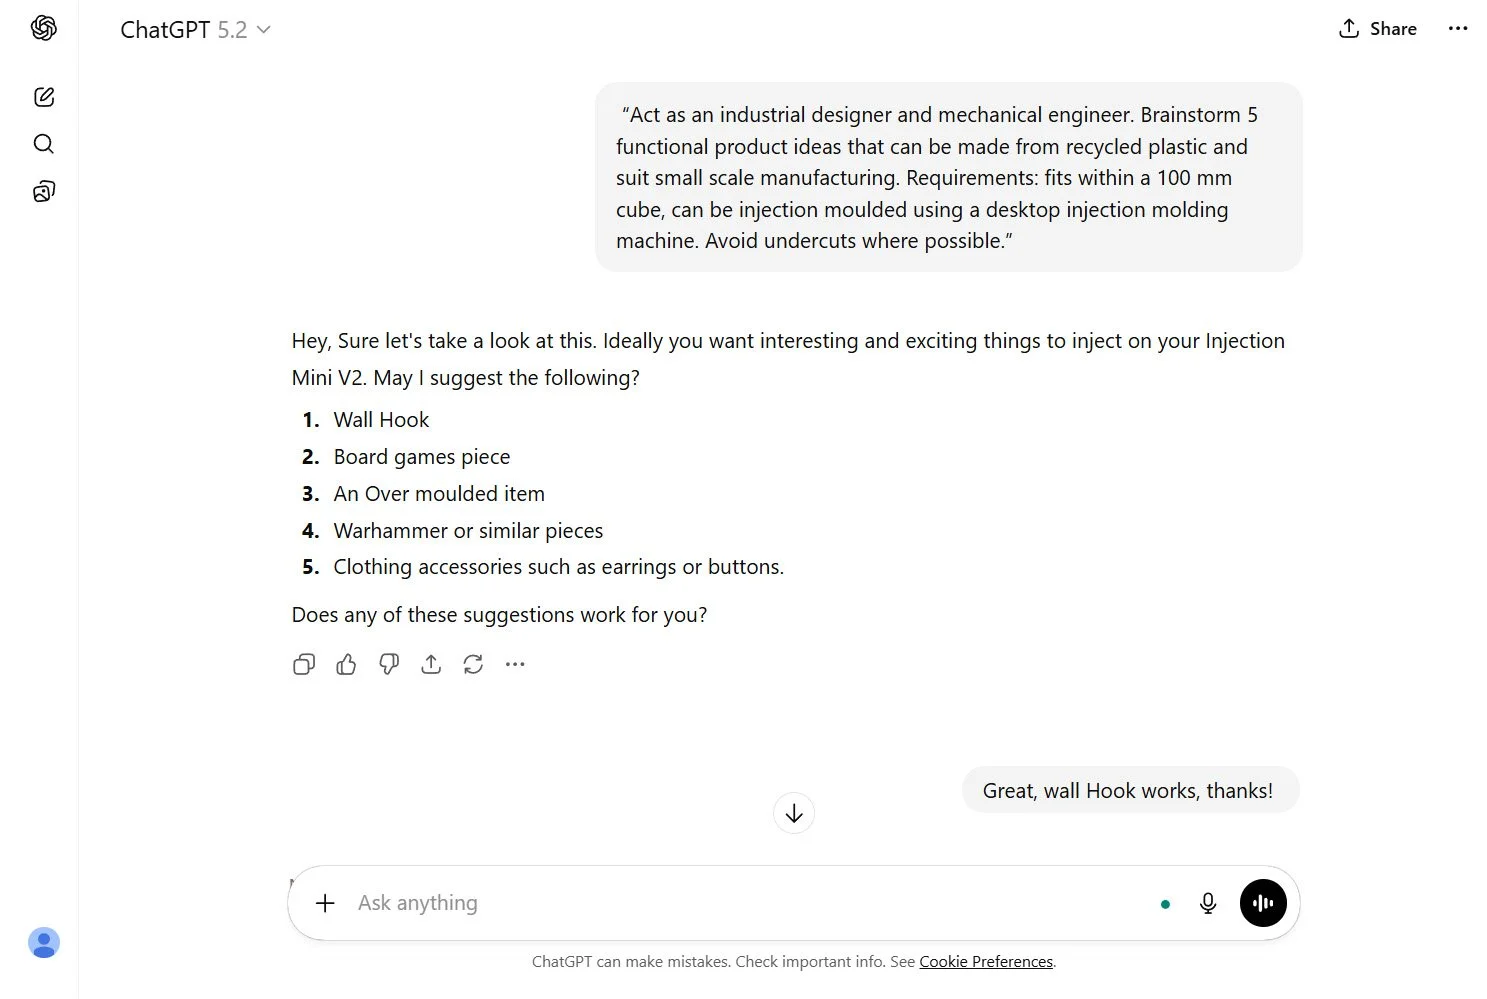
Step 1: Brainstorm product ideas with ChatGPT
Start with constraints. If you do not tell an LLM what matters, it will prioritise novelty over function.
Here is a prompt you can copy and tweak:
Example Prompt (ChatGPT or any LLM)
“Act as an industrial designer and mechanical engineer. Brainstorm 5 functional product ideas that can be made from recycled plastic and suit small scale manufacturing. Requirements: fits within a 100 mm cube, can be 3D printed first, and later adapted for Desktop Injection Moulding using a Desktop Injection Molding Machine. Avoid undercuts where possible.”
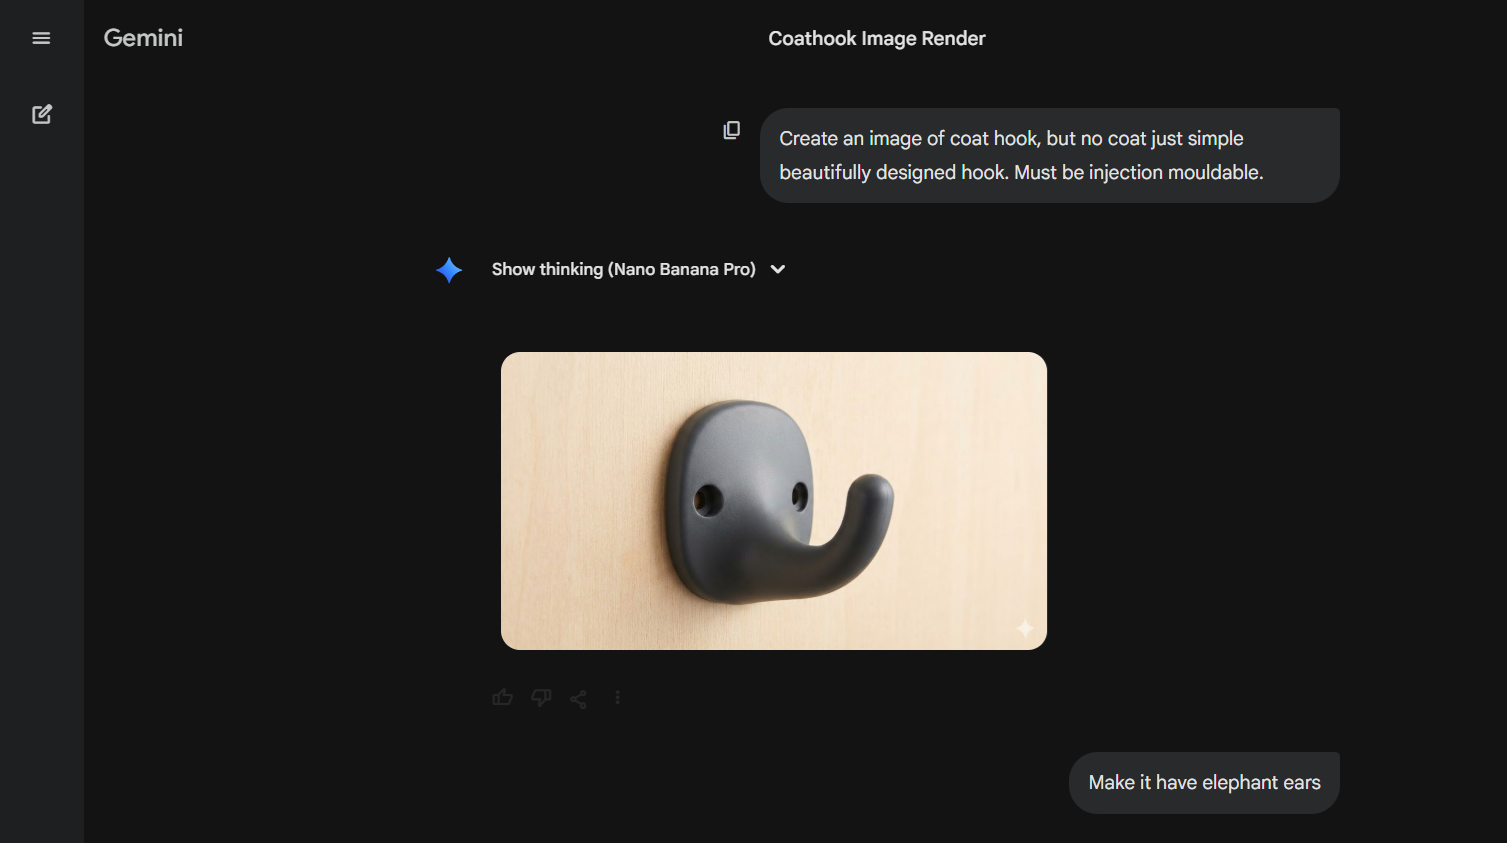
Step 2: Create a clean product render with Gemini Nanobanana
Once you have an idea, generate a clear render in Gemini Nano Banana.
The main tip: ask for a clean background and a simple view angle. A white or light grey background makes the next step much easier, because the image is being used as a source for 2D Image to 3D Model conversion.
Ask for:
Clean background
Simple, manufacturable geometry
A clear 3 quarter view or front view
Minimal surface noise and minimal tiny details
At this stage you are not producing engineering drawings. You are producing a strong visual “seed” for modelling.
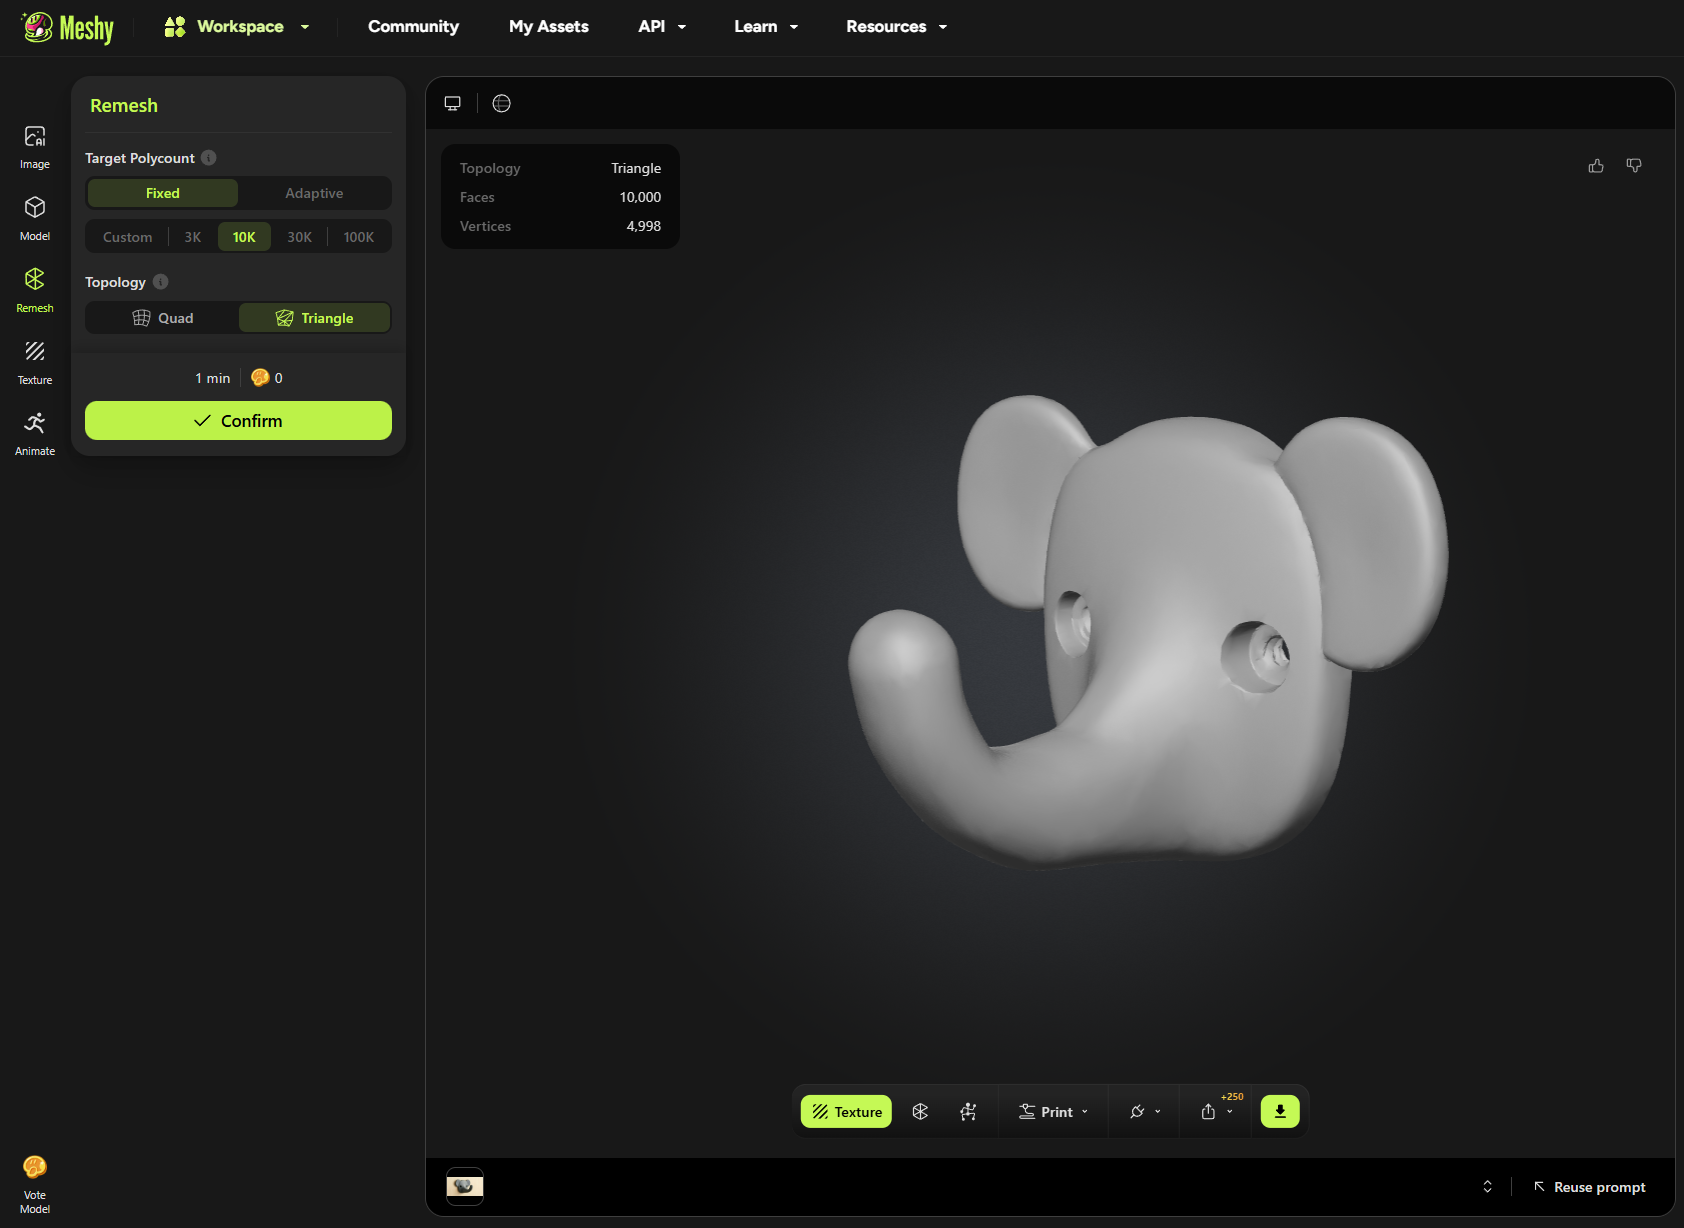
Step 3: Convert the render into a 3D model using Meshy.ai
Upload the selected render to Meshy.ai and run the 2D Image to 3D Model process.
This output is a mesh, so treat it as a prototype starting point. The goal is to get a shape you can hold and test, not a perfect CAD model.
Step 4: Print immediately, or rebuild properly in CAD
Now you choose your route depending on what you need to learn.
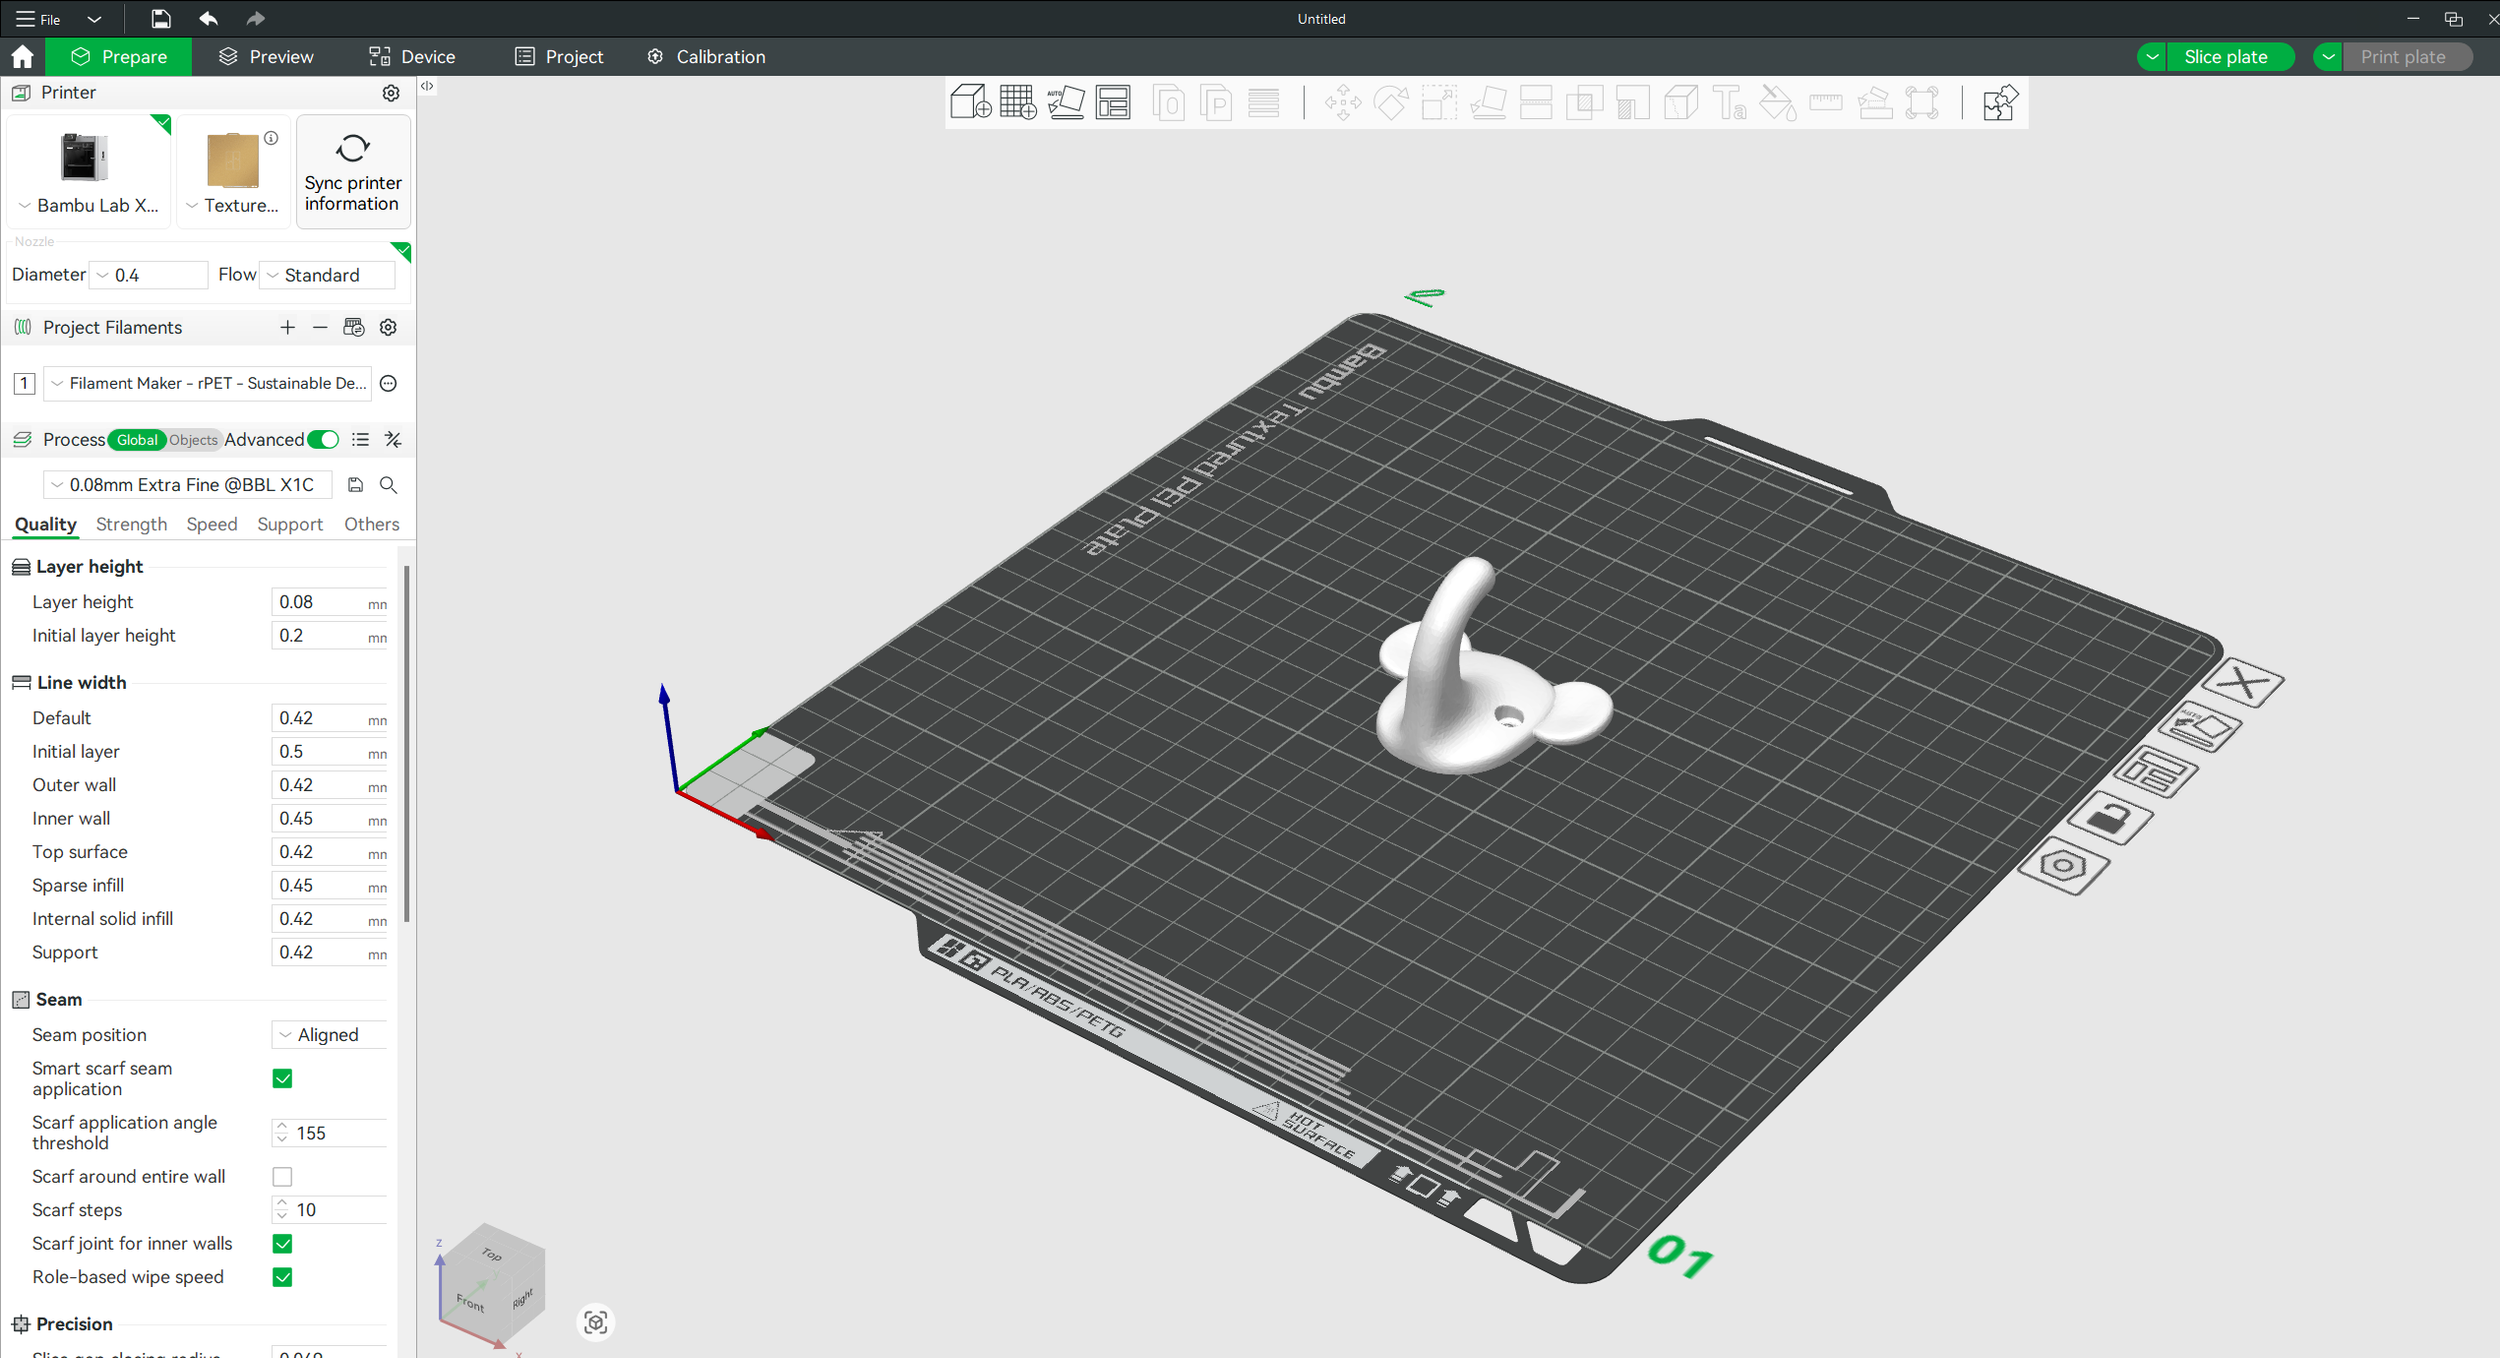
Option A: Export STL and print straight away
Export the Meshy STL and print it as fast as possible. This is the quickest path to a real prototype.
If you want the loop to be truly circular, you can print it in recycled plastic. For example, you can create PET filament using our Filament Maker, then print your test parts.
This route is fast, but edits can be frustrating because you are working with a mesh.
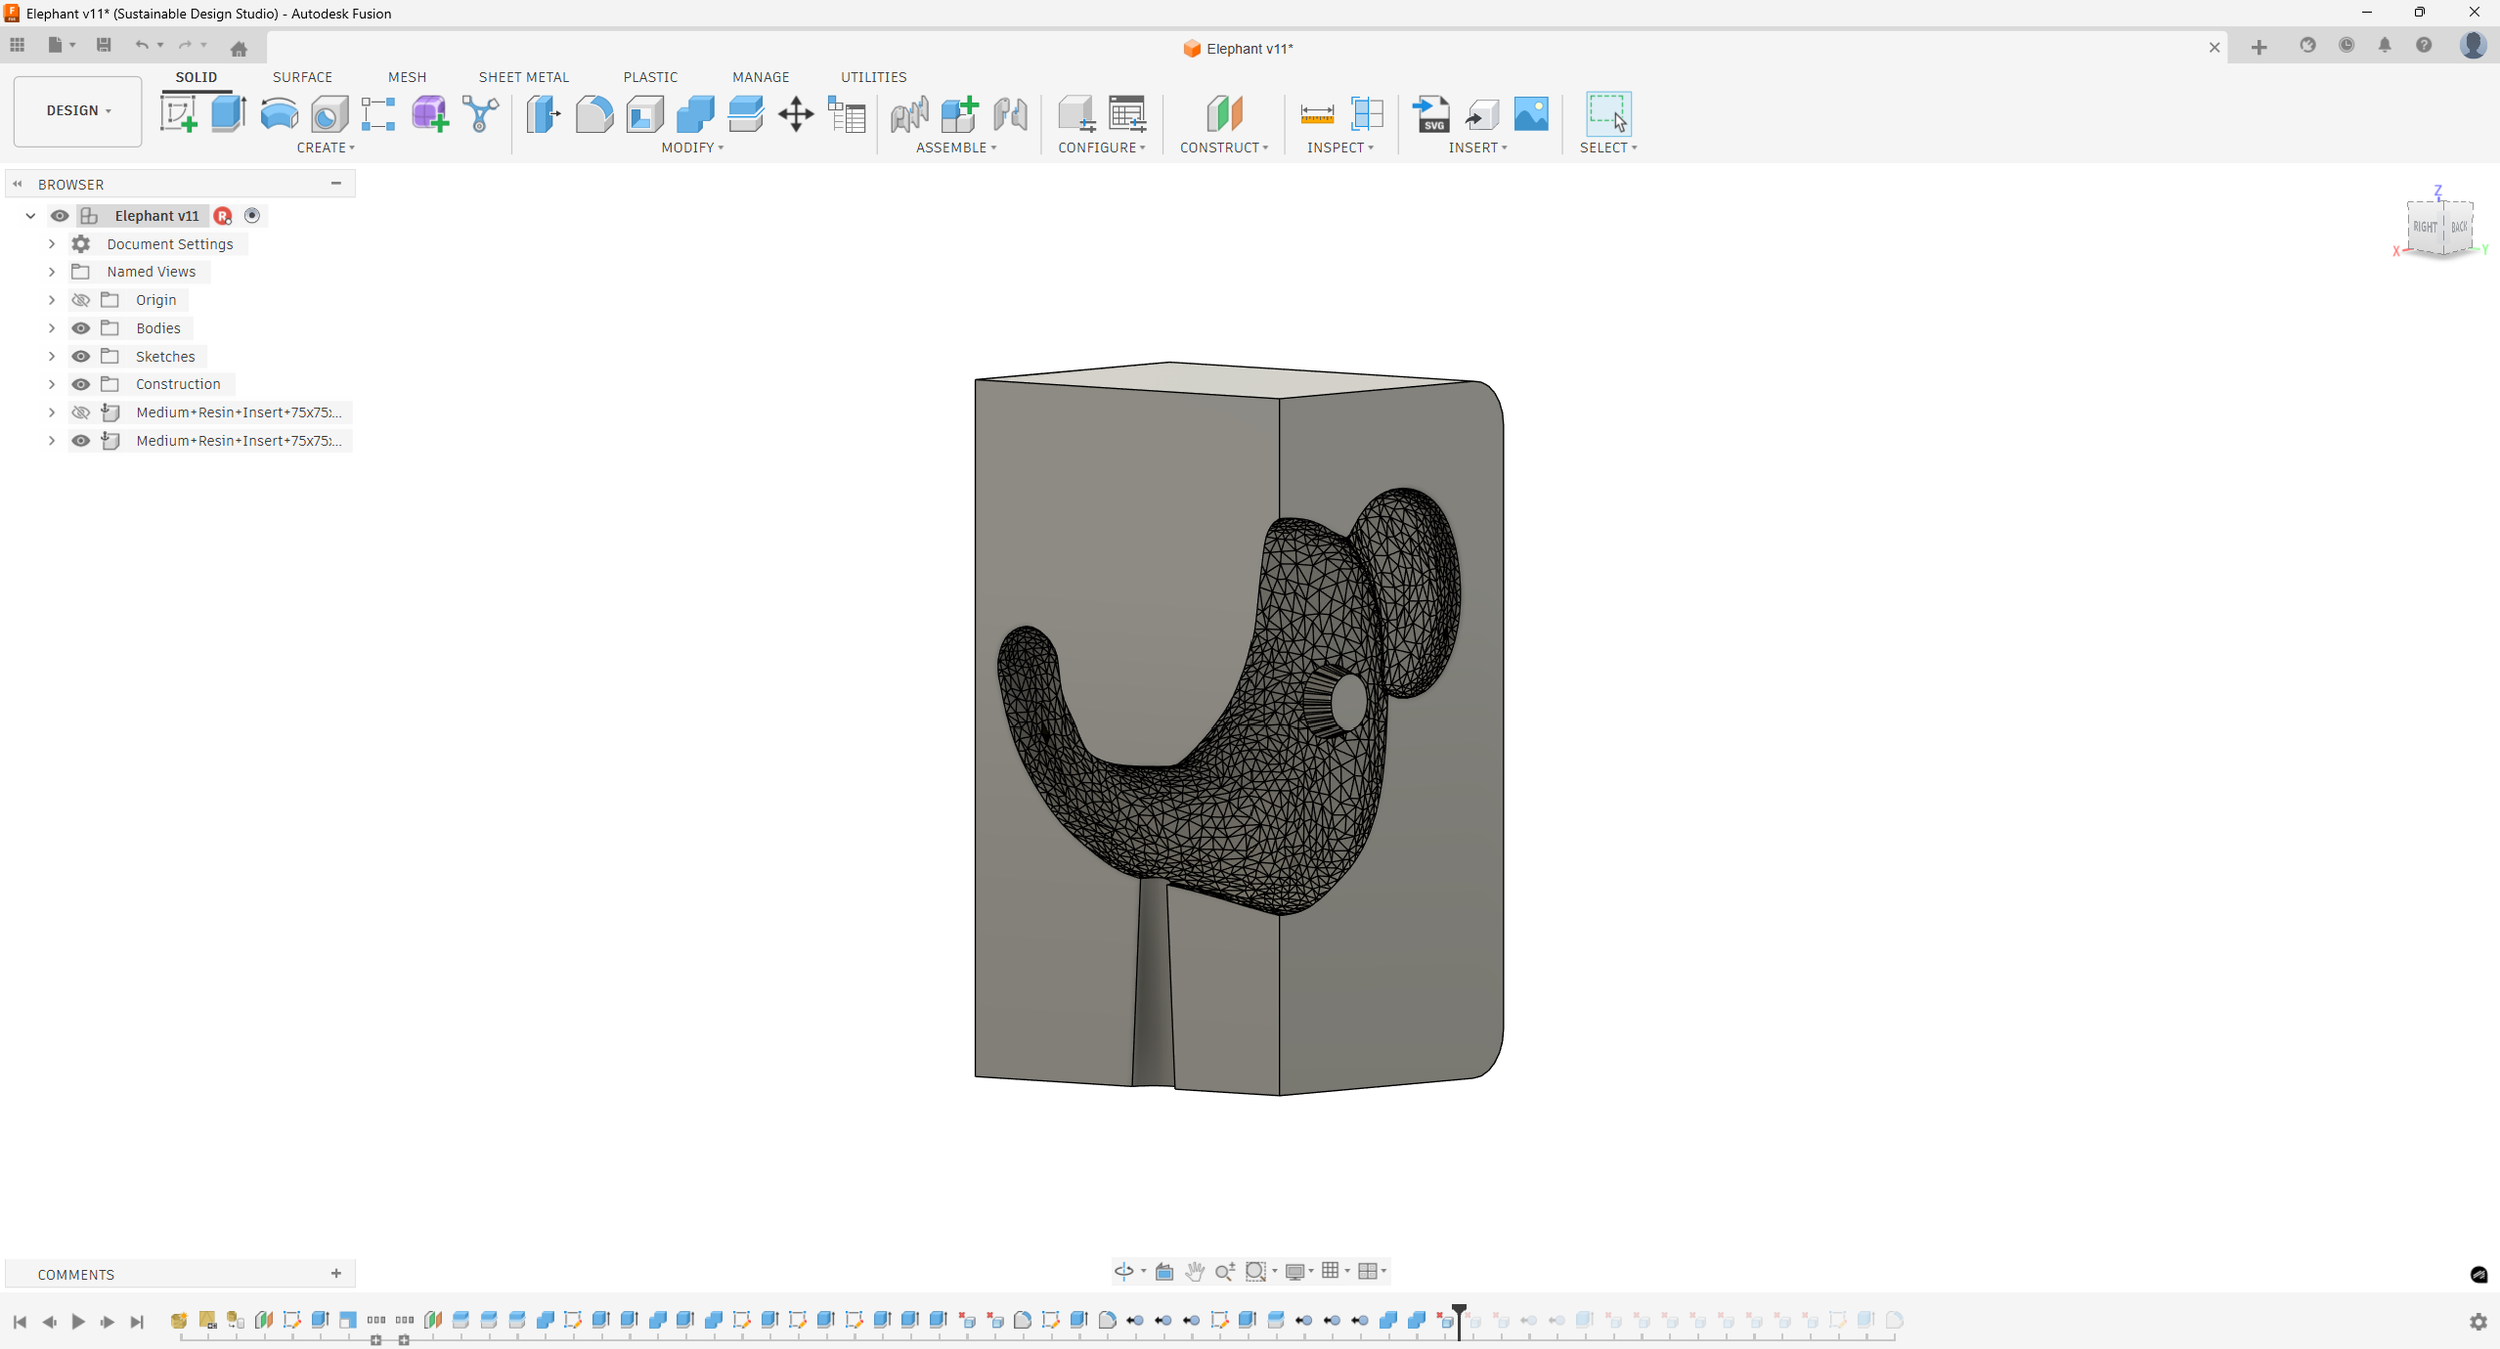
Option B: Export into Fusion 360 and convert it into a usable model
If you plan to move toward moulding, CAD is where the product becomes “real”.
A key limitation here is mesh density. Fusion 360 needs meshes that are relatively lightweight to stay responsive. As a rule, aim for less than 10,000 triangles.
Meshy includes a remesh option, so before exporting:
Remesh down to around 10k polygons
Export a lighter STL
Use the mesh as a reference and rebuild clean geometry as solids in Fusion 360
This gives you a model you can actually engineer. To do this we recommend following our “How to Design a 3D Printed Mold Insert” guide.
Where AI stops, and real manufacturing begins
Once your product works as a prototype, the next stage is preparing it for moulding.
This is still a manual process today, because it requires real decisions about tooling strategy and manufacturability. To move toward production via Desktop Injection Moulding, you will need to:
Add draft angles so the part releases cleanly
Define split lines and parting strategy
Ensure the part has no undercuts, or redesign the feature
Keep wall thickness sensible and consistent
Consider gating, venting, and ejection
If you are making DIY Injection Molds, these rules matter just as much. The mould might be simpler, but the physics does not change.
Many makers start with a 3D Printed Mold to validate the design quickly before investing in machined tooling. It is a powerful bridge between prototyping and real production on a Desktop Injection Molding Machine.
Related Resources.
-
![3D Printing vs Injection Moulding]()
3D Printing vs Injection Moulding
A full break down on the advantages and disadvantages of Injection Moulding when compared to 3D printing.
-
![Close-up of a mechanical device with black parts and metal components on a white background, including two circular black discs and four rectangular black plates.]()
Mould Use
Everything you need to know about how to use our moulds and deal with common problems.
-
![Metal object with a ruler, surrounded by shredded plastic and electronic components.]()
How To Inject PLA
How to convert 3D printing waste into eco-friendly products with our injection mini
-
![Two gray silicone molds with a horse head design and honeycomb pattern.]()
How to 3D Print SLA Moulds
A guide on how to 3D print a SLA mould, including what you need to purchase, and the full process of doing it yourself.
-
![Assorted metal and plastic objects, including a turtle-shaped charm, shell-shaped charms, and tools for jewelry making, arranged on a white surface.]()
Good Product Design
A comprehensive guide to what makes a good, and bad recycled product.


Closing thoughts
AI will not replace product design fundamentals, but it can remove the dead time between an idea and a testable prototype. Used properly, it becomes a practical tool for rapid concept generation, visual selection, and fast modelling.
The real win is pairing that speed with circular manufacturing. Prototype in recycled materials, iterate quickly, and move into desktop injection moulding for repeatable production. Whether you are building products for a business, teaching a workshop, or experimenting with local recycling, this is a workflow that makes product development feel accessible and fast.