
Moulds: how to use
How to prepare your mould and get the best from it on a Sustainable Design Studio machine, and how to recognise the problems that come up most often and what to change to put them right.
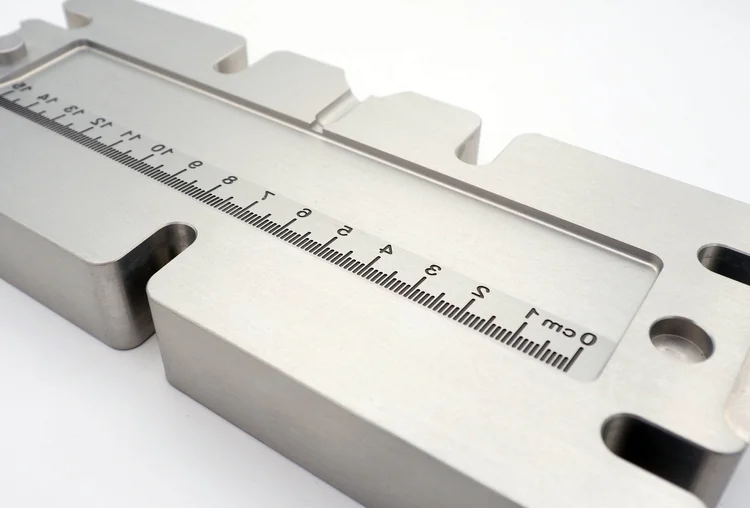
Which mould do you have?
Sustainable Design Studio makes four types of mold, and each one has its own tips and tricks. Almost everything on this page applies to all four, but the parts that do not, temperature, pressure and how long a mold lasts, depend on what yours is made from. The four are outlined below, so make sure you know which one you have before you move on to the next section.
Modular Moulds
The most affordable way in. Flat steel plates are lasercut and stacked, so the shape is built up from layers rather than machined out of a solid block. That keeps the price down, and it rules out engraved text and rounded corners. Stacking is also where they come into their own, because adding a plate puts feet on a coaster, and a textured plate turns the same mold into a soap dish.
Best for anyone working to a budget who can accept a rougher finish, and for demonstrations and workshops where the product itself is not the point. Rated for 10,000+ shots, the same as a Premium Mould.
Browse the rangePremium Moulds
Machined from solid 7075 aerospace-grade aluminium on industrial machines, which is what lets the cavity carry complex shapes, fine detail, rounded edges and engraved text. Rated for 10,000+ shots, so the cost per part falls away quickly once you are running production. The one thing to watch is that some key areas can scratch easily if you use the wrong tool or process, and those marks then show up on every part.
Best for anything you intend to sell, and any part you will make more than a few hundred times.
See Premium Moulds3D printed moulds
The fastest way to prototype. Print the cavity at home in SLA resin or Polycarbonate, then place it into one of our CNC mould holders, which takes the injection force so the printed insert does not have to and gives it far longer life. A new mold design in about three hours rather than the weeks a machined one takes, and the insert is good for up to 100+ injections before the detail softens.
Best for rapid prototyping above all, and also for short runs, one-off custom pieces, teaching, and proving a design works before you commit to aluminium.
See the printed systemCustom Moulds
A Premium Mould in every respect, cut to your own part rather than to one of ours. The same 7075 aluminium, the same machining, the same UK workshop, so every setting on this page applies to it unchanged. Before it ships we run it ourselves and do everything we can to make sure it works, then send you a mould testing report with the finished mould, setting out exactly what we did to get those results so you can reproduce them on your own machine.
Best for a product that is yours, where no catalogue mould gets close enough.
See the custom serviceBefore you inject
Four important steps that will set you up for a successful shot, done in this order every time. Most of the problems further down this page are caused by skipping one of them.
-
Wipe both faces clean
Metal dust, grit or a leftover sliver of plastic will hold the two halves apart. You may not see the gap, but the plastic will find it and squeeze out as flashing. Wipe the cavity and the mating face before every close.
-
Warm the mould to 40-60°C
Use a heat gun, a hot plate, or a small oven. At that temperature the mold is almost too hot to hold, but fine for short periods in gloves. A cold mold chills the plastic on contact, which blocks the thin parts of the cavity and leaves the surface uneven where the flow front stalled and restarted.
Judging the temperature by feel only gets you so far. Something that reads the temperature of metal, an infrared thermometer or camera, is worth having, because hitting the same figure on every shot is what makes a run repeatable.
Printed inserts skip this step. Resin and polycarbonate cannot be pre-warmed. Run the first shot at room temperature.
-
Apply mould release
Apply mould release onto the open mould, focusing spray on any trickier-to-remove locations. On a 3D printed insert, spray before every single shot. Miss one and the part grips the cavity, and forcing it out is what does the damage. Which spray you use matters as much as remembering to use it, so pick the right one before you buy.
Every 20 to 50 shots on aluminium and steel is a starting point, not a rule. How often you actually need it depends on the mold. An intricate cavity with fine detail, deep walls or tight corners grips far harder than a flat coaster, and wants release more often. In practice you find out when a part starts to stick.
-
Close it firmly
Premium and Modular Moulds both ship with M8 nuts and bolts. Light pressure, but firm. You are not trying to tighten them as far as they will go. All you are doing is stopping the two halves from moving apart under injection pressure, so once the nut and bolt stay put and the mould cannot slide in the vice, it is closed.
Never leave a bolt hole empty. Every hole in the mold is there for a reason. Skip one and the pressure that hole was carrying goes into bending the plate instead, and our machines are far stronger than they look. A bent plate never closes cleanly again.
Picking the right mould release
Getting the right release spray is really important, and the can you grab off a shelf in a hardware shop is usually the wrong one. What separates them is the temperature they are rated to, and whether they can still lubricate the mould at it. After that it comes down to how much film they leave on the part, which is where you have an actual decision to make.
The temperature rating is the one that catches people out, because it varies enormously between products and it has to sit well above the melt temperature of the plastic you are shooting rather than close to it. The mold face is where that plastic arrives at its hottest. Polypropylene at 210°C is why we specify 260°C as a minimum, with room to spare.
The chemistry is not a rule, whatever you may have read. Our own two sprays make the point. The one we use by default is PTFE and rated to 270°C, the heavy one is silicone and rated to 300°C, and both work perfectly well on the same aluminium molds. So check the rating.
Almost nothing transfers to the part
Leaves a light film that behaves more like a dry lubricant than a coating. Very little transfers to the part, so it comes out of the mould clean. This means that there is not much cleaning up to do after. It suits fine detail too, because a thin film does not pool in tight corners and soften the features you machined the cavity for.
Reach for it on most moulds, most of the time. Anything with crisp detail, and anything you are going to finish or bond afterwards.
Greasier, but it frees the stubborn ones
Lays down a thicker film and will free a part that the dry stuff simply will not. On deep walls, a pull-out insert or almost no draft, that extra film is the difference between the part coming away and the part staying put. The trade is that some of it comes out on the part, leaving a slightly greasy surface that wants cleaning.
Reach for it on stubborn geometry, and on any mould where the dry film is not releasing the part cleanly.
The two we use
These are the two sprays we keep in the workshop. We reach for the first by default and switch to the second when it is not doing the job.
-
Rocol PTFE Mould Release Agent, 400ml
PTFE based, dry film, rated to 270°C. RS stock 2009510.
Our default on most molds. It is the drier of the two and it is not greasy. It also costs slightly more than the Tygris below, which we think is worth it for a spray that covers most of what you do. If you are only buying one, buy this kind.
-
Tygris IS10 Precision Mould Release Heavy, 400ml
Silicone based at 15%, heavy film, temperature stable to 300°C.
We found this one running our own plant pot and pen moulds, where the standard dry release was not freeing the part cleanly. If a mould is fighting you and you have already ruled out temperature and technique, switch to this before you assume the mould is the problem. Slightly cheaper than the Rocol.
Buying this outside the UK
Both of these are UK suppliers, and most of our customers are international users. A different product is completely fine. Nothing about these two is special beyond the specification, so buy the local equivalent and match the spec rather than the label.
Look for a can sold as a mould release rather than a general lubricant, with a stated temperature rating comfortably above your plastic and a note on whether the film is dry or heavy. Plenty of cans never state a rating at all. Those are the ones to put back on the shelf.
Never use WD-40
And never use a spray rated below the plastic you are injecting. General purpose lubricants are not release agents and their rating is nowhere near high enough.
Take any spray past its limit and it burns onto the mold face, leaves a baked-on residue that is hard to shift, and once that film has gone the plastic bonds straight to bare metal. That leaves you scrubbing residue off a marked mould instead of running parts.
Start with PP, then try HDPE
The mold is only half the job. Different plastics flow differently at the same temperature, and the wrong feedstock will make a good mold look broken.
Two things decide whether a plastic will fill your mold: what polymer it is, and what it was originally made into. The second one catches people out. Injection grade and extrusion grade can be the same polymer and still behave nothing alike, because they are formulated to flow at different rates. A bottle cap and a bottle are both HDPE, and only one of them injects well.
That property has a name and a number, the melt flow index. Higher means runnier at a given temperature, which is what you want when you are pushing plastic into a fine cavity by hand. Our guide to MFI explains how to read it, and the material database lists the figures for every plastic we have tested.
PP, polypropylene
The most forgiving plastic we have found, and the one to learn on. Set the machine to 210°C, give it eight minutes to come up to temperature, and inject into a warm mold. Done in that order it usually works first time.
- Temperature
- 210°C
- Heat time
- 8-12min
- Comes from
- Tubs, caps, crates
HDPE, high density polyethylene
A good second plastic, and harder work than PP. Use injection grade, which means things that were themselves injection moulded, like bottle caps. Blow moulded HDPE, which is to say bottles, is formulated to stretch rather than flow and it will not fill a cavity cleanly. HDPE also shrinks more as it cools, so watch for sink marks.
- Grade
- Injection only
- Avoid
- Bottles, blow moulded
- Watch for
- Sink marks
Never mix plastics. Different polymers do not bond to each other when they melt, so a shot made from mixed feedstock comes out in layers that peel apart. If you are not certain what something is, run it past the plastic identification tool before it goes anywhere near the barrel. Once you have PP working reliably, changing one thing at a time, the temperature, then the plastic, then the mould, is how you find out what your setup can actually do.
Settings, by what your mould is made of
Everything below assumes injection grade PP, the easiest plastic to start on. Move a column across and the numbers change more than you would expect, so check you are reading the right one.
| Setting | Modular, steel | Premium, aluminium | 3D printed insert |
|---|---|---|---|
| Mould temperature | 40-60°C | 40-60°C | Room temperature. Cannot be pre-warmed. |
| Barrel temperature, PP | 210°C | 210°C | 200°C. Use the lowest that still flows. |
| Heat time before injecting | 8-12min | 8-12min | 8-12min |
| Pressure | Full working pressure, held after the cavity fills. | Full working pressure, held after the cavity fills. | Start at 80psi and step up only if you have to. Never maximum. |
| Mould release | Every 20 to 50 shots, sooner on an intricate cavity | Every 20 to 50 shots, sooner on an intricate cavity | Every single shot |
| Opening the mould | Let the shot set, then open. Never while it is still molten. | Let the shot set, then open. Never while it is still molten. | Cool fully inside the mold first. Opening early damages the cavity. |
| Shot life | 10,000+ | 10,000+ | Up to 100+ per insert |
Custom Moulds are machined from aluminium, so read the Premium column for those. Release intervals are a starting point rather than a rule: the more intricate the cavity, the more often it wants spraying, and which spray you choose matters as much as how often you reach for it. Figures for other plastics are in the material database.
Filling the mould is not the end of the shot
The single most common mistake is stopping too early. Plastic shrinks as it cools, and what you do in the thirty seconds after the cavity fills decides how the surface turns out.
Load the barrel, give it the full heat time, and inject in one continuous movement rather than a series of pushes. A stop-start injection leaves a visible line where the flow front cooled before the next push caught up with it.
When the cavity is full, keep going. Hold the plunger down under steady force for 10 to 30 seconds, depending on how thick the part is. You will see the plunger creep slowly downwards as the plastic inside shrinks and fresh material takes its place. That creep is what fills the shrinkage. Without it the surface dimples.
Then open the mold as soon as the plastic inside has cooled and hardened. On a Premium or Modular Mould, waiting is what gets parts stuck. The plastic carries on shrinking while it sits in the cavity, and its grip gets tighter the longer you leave it there. Take the part out and let it finish cooling on the bench. The one exception is a 3D printed insert, covered in mould care below.
Do not reverse the plunger early
Pulling back while the shot is still molten sucks plastic straight back out of the cavity. Wait until the part has set, then release.
Check the mould fits the machine
A cavity larger than your maximum shot volume cannot be filled, however good your technique is. Check the volume before you blame the settings.
Fill the barrel properly
Load it fully and settle the material so trapped air is pushed out. Air in the barrel arrives in the mould as a void or a collapsed surface.
Where you can scratch it, and where you cannot
Aluminium is softer than steel. That is what makes it good to machine and what makes it easy to accidentally mark. A Premium Mould is built for 10,000+ shots, and a single careless prise with a screwdriver can put a line on every one of them.
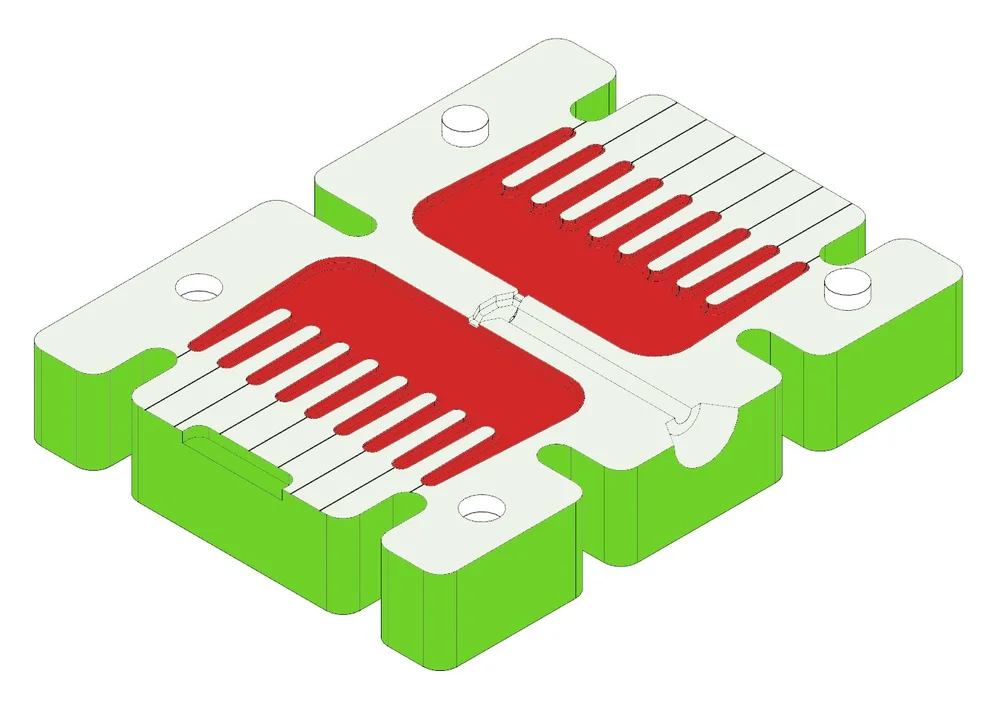
Red, never
The cavity face. Every mark here is copied onto every part the mold makes, for the life of the mold.
Light green, avoid
The mating face where the halves meet. Small scratches will not ruin a part, but a deep one lets plastic escape as flashing.
Green, fine
The outer body. It takes knocks in normal use and none of it touches the part.
- Never set a mold down face first. The cavity is the one surface that cannot recover.
- Never prise a stuck part out with a metal tool. Not in the red zone, not once. Warm the mold instead and it will let go.
- Wipe out metal dust and grit before closing. Anything trapped between the faces gets pressed into them.
- Store molds closed. Bolted shut, the cavity is protected by the other half of the mold.
Understanding a part that came out wrong
Five failures cover almost everything that goes wrong on a hand injection machine. Each one looks different, and each points somewhere different. Find the one that matches what is in your hand.
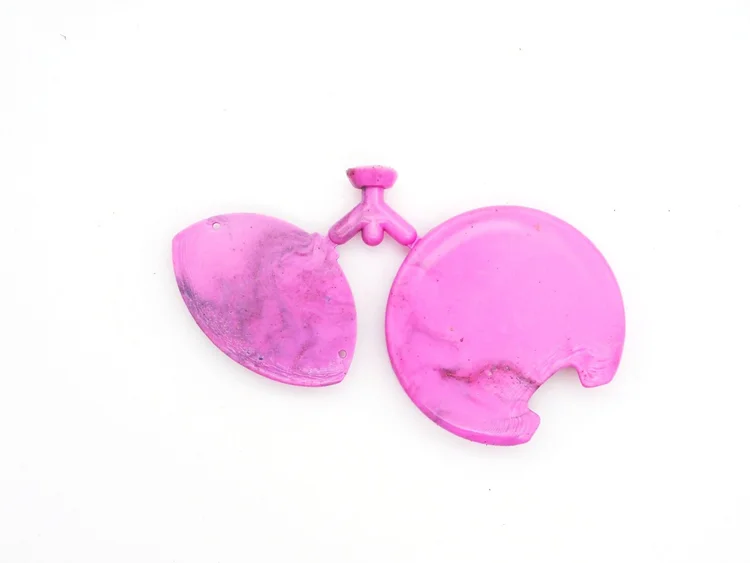
Partially filled mould
The plastic never reached the far side of the cavity. It set too early, there was not enough pressure behind it, or it was never fluid enough to get there.
- Go back to injection grade PP with a high melt flow index at 210°C into a warm mold, then change one setting at a time from there.
- Check the plastic is injection grade, not extrusion grade.
- Warm the mold to 40-60°C.
- Give the barrel its full heat time before you inject.
- Confirm the cavity is not larger than your shot volume, and that the barrel is properly filled with the trapped air worked out of it.
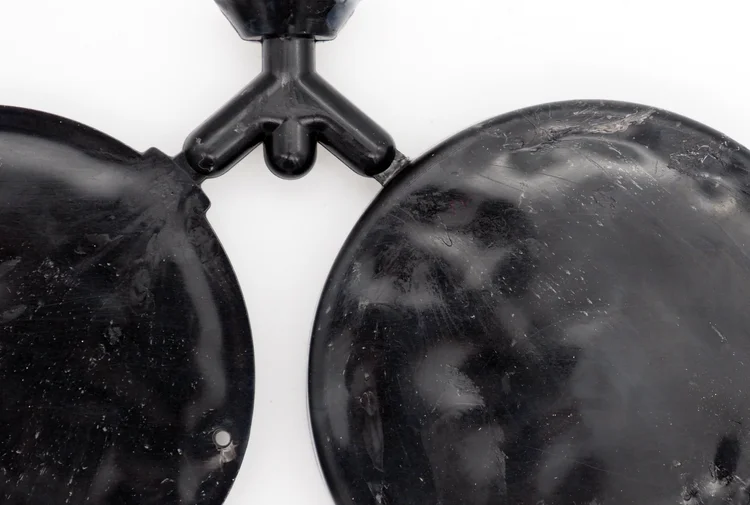
Sink marks
Dimples in a surface the mould says should be smooth. The plastic shrank as it cooled and nothing replaced it. Worst in HDPE, and anywhere the part is 3mm or thicker.
- Hold the plunger down for 10 to 30 seconds after the cavity fills, and watch it creep.
- Do not reverse the plunger while the shot is still molten.
- Check the plastic is clean. Contamination makes bubbles, and bubbles collapse.
- Try a lower barrel temperature.
- Move to a plastic with a lower shrink rate. Shrinkage is what causes sink marks in the first place, so a material that pulls in less as it cools gives you a smaller problem to feed. Figures per material are in the material database.
Flashing
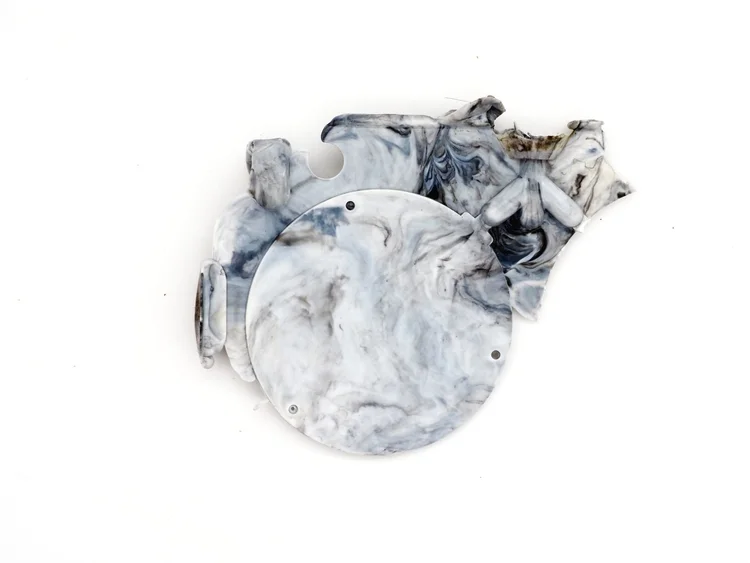
Thin fins of plastic escaping between the two plates. Easy enough to trim, but it adds a step to every part and leaves a line. Think of it as the opposite problem to a partial fill.
- Tighten the mold properly.
- Clear any grain, grit or debris holding the faces apart.
- Bring the mold temperature down within its range.
- Bring the barrel temperature down.
- Ease off the pressure on the lever or piston.
- Move to a less fluid plastic, meaning a lower melt flow index. Runnier plastic finds the gap between the plates more easily, so the same mould that flashes badly with a high MFI grade can run clean with a stiffer one.
Delamination and peeling
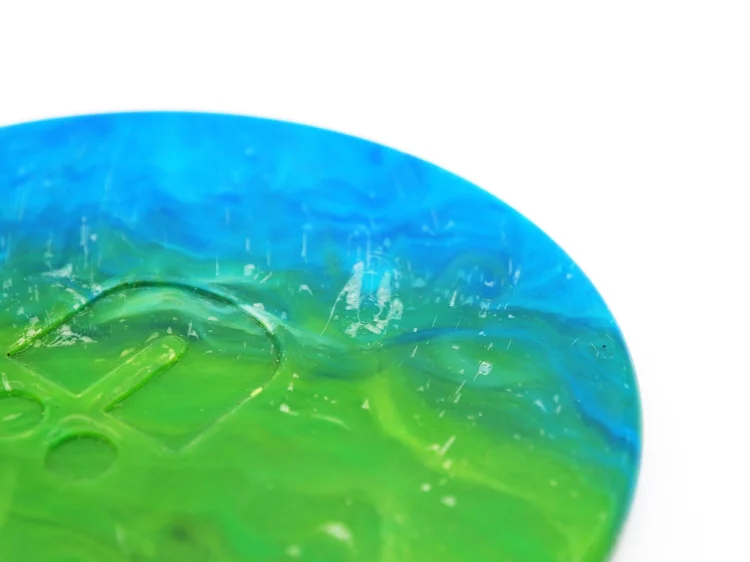
The part comes out in layers that lift away from each other. The plastic did not bond to itself, and that is a feedstock problem rather than a settings problem.
- Your feedstock is mixed. Never mix plastics. HDPE with PS or rubber in it will never bond, whatever you set the machine to.
- Your feedstock is contaminated with oil, food residue or dirt. Wash and dry it, then run it again.
- The wrong release agent can do it too. A heavy, oily film sits between the plastic and the mould face, and where it pools it gets in between the plastic and itself, so the shot never fully knits. If you are running a heavy release on a part that is delaminating, switch to a drier one and see picking the right mould release.
- If you are unsure what you have, check it with the plastic identification tool.
Part is stuck in the mould
The part will not come out, or it only comes out if you force it. Forcing it is what turns a stuck part into a marked mold, so work through the causes rather than reaching for a screwdriver. It is almost always one of these five.
- The mould was too cold. A cold cavity chills the plastic where it touches the wall, and it sets hard against the surface instead of flowing over it. Warm the mould to 40-60°C, see before you inject.
- Wrong release agent, or none at all. Check you are using something sold as a mould release rather than a general lubricant, and that its temperature rating sits above the plastic you are injecting. If a dry release is not freeing the part, a heavier one usually will. See picking the right mould release.
- You left it in too long. Plastic keeps shrinking while it sits in the cavity, so the grip gets tighter every minute you wait. Open the mold as soon as the part has cooled and hardened, then let it finish cooling on the bench.
- The plastic has a high shrink rate. Some plastics pull away from the cavity as they cool, which helps. Others shrink hard onto it and grip everything they have filled, and a mould that releases one material cleanly can fight you on another. Check the shrinkage figure for what you are running in the material database, and if it is high, warm the mold, use release more often and open it sooner.
- The part has no draft angle. If the cavity walls are perfectly vertical there is nothing helping the part let go, and no amount of release agent fixes that. This one is a design problem rather than a settings problem, so it needs a change to the mould itself. See designing a good product.
FAQ
Questions about using a mould
Still getting a part you did not expect? Send us a photograph of it and we will tell you what to change. The team replies within one to two working days. Get in touch
Related resources
The three ways to get a mould, how to design your own, and what to read once parts are coming out cleanly.
 Guide
Guide
How to 3D print SLA moulds
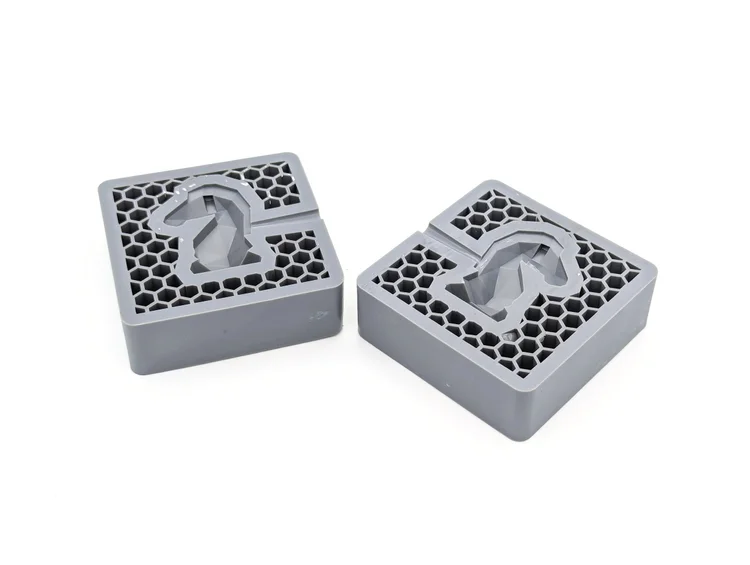
The resin route. Sharper detail and finer text than FDM, at the cost of a second printer and a wash-and-cure step.
 Guide
Guide
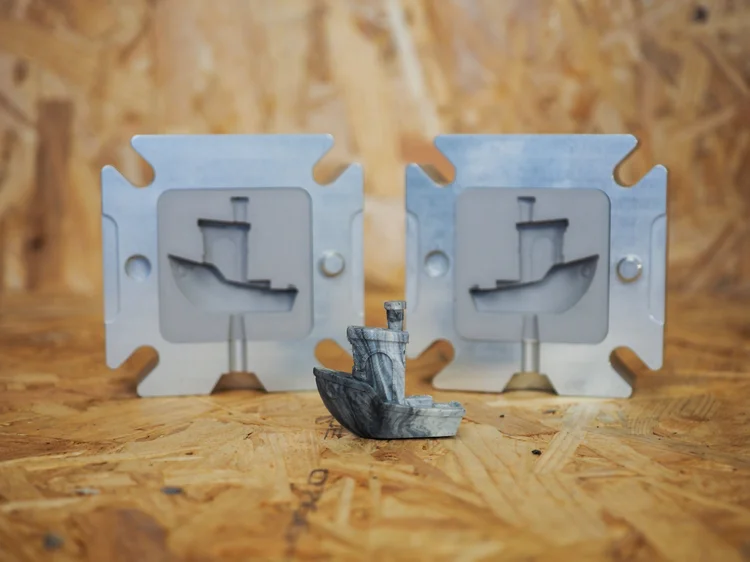
Designing a 3D printed insert
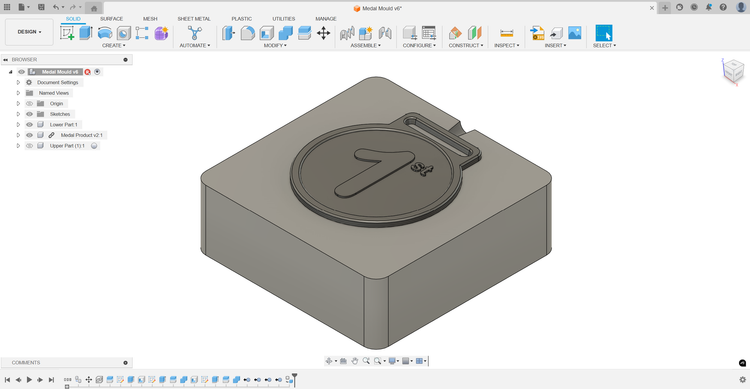
The Fusion 360 side of the job. Download a blank insert, cut your own cavity into it, and print it.
 Guide
Guide
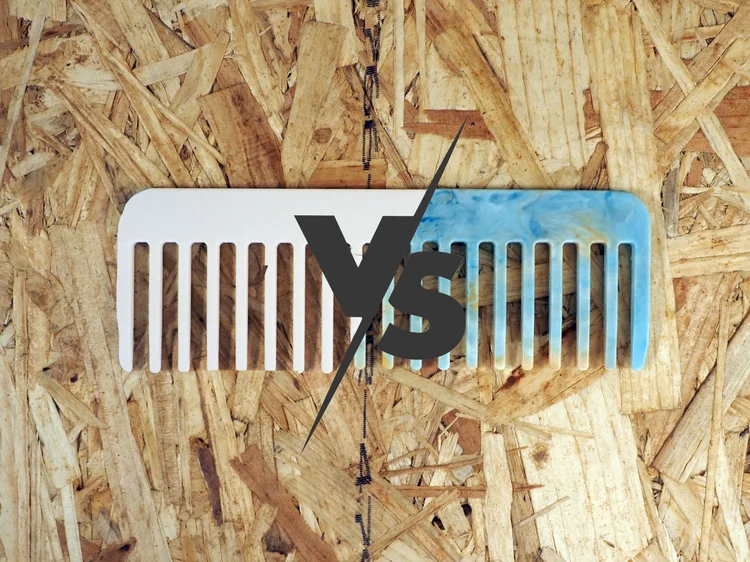
How to 3D print FDM moulds
The filament route to a printed insert. What you need, and the print settings that decide whether it survives injection.
 Guide
Guide
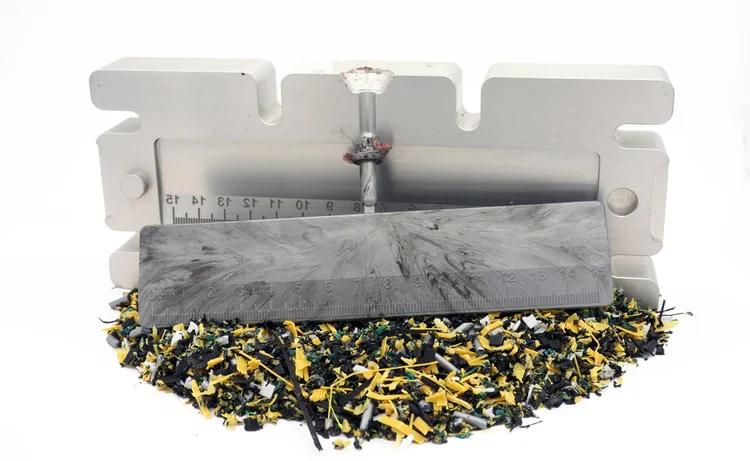
3D printing vs injection moulding
A full breakdown of where each process wins on cost, speed, and quality, and the point at which moulding takes over.
 Guide
Guide
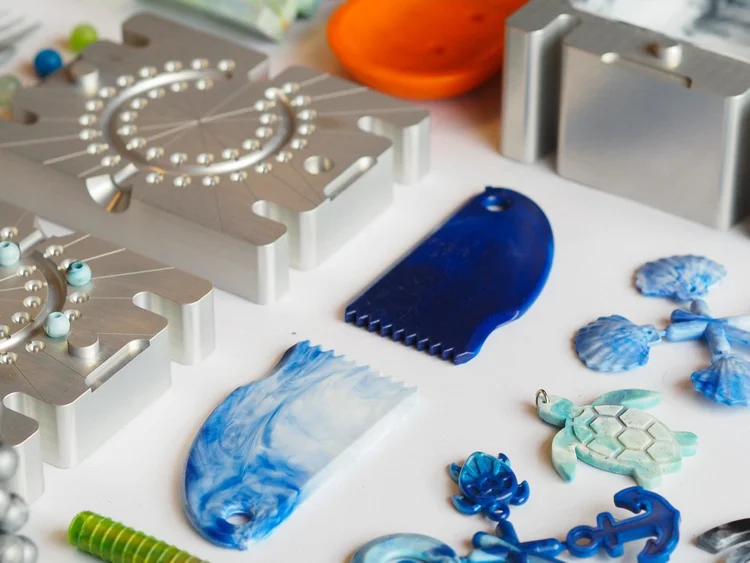
How to inject PLA
Turning 3D printing waste into molded products with the Injection Mini V2, and why PLA behaves differently to PP.
 Guide
Guide
Good product design
What separates a recycled product that sells from one that does not. Worth reading before you cut a cavity.
Got a question about moulds?
Talk to us. Sustainable Design Studio designs and machines molds in the UK and ships worldwide. Send us a photograph of a part that came out wrong and we will tell you which setting to change.