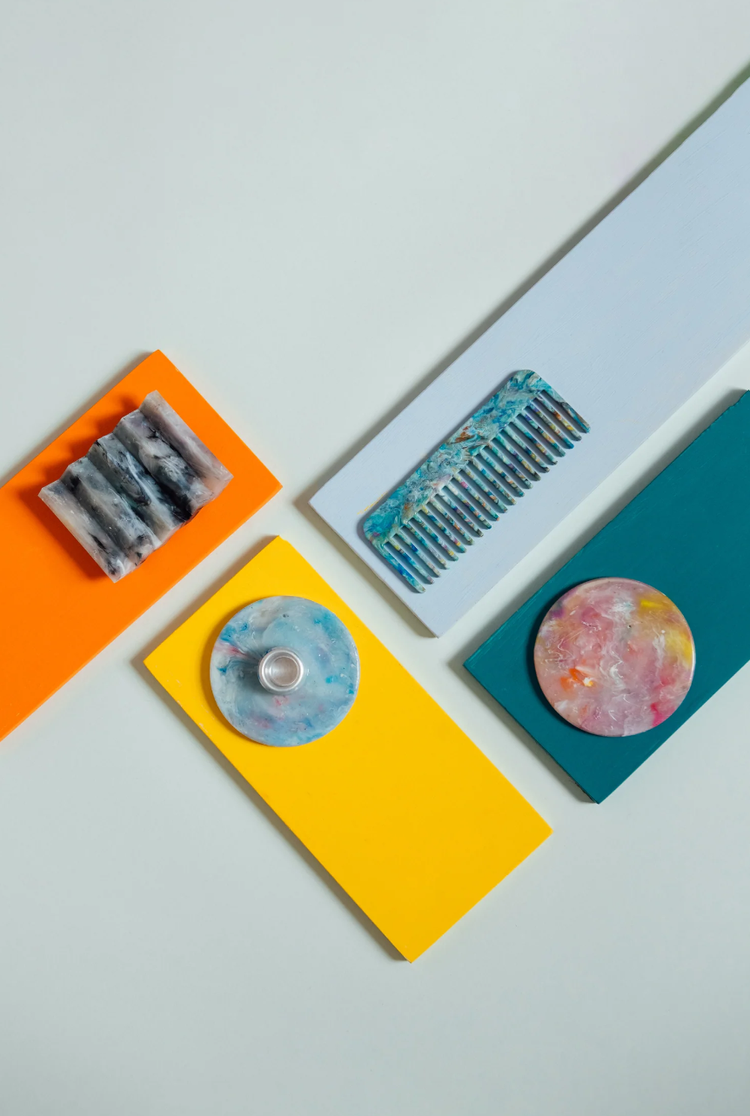
3D Printed Moulds
Custom moulds in hours, not weeks.
Print your own custom mold inserts at home, drop them into a Sustainable Design Studio aluminium holder, and inject directly on your Injection Mini V2. A free starter STL file to get going, paid premium designs from £5, and the option to design your own in Fusion 360.
How the system works
Printed insert, aluminium holder, your machine
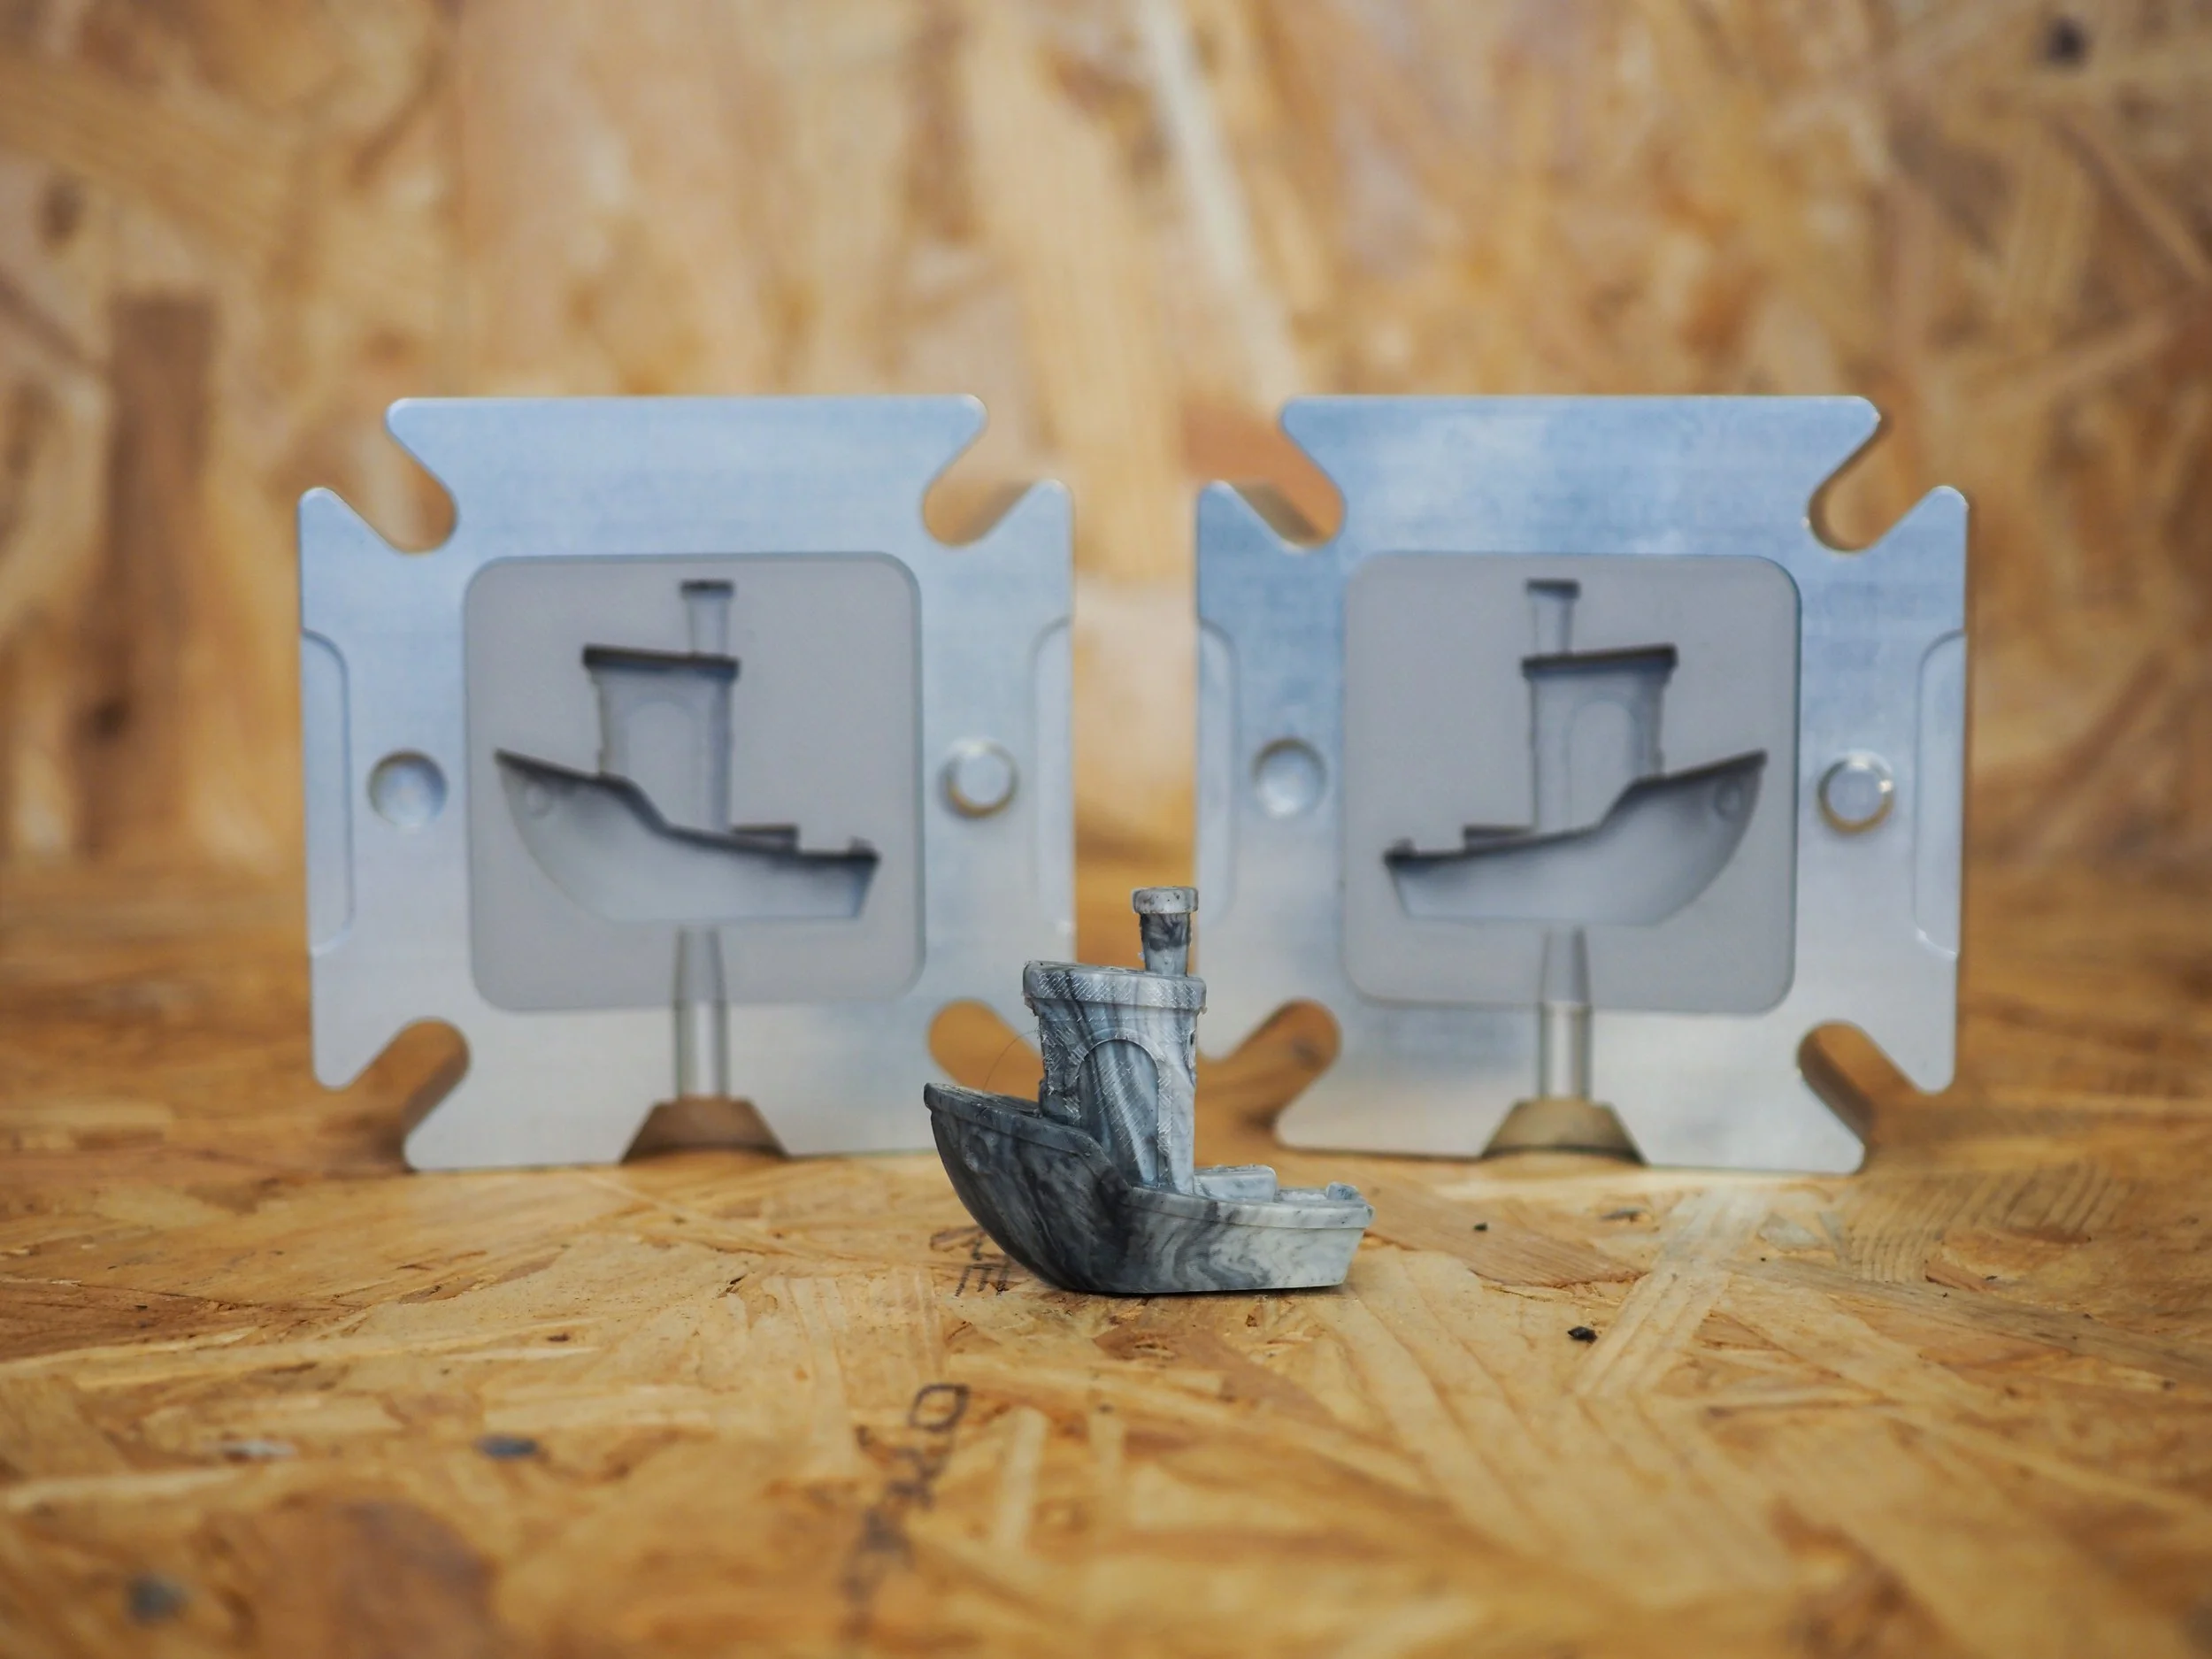
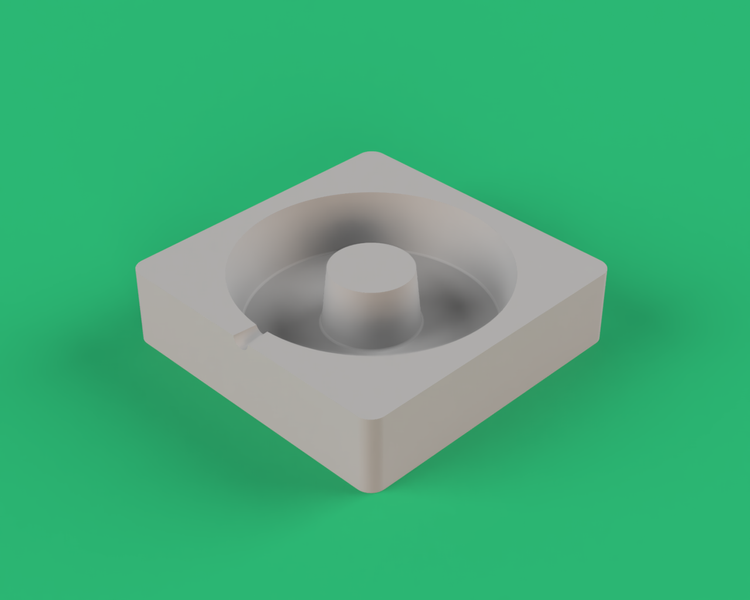
The 3D printed insert
Print the cavity in SLA resin or FDM polycarbonate, then drop it into the aluminium holder. New mold design in as little as 3 hours, one print at a time. A free starter STL file comes standard, premium designs are £5 each, and every STL is open to edit in Fusion 360.
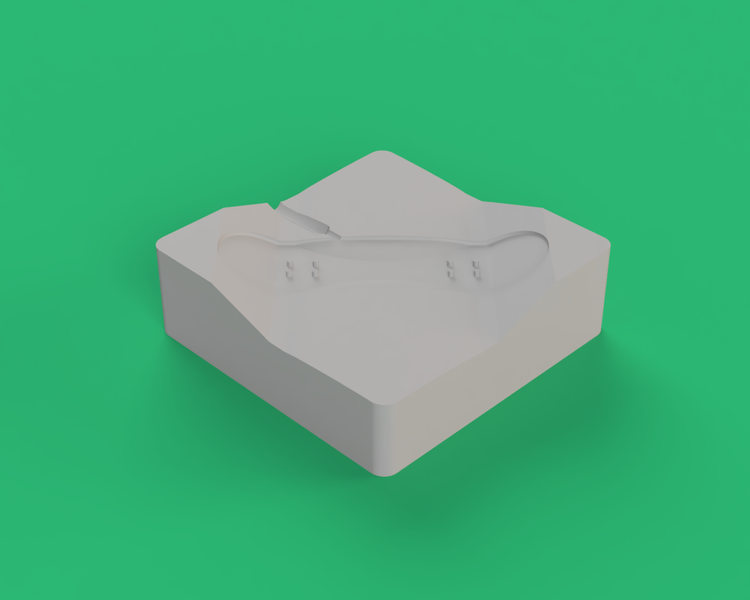
The aluminium holder
CNC machined from solid aluminium in our UK workshop. The holder takes the injection pressure so the printed insert does not have to. Four sizes share the same proven frame: Small, Medium, Large, and XL, £240 to £290. Buy the holder once, swap inserts as you iterate.
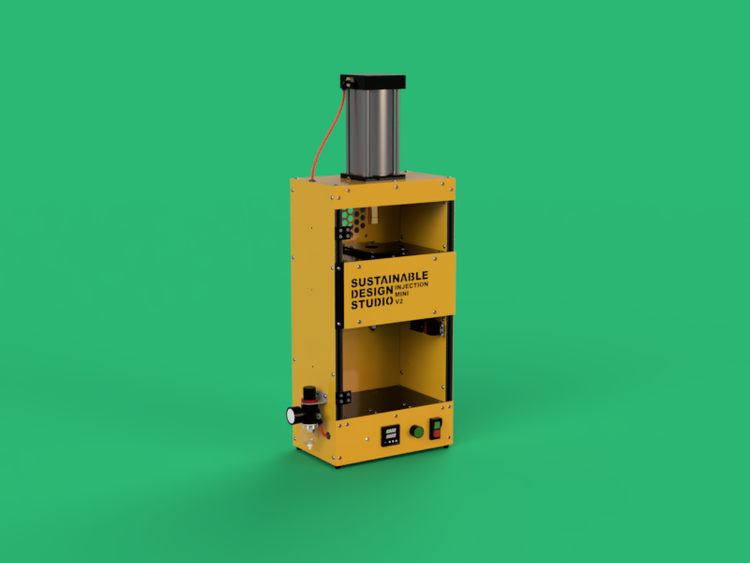
The Injection Mini V2
Sustainable Design Studio recommends the IMM V2 as the top pick for 3D printed inserts. The pressure gauge gives you the fine control needed to keep the insert intact. Works with the Arbour Injection Machine V2 and Extruder Mini V2 too, with extra care on pressure and feed rate.
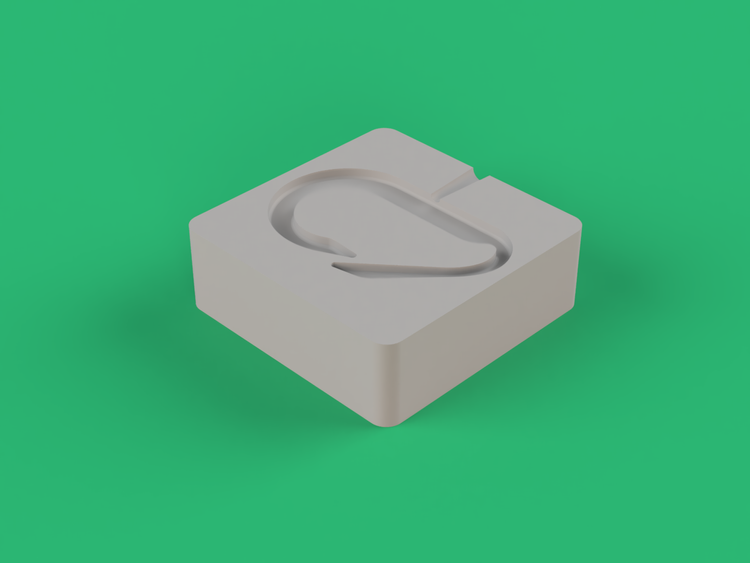
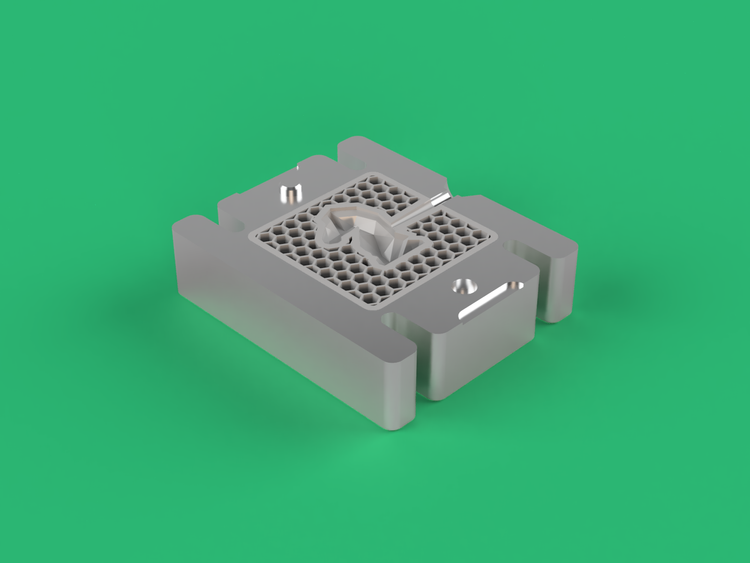
5 ways to start, plus your own designs
Five starting points, in two flavours: an aluminium holder, and the printable insert designs that drop into it. Every STL file is open to edit. Open in Fusion 360, add a logo, change a dimension, or remix the geometry before you print.
PM013
 PRM001
PRM002
PRM001
PRM002
 PRM003
 PRM004
Indicative pricing converted live from GBP, rounded. Final amount charged in GBP at checkout.
Lower temperature, lower pressure, longer cooling
3D printed inserts need precise injection control. Start at the bottom of these ranges and only step up if you need to. Mold lifespan is shortest when temperature and pressure are pushed.
Polypropylene and high-density polyethylene are both well-tolerated by 3D printed inserts. Start with PP for the most forgiving runs, step up to HDPE when you need a stiffer part.
Use the lowest temperature that still flows. Sustainable Design Studio sets 200°C as the starting point for PP on a printed mould.
Start at 80PSI on the Injection Mini V2 pressure gauge. Increase only if needed. Never use maximum pressure on a printed insert.
Silicone spray rated to 260°C. Reapply before every shot on a 3D printed insert, not every 20 to 50 like aluminium. Skip a shot and the part can grip the cavity and tear it on demolding.
Let the part cool fully inside the mould before you remove it. The opposite of aluminium guidance. Removing too early on a 3D printed insert risks tearing the cavity.
Resin and FDM moulds cannot be pre-warmed. Run the machine at room temperature for the first shot.
Top pick: Injection Mini V2. Works with the Arbour V2 and Extruder Mini too
Sustainable Design Studio recommends the Injection Mini V2 as the best machine for 3D printed insert moulds. The pressure gauge gives you the precise control needed to stop the insert from cracking under load. Works with the Arbour Injection Machine V2 and Extruder Mini V2 too, with a little extra care on pressure and feed rate.
IMMV2
Injection Mini V2
Pressure gauge gives the precision needed for thin-walled 3D printed inserts. Best machine for first-time users.
View Injection Mini V2 AIMV2
AIMV2
Arbour Injection Machine V2
Hand-cranked rack and pinion. Manage the cranking force gently to keep the insert intact.
View Arbour Injection Machine V2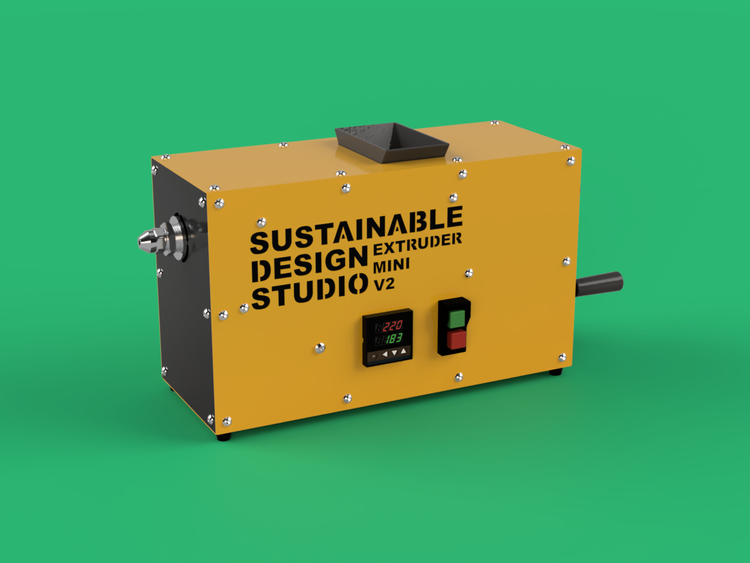 EMV2
EMV2
Extruder Mini V2
Continuous extrusion through the screw-on holder. Run at the lowest possible feed rate.
View Extruder Mini V2FAQ
Questions, answered honestly
Still unsure? The team replies within one to two working days. Get in touch
Get a custom mould from your printer today
Pick up a Sustainable Design Studio aluminium holder, download a free starter STL, and you can be running your first shot the same day. Premium mold designs from £5 each.