
Moulds: 3D printed FDM
How to prototype your own FDM printed mould inserts, the print settings that make them survive injection, and how they compare to our premium aluminium moulds.
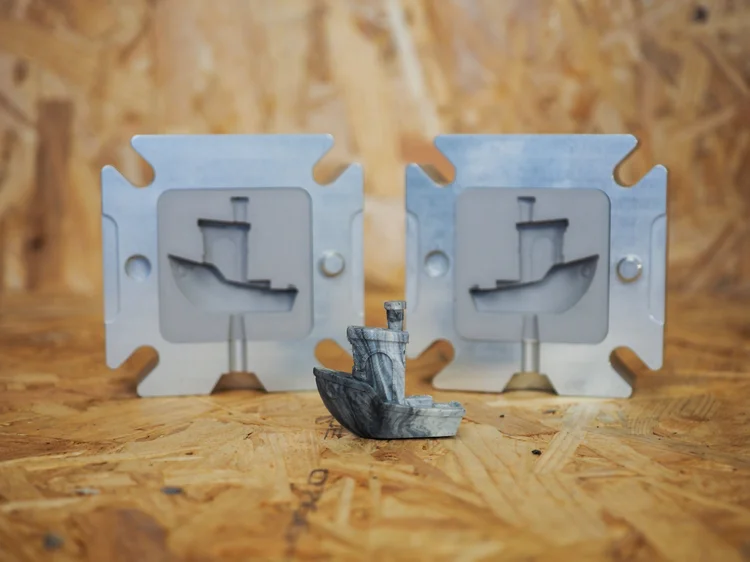
Why print a mould insert
One of the hardest parts of designing products from recycled plastic is the cost of the mould. We machine custom aluminium moulds to order, but for a quick prototype or an early design test, committing to aluminium is a big first step. A printed insert is the cheap way to find out whether your part works before you pay for tooling.
The system is simple. A CNC aluminium holder takes the injection force, and a printed insert drops inside it carrying the shape of your part. The holder is the durable bit you buy once. The insert is the disposable bit you print, test, change, and print again. Fused deposition modelling is ordinary filament 3D printing, and it is the most accessible way to make that insert. This guide covers the settings that decide whether the insert survives injection or splits on the second shot, meaning the second time you inject plastic into it.
It is worth being clear about the trade. A printed insert does a different job from an aluminium mould. Use it to prove a design. Move to a premium aluminium mold when you want to make the same part hundreds of times. The pros and cons below spell out where the line sits, and everything here assumes you are injecting with the Injection Mini V2.
Watch a printed mould made start to finish
One film covers all three routes. If you would rather see it than read it, this walks through FDM, resin, and aluminium side by side, from the print settings through to a finished part.
What you need
Four things are essential. The last two are worth having but you can start without them.
An Injection Mini V2. Printed inserts need fine pressure control, and the Injection Mini V2 is the only machine in our range that offers it.
A 3D printed mould holder. The CNC aluminium frame that takes the injection force, and the nozzle heat, so your printed insert does not have to.
One with a high-temperature hotend and a heated chamber, such as the Elegoo Centauri Carbon. A standard open-frame printer will not reliably run polycarbonate.
PC has the melt temperature to survive contact with injected plastic. We use Prusament PC Blend.
800-1200 grit, for knocking back layer lines on the moulding face before the first shot.
A silicone release rated to 260°C. Printed inserts grip parts harder than aluminium does, so release makes demoulding far less risky.
Do not substitute a filament with a lower melting temperature, and do not use anything with carbon fibre in it. Lower-temperature filaments will not survive contact with the injected plastic, and carbon-filled filaments can be hazardous to print and to machine. Use polycarbonate, or something with an equivalent temperature rating.
The pros and cons of FDM inserts
A printed insert is a prototyping tool. Read the right-hand column before you plan a production run around one.
Pros
Fast and cheap- A new mould prints in as little as 5-6 hours, so a design change costs you an afternoon instead of a lead time.
- Filament and printer time are a fraction of what machined aluminium costs.
- FDM printers are readily available, and you may already own one.
Cons
Prototype only- Fewer than 100 injections before the mold deteriorates, and often far fewer.
- The insert cools slower than aluminium and cannot be pre-warmed to help material flow, so cycles run longer and thin features are harder to fill.
- Flashing, where plastic escapes the cavity and leaves a thin fin on the part, is a constant battle because the insert is softer than aluminium.
- Fine detail does not survive. Small text and intricate logos wash out after a few shots, and draft angles, the slight taper that lets a part release, have to be bigger than in aluminium.
- Printed molds are less accurate, so expect more finishing by hand, and layer lines show on the part exactly as they would on a 3D print.
Starter insert files
Before any of that matters you need a blank to cut into. These are sized to our holders, as STEP files. Cut your cavity into one, then print it with the settings below. The same four blanks work for the FDM and resin routes.
50 × 50 × 15mm
Download75 × 75 × 25mm
Download100 × 100 × 25mm
Download150 × 100 × 25mm
DownloadDesigning the cavity itself is a separate job. Our guide to designing a 3D printed insert in Fusion 360 walks through it step by step.
Print settings that survive injection
With your cavity cut into a blank, the slicer settings are what decide whether it survives. A mold insert takes heat and pressure on one face, so the settings look more like those for a structural part.
| Setting | Value | Why | Status |
|---|---|---|---|
| Layer height | 0.08mm | The finest your printer will manage. Layer lines transfer straight onto the molded part, so this is the single biggest lever on finish. | Tested |
| Infill | 30% | Injection puts the insert under real pressure. Below this it deforms under heat and load. | Tested |
| Solid top thickness | 5mm | The molding face takes the most stress. You may get away with less, but 5mm has worked for us. | Tested |
| Top layers | About 63 | 5mm of solid top at a 0.08mm layer height works out to about 63 layers. Most slicers ask for a layer count, so here is the conversion. | Derived |
| Material | Polycarbonate | It has to stay solid in contact with injected plastic. Never a lower-temperature filament, never carbon filled. | Tested |
| Nozzle temperature | Per the filament spec sheet | PC blends generally run far hotter than PLA or PETG. Use the number on the spool, not a guess. | Starting point |
| Bed and chamber | Heated, enclosed | PC warps badly in open air. An enclosed, heated chamber is why the printer spec matters. | Starting point |
| Orientation | Cavity face up | Puts the molding surface on the top solid layers, where the material is densest and the finish is best. | Starting point |
The same three settings, as they look in the slicer. Injection temperature and pressure are set on the machine, so they live in at the machine below.
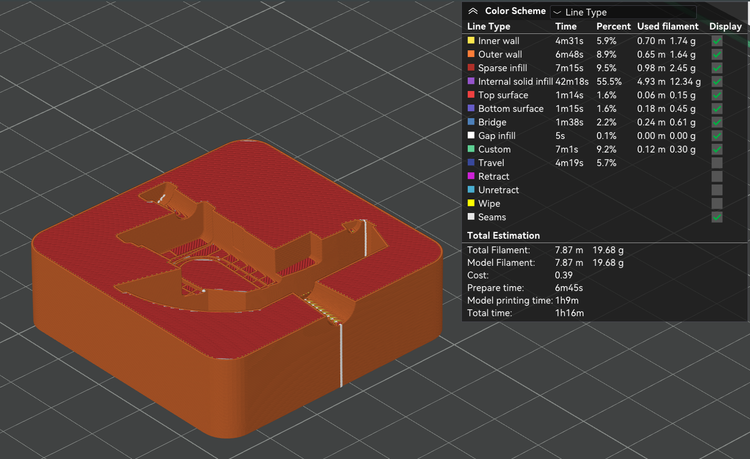
Layer height
The layer height field set to 0.08mm, which is what row one of the table means in practice.
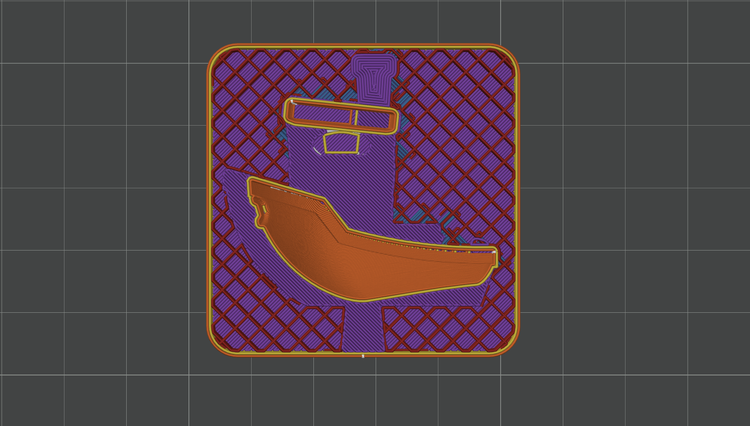
Infill
A 30% infill preview, showing how much material actually sits under the cavity floor.
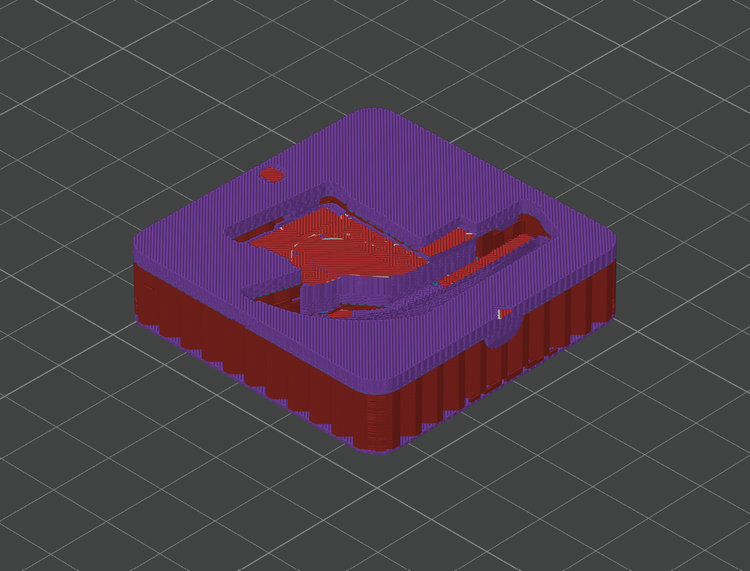
Solid top
5mm of solid top in the preview. The dense band above the infill is the surface that takes the shot.
Two rules that decide how long your insert lasts
Everything about running a printed insert comes down to using less than you would with aluminium. Less heat, less pressure.
Lowest possible temperature
200°C for PPThe mold is heat sensitive and degrades faster the hotter you run. Find the lowest temperature that still gives you a good part and stay there. We use 200°C for polypropylene.
Lowest possible pressure
About 80psi for PPDrop the injection pressure using the gauge on the left-hand side of the machine. Do not run the max pressure you would use with an aluminium mould. It will break a printed insert. We use around 80psi for polypropylene.
FAQ
Questions about FDM inserts
Still unsure whether a printed insert suits your part? Send us the design and we will tell you. The team replies within one to two working days. Get in touch
Related resources
FDM is one of three ways to get a mould. These cover the other two, plus what to do once you have one.
 Guide
Guide
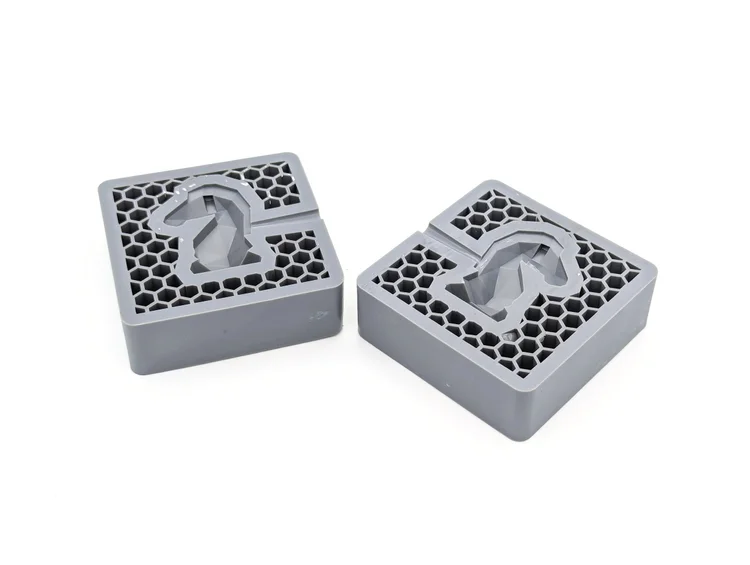
How to 3D print SLA moulds
The resin route. Sharper detail and finer text than FDM, at the cost of a second printer and a wash-and-cure step.
 Guide
Guide
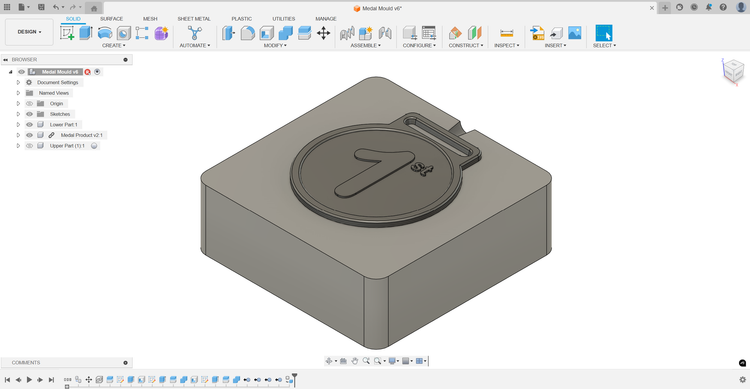
Designing a 3D printed insert
The Fusion 360 side of the job. How to take the blank insert files above and cut your own cavity into them.
 Guide
Guide
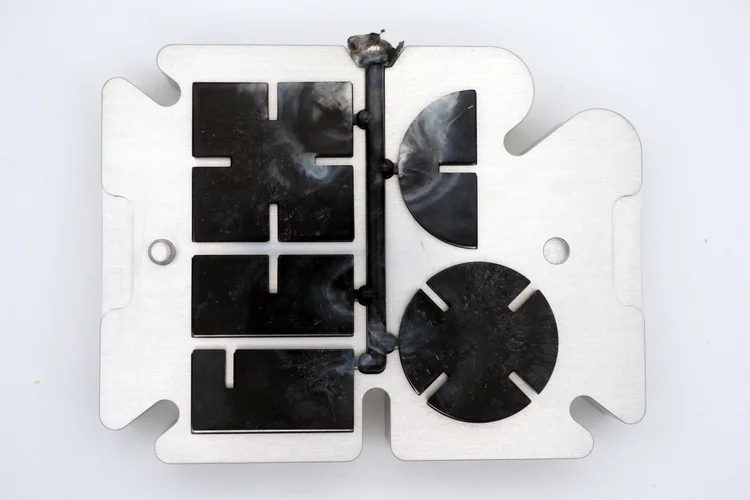
Mould use
Everything about running our aluminium and steel moulds, plus how to fix flashing, sink marks, and partial fills.
 Guide
Guide
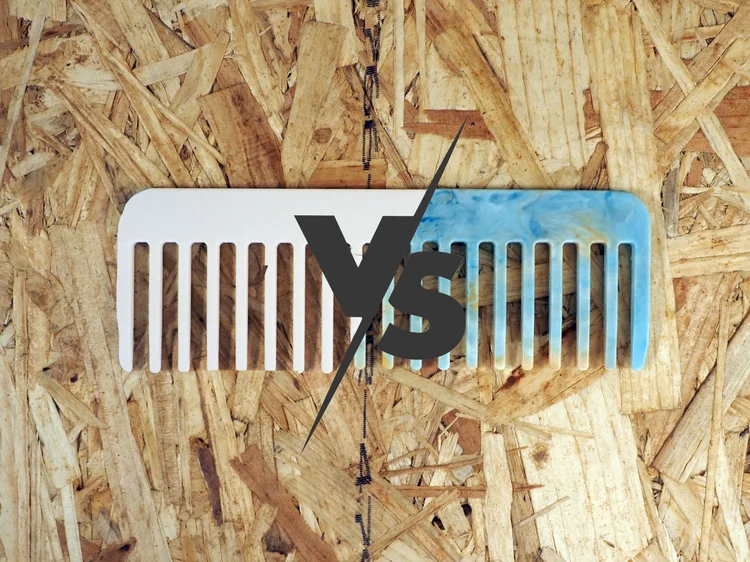
3D printing vs injection moulding
A full breakdown of where each process wins on cost, speed, and quality, and the point at which moulding takes over.
 Guide
Guide
How to inject PLA
Turning 3D printing waste into molded products with the Injection Mini V2, and why PLA behaves differently to PP.
 Guide
Guide
Good product design
What separates a recycled product that sells from one that does not. Worth reading before you cut a cavity.
Got a question about moulds?
Talk to us. Sustainable Design Studio designs and machines moulds in the UK and ships worldwide. Tell us about your part and we will say honestly whether a printed insert or an aluminium mold is the right call.