Building your
Filament Maker Spools

Step 1

Two black circular plastic components with white eye-like markings on a green surface.

You will need:
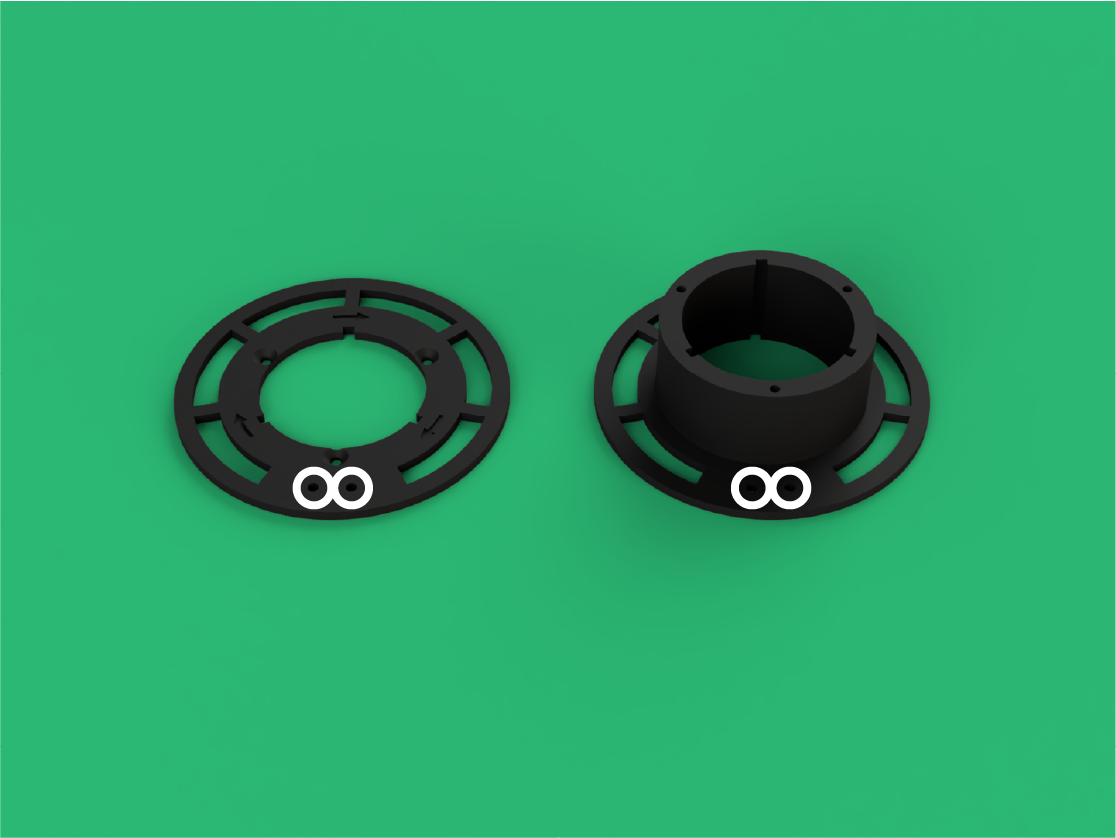
Pulley Spool Base (x1)
Pulley Spool Top (x1)

Take the Pulley Spool Base and the Pulley Spool Top (The Pulley Spool Top and Strip Spool Top look very similar, the Pulley Spool Top is the one with the two small holes in it).

Step 2

A black circular mount or adapter on a green surface with two small white circles near the bottom.

Line up the Pulley Spool Top and Pulley Spool Base, making sure that the two small holes are in the same place on both pieces and the cutouts in the centre are aligned.

Step 3

A black plastic spool with screws partially inserted into the top, on a green background.

You will need:
M3x6mm Countersunk Bolt (x3)

Place in three M3x6mm Countersunk Bolts and tighten down.

Step 4

Two black circular plastic gas stove burner supports on a green background.

You will need:
Strip Spool Base (x1)
Strip Spool Top (x1)

Step 5

A circular black device mounted on a green surface, with white circles around the circumference and directional arrows indicating rotation.

Line up the Strip Spool Top and Strip Spool Base making sure the centre cutout and the outer cutouts line up.

Step 6

A black circular dial with white markings and arrows, placed on a green background.

You will need:
M3x6mm Countersunk Bolt (x7)

Place in seven M3x6mm Countersunk Bolts and tighten down.

Step 7

A yellow desktop device with various attachments and a small screen, labeled "Sustainable Design Flame Maker Studio," on a green background.

On the Main body, place the Strip Spool onto the Mount on the left.

Step 8

A yellow tabletop device with two large black circular components, a small display screen, a black upright piece, and a switch with a blue knob. The device has "SUSTAINABLE DESIGN STUDIO" printed on it.

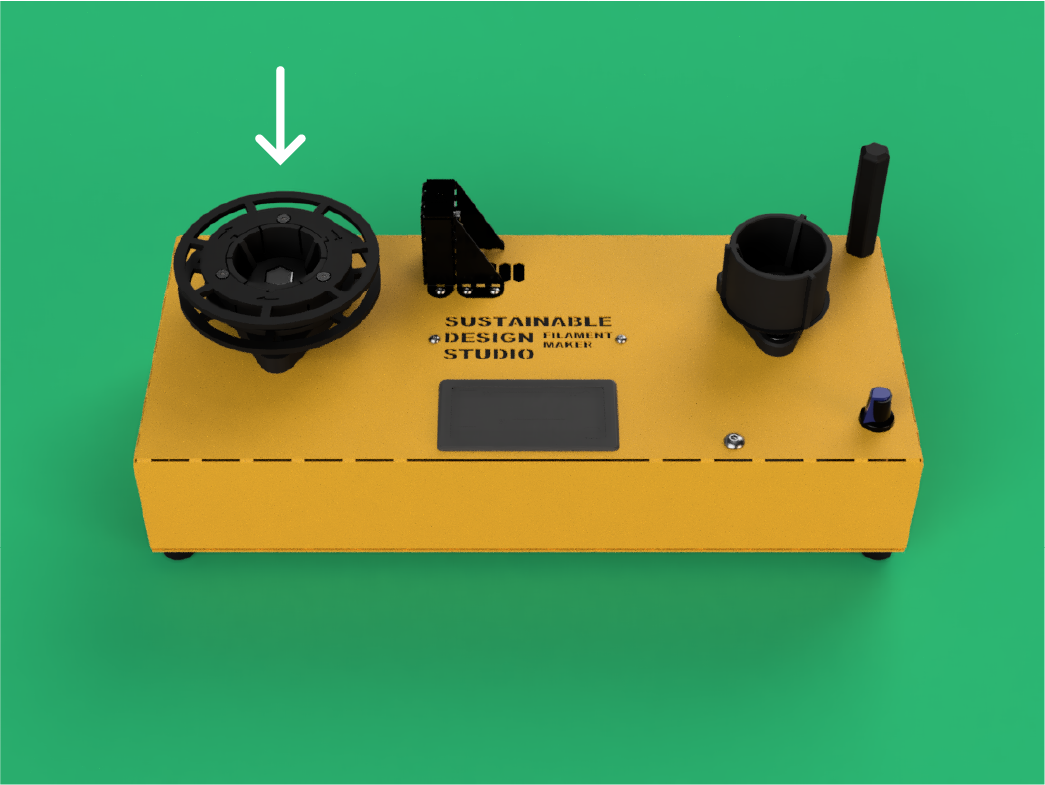
On the Main body, place the Pulley Spool onto the Mount on the right.

Congratulations!
Your Filament Maker is now built and ready to start making filament.

Click below for your Bottle Cutter Assembly Guide.

Bottle Cutter Assembly
Close-up view of a yellow circuit board with two black electrical components attached. A screw is being inserted through a yellow standoff into the board, with an arrow pointing downward indicating the screw's insertion point.

For the Filament Maker landing page and all of your related guides click the button below.

All Filament Maker Guides