
Ready to
get started?
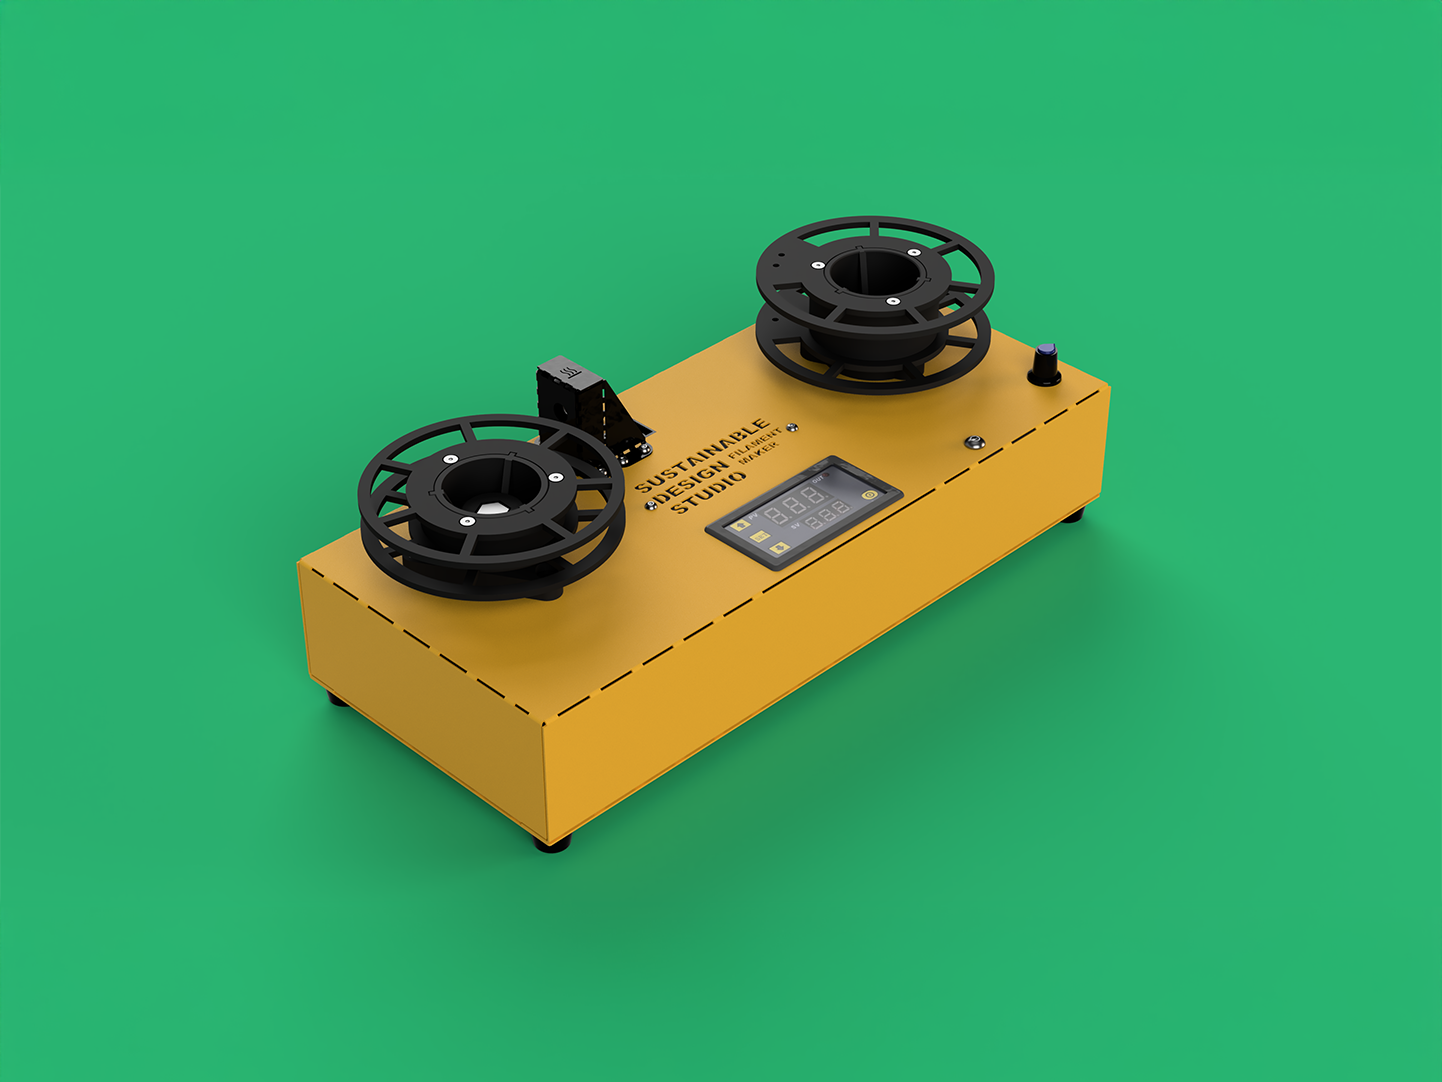
So you are the lucky owner of a brand new and shiny recycling machine, but it came in a box and now you need to assemble it!
The next steps are designed to get you started as soon as possible with your Filament Maker. Click the relevant link below to be taken to the guides.
Filament Maker Guides
-

Kit Assembly Guide
Your journey starts here! Follow this guide to assemble the kit version of your new Filament Maker.
-

Spools Assembly
Looking to make more spools? Click below for download files and assembly instructions.
-

Bottle Cutter Assembly Guide
Follow this guide to setup your bottle cutter and get started making!
-
User and Safety Manual
Read this guide for important information on the use and safety of your Filament Maker
-

Bottle Preparation
Everything you need to know about preparing you plastic bottle, and making the strips needed for the FM.
-
Machine Operation
Follow these steps and learn how to make your first spool of filament
-

Filament Joining
Learn how to join your rPET filament together to make a larger spool.
-

3D Printer Settings
Getting your print settings is key for success! Find out what our recommended settings are!
Quick start tips.
-
PPE
Always wear PPE when using this machine, in a well-ventilated area.
We recommend:
• Safety Glasses
• 3M Mask with ABEK1 Filters
• Heat Resistant Gloves. -
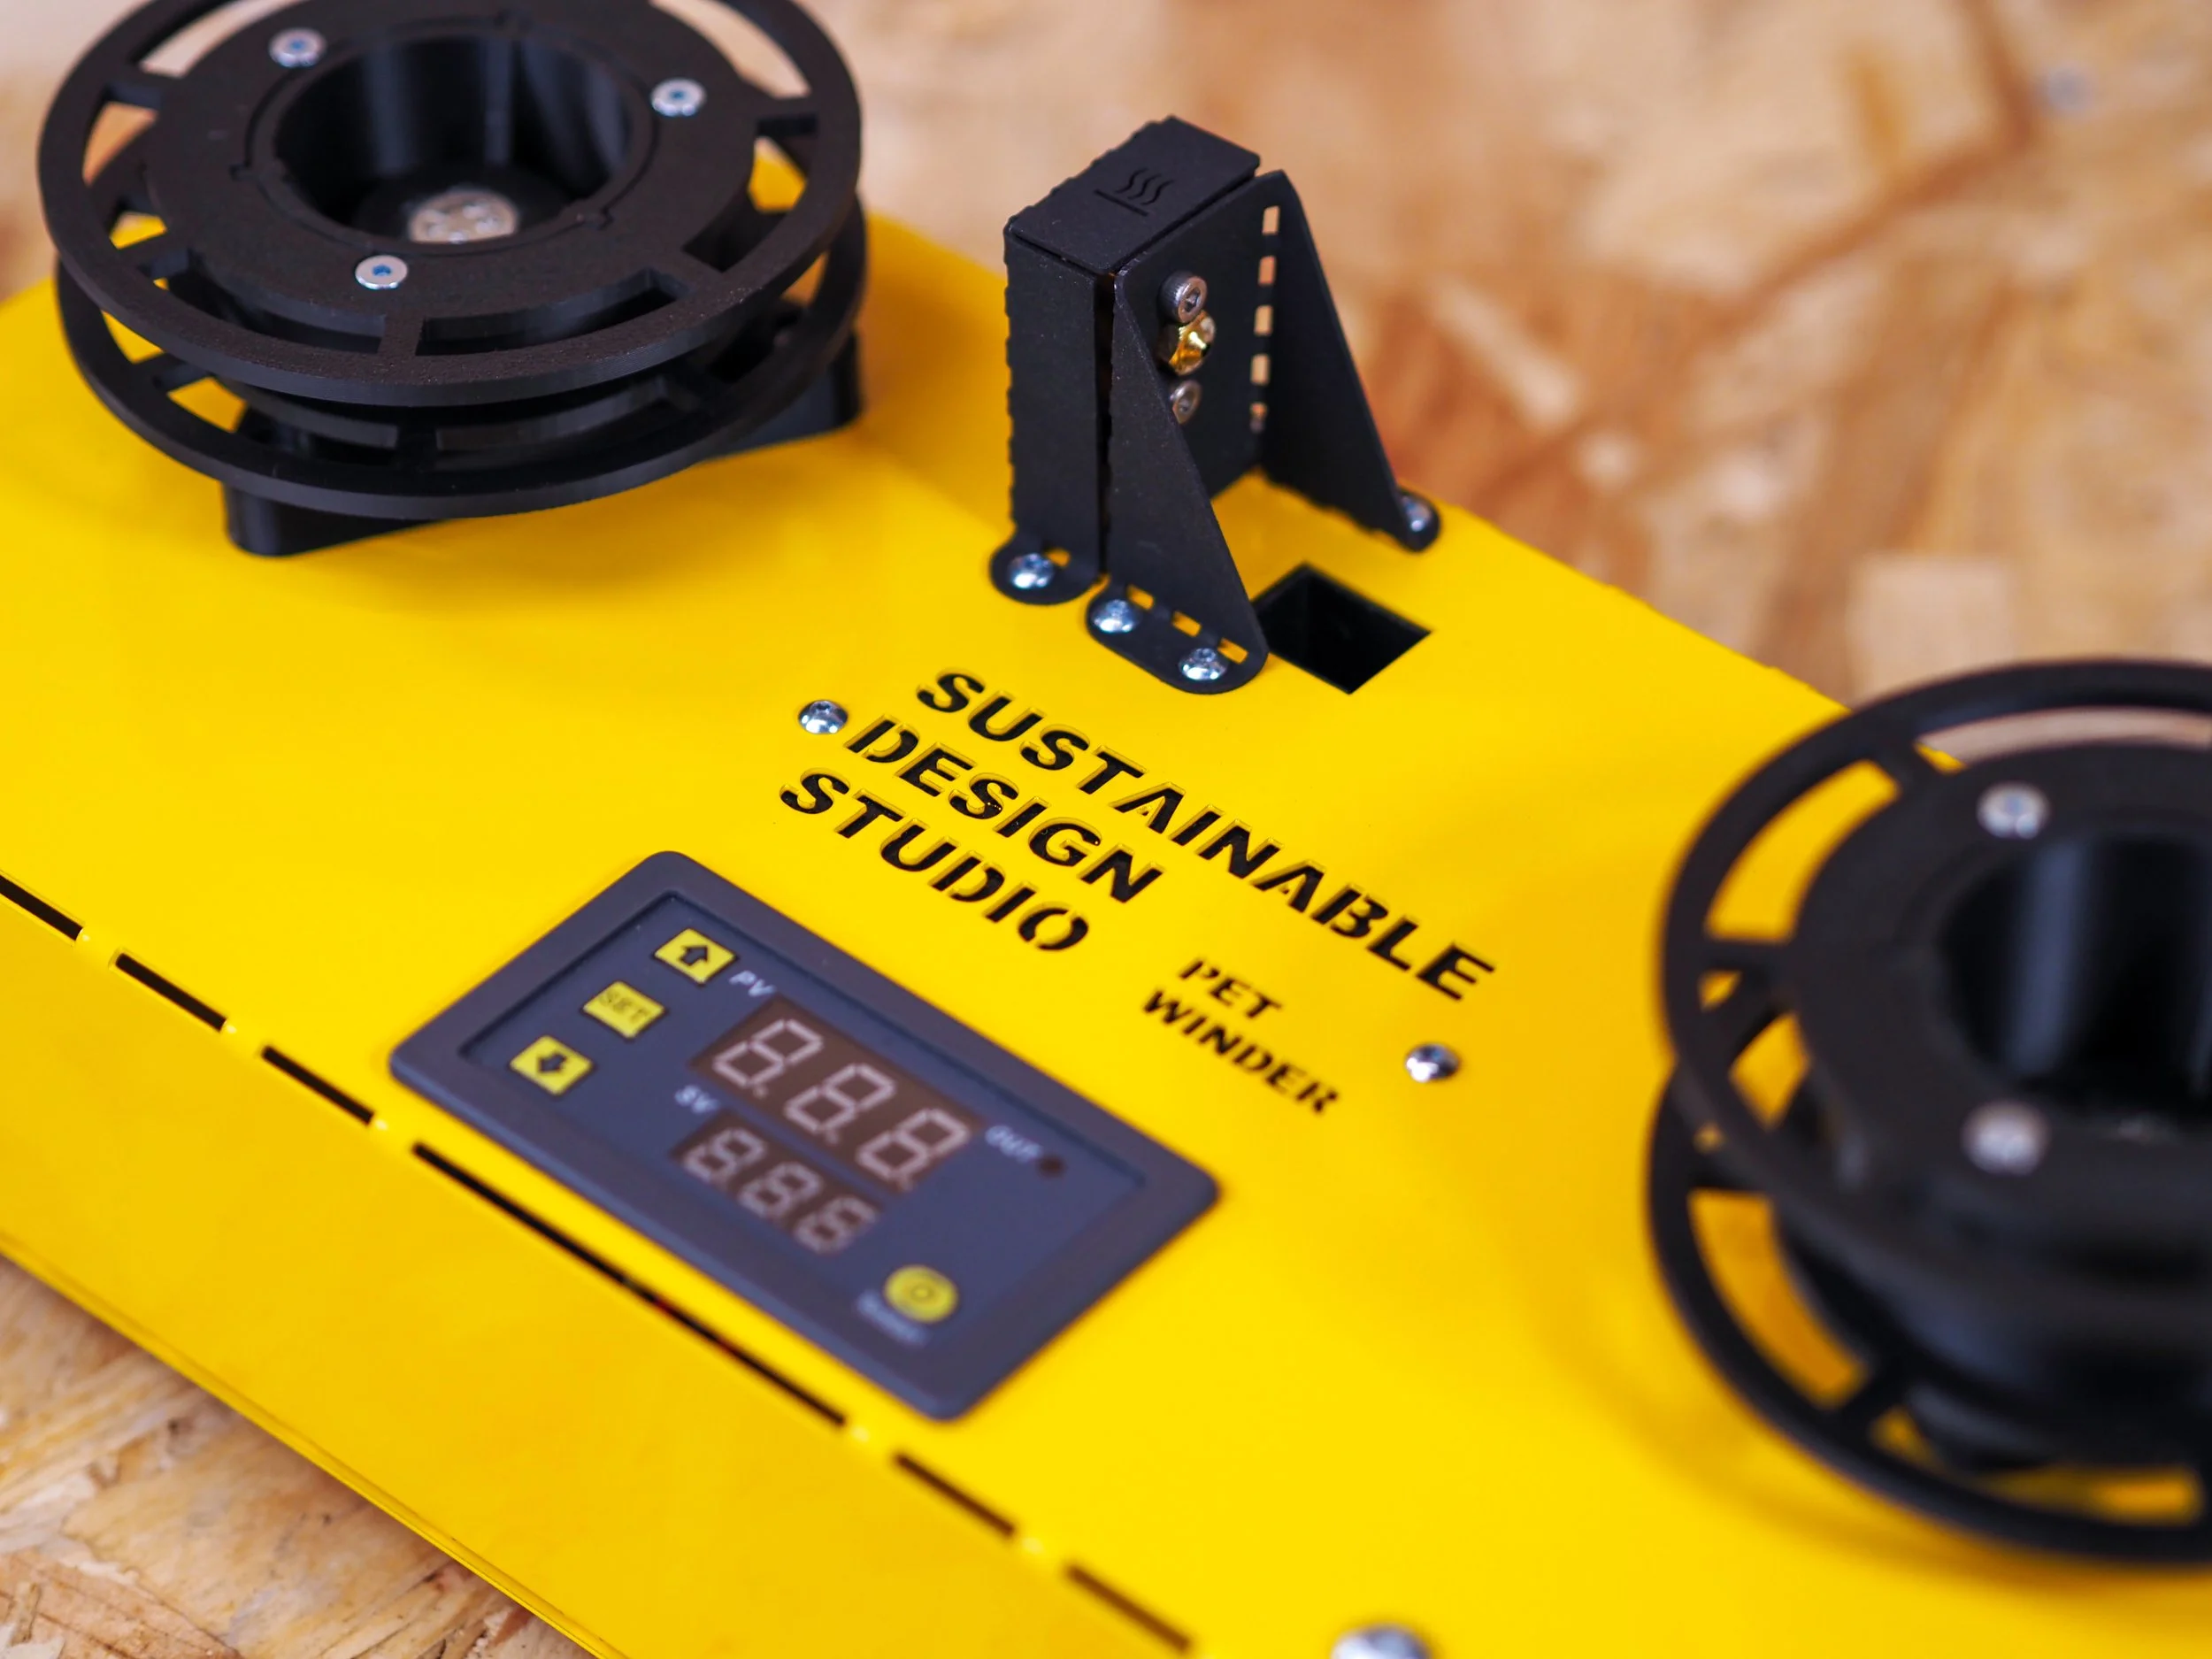
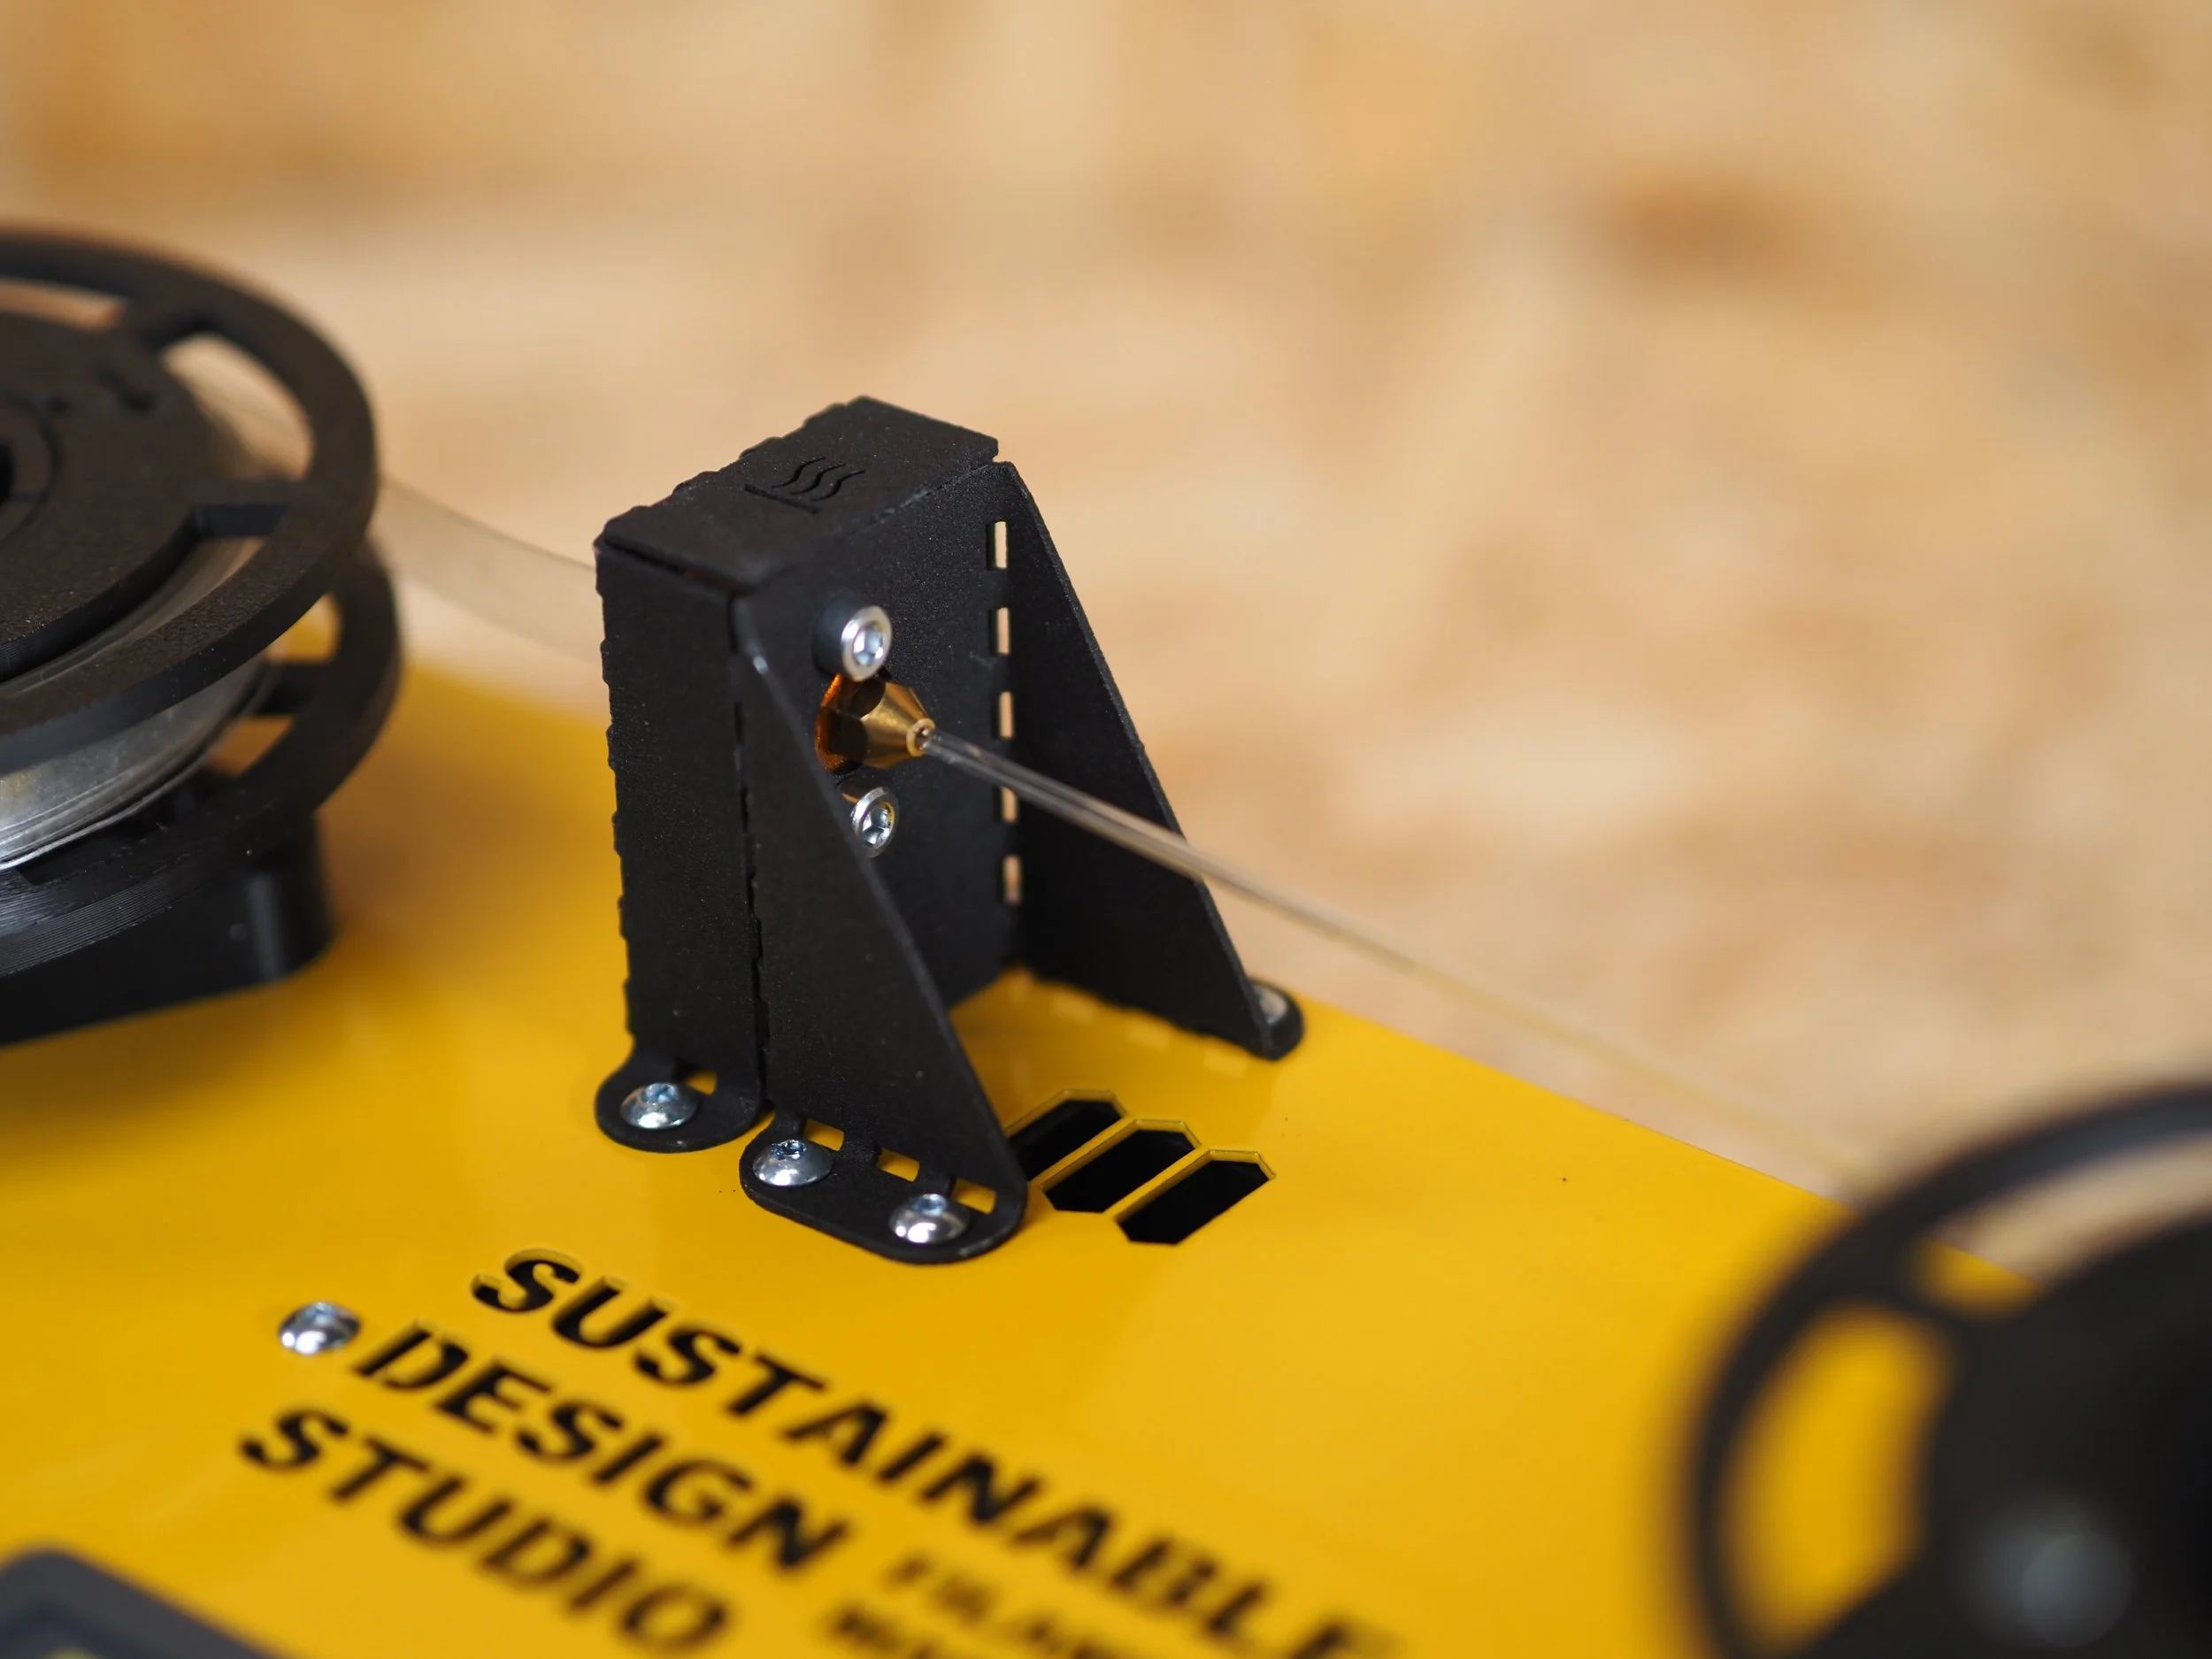
Know your temperatures.
Take note of the time it takes to heat up the first few times you turn the machine on (from 0 to 210°c).
This machine is in Degrees Celsius, designed to work at 210°C
-
Always monitor your machine.
The temperature should rise gradually, if it jumps around or rises extremely rapidly, unplug and check the wiring.
-
Know your plastic types.
Make sure you know what type of plastic you are using. The machine was designed to work with PET.
-
Bigger is better!
Bigger the bottle, the better. We recommend working with 2L bottles or bigger for best results.