
3D printing vs injection molding
A side-by-side comparison of the two methods on cost, speed, strength, surface finish, and recycled material compatibility, measured on real bead and comb runs at Sustainable Design Studio. Injection molding ran 27 times faster than the Prusa printer on the same parts.

Three ways to make a plastic part
Two pure methods and one hybrid path. Each turns a digital design into a solid plastic object, but the route is different in each case, and so is the cost per part, the time per part, and the kit you need.

3D printing
Builds the part by depositing one thin layer of melted plastic on top of the last, following a digital file. There is no mold and no tooling to commit to. Change the file and the next print changes with it.
Good at one-offs, prototypes, and complex internal geometry that no other process can do. Slow to scale because every part is built from scratch on the same machine that made the last one.

3D-printed molds
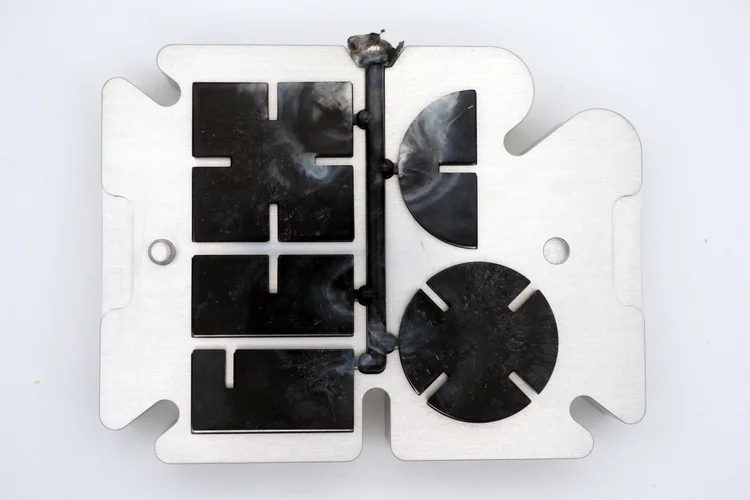
Print the mold itself on an SLA or FDM printer, then load it into the desktop injection machine and shoot recycled plastic into it. The mold is the prototype.
Good for 100 to 500 parts where pure 3D printing is too slow and an aluminium production tool is too much commitment. Cheap to iterate because v2 of the design just means printing v2 of the mold.
Injection molding
Forces molten plastic into a cavity, cools it, ejects the part. Every shot of the machine produces the same part because the mold defines the shape. Most of the cost is in making that mold.
Good at making the same part fast, with a clean finish and high strength. Accepts recycled feedstock at £1 to £2 per kilogram, which is what makes desktop recycling commercially viable in the first place.
Where 3D printing earns its keep.
3D printing builds a part by depositing one layer of melted plastic on top of the last. There is no mold to make first. The strengths and weaknesses both come from that.
Where it wins
- Geometry no other process can touch. Internal lattice, organic curves, mating parts printed in place. Anything the slicer can resolve, the printer can build.
- Low barrier to entry. A consumer FDM printer plus a spool of filament gets you running. No tooling cost, no minimum order, no waiting for a mold.
- Iterate in hours. Change the CAD, slice, print. Two design revisions a day is realistic. Fast enough to test geometry before committing to a mold.
- Runs unattended. Hit print at 6pm, the part is on the bed in the morning. One operator can supervise several printers in parallel.
Where it struggles
- Material is expensive. Virgin filament sits at £12 to £25 per kilogram. Recycled filament costs more again because the conversion process is slow and quality-sensitive.
- Slow at volume. One printer = one part at a time. Add machines to scale, which adds capital cost, floor space, and supervision time.
- Visible layer lines. Surface finish carries the print path unless you sand, vapour-smooth, or paint. Adds labour to every part.
- Strength compromised by layering. Parts are weakest along the layer boundary. Bridging an FDM part across a load axis often needs more material than an injection-molded equivalent.
The middle path, when neither pure approach fits.
Print the mold itself instead of machining it from aluminium. Snap the printed mold into the desktop injection machine and shoot recycled plastic into it. Useful for 100 to 500 parts, where pure 3D printing is too slow and an aluminium production tool is too much commitment.
Where it earns its keep
- From CAD to first part in an afternoon. Print the mold in a few hours on an SLA or FDM printer, then start shooting parts. No machining wait, no tooling vendor.
- Cheap to iterate. v2 of the design just means printing v2 of the mold. No metal to scrap. Useful when the product is still finding its final shape.
- Recycled feedstock still works. Same recycled plastic at the same £1 to £2 per kilogram you would feed an aluminium tool. The economics of the part do not change.
- Bridges 100 to 500 units cleanly. The gap where 3D printing is too slow and an aluminium mold is too much commitment, this is the path through it.
Where it struggles
- Resin molds last around 100 injections. The cavity wears down faster than aluminium because the surface is softer. Plan to print a fresh mold for every run.
- Cycle times are longer. Plastic molds dump heat poorly compared to metal, so each part takes longer to cool before ejection.
- Surface needs more post-processing. The softer cavity transfers print layer lines or resin texture onto the part. Sanding or vapour smoothing is usually required.
- You need a printer too. Adds an SLA or FDM printer to the kit list on top of the injection machine. Only worth it if you have access to one already.
Where injection molding earns its keep.
Injection molding forces molten plastic into a cavity, cools it, ejects the part. The shape is locked in the tool. Once you have paid for the tool, every shot produces the same part for a few pence of recycled plastic.
Where it wins
- Recycled plastic costs £1 to £2 per kilogram. Less again if you shred your own waste stream locally. This is the lever that makes the whole desktop-recycling business case work.
- Fast at scale. Once the machine is hot and the operator is settled, a multi-cavity mold fills, cools, and ejects in seconds. Hundreds of parts per hour is normal.
- Strong, finished parts. One solid shot of melt, no layer lines, no internal voids. Surface comes off the tool ready to ship.
- Identical parts every time. The mold defines the shape, so every part is the same within tight tolerances. Useful when you need product-level consistency.
Where it struggles
- You pay for the mold upfront. Aluminium production molds run from a few hundred to several thousand pounds. Worth it from a few hundred parts onwards, harder to justify below that.
- Geometry has rules. Draft angles, wall thickness, gate placement, ejection direction. Get them wrong and you get warp, sink, or a part that refuses to come out of the tool.
- Slow first part. From CAD to first shot you are waiting on the mold to be machined. That can be a few days for a Sustainable Design Studio Premium Mold, longer for a custom tool.
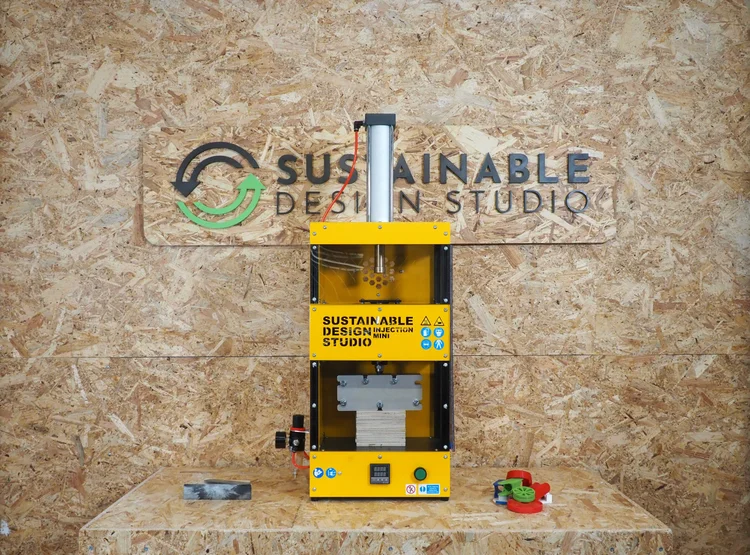
- Smaller parts only at desktop scale. Desktop machines have a fixed shot size. The Sustainable Design Studio Injection Mini V2 shoots up to 71 grams. Bigger products need bigger kit.
We ran the same two products both ways. Here are the numbers.
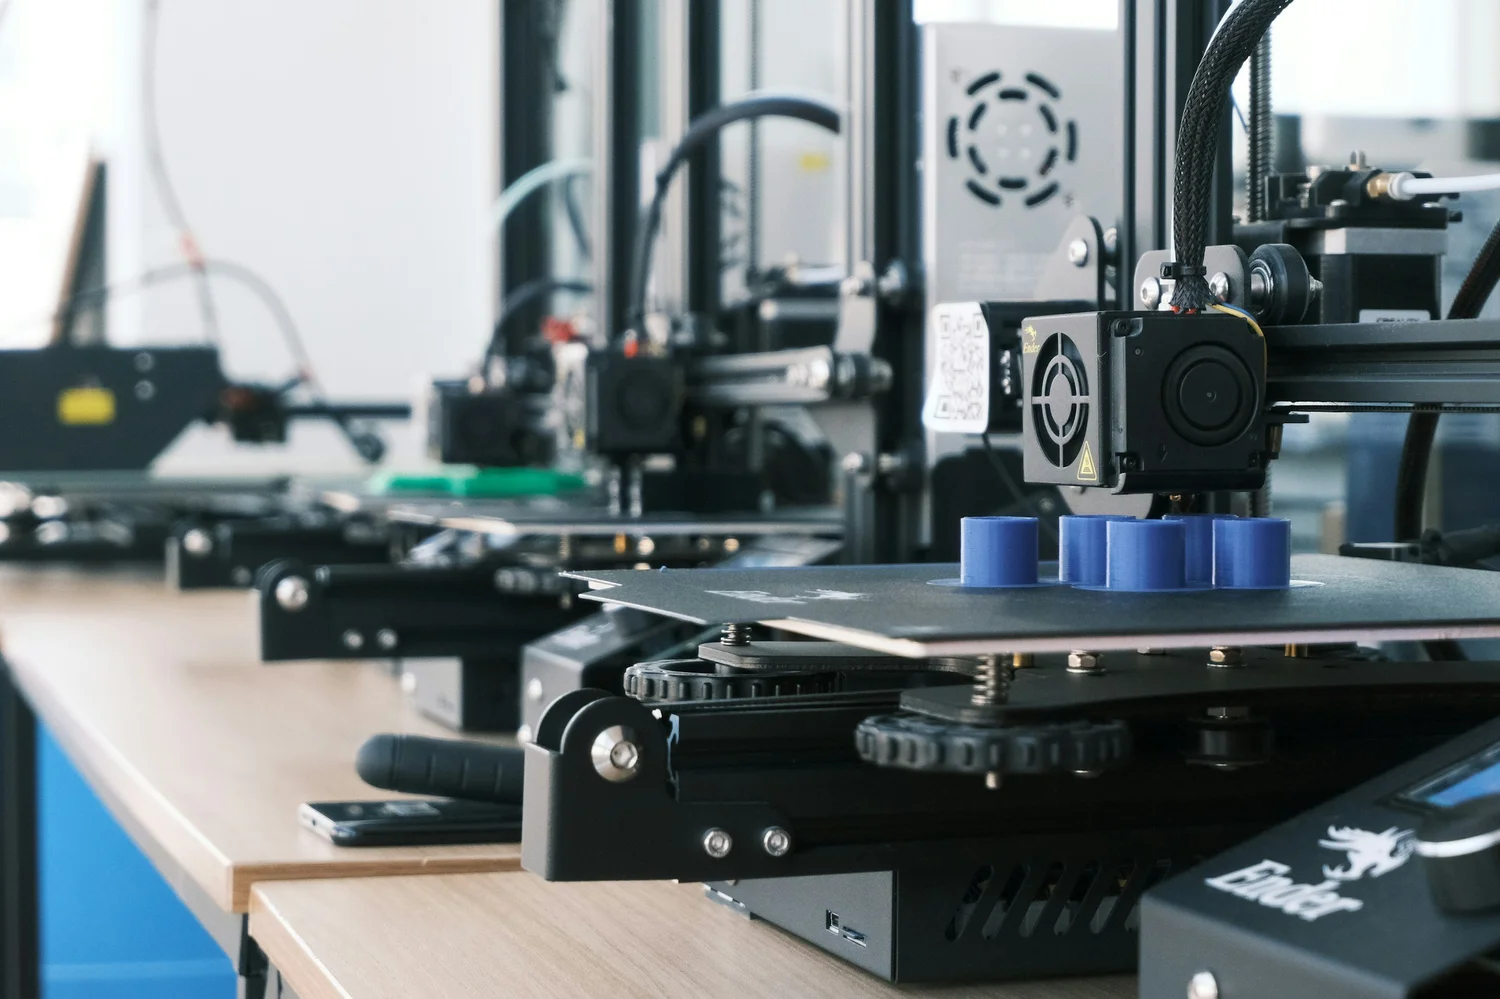
Beads and combs are easy parts to print and easy parts to mold, and both fit on either machine. We loaded the Prusa with filament, set the Injection Mini up with recycled plastic, and started both at the same time.
27× faster
Injection molding versus 3D printing, averaged across the two test products on our bench.
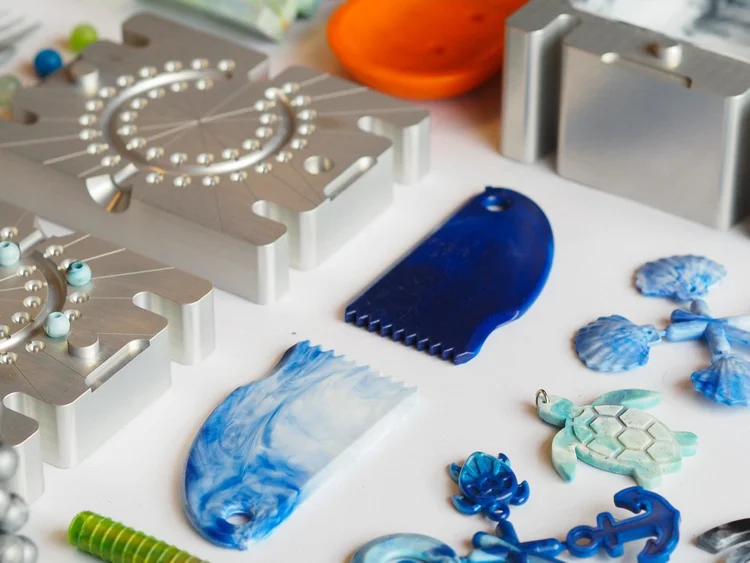
12 beads vs 300 beads in 1 hour
We picked beads because they are small, simple, and a real product line in the recycled-plastic world. Both machines started at the same moment. The Prusa got a 12-bead batch at 15% infill. The Injection Mini ran a multi-cavity bead mold on recycled PP. After one hour the Prusa had 12 beads, the Injection Mini had 300. A 25x gap on the simplest possible product.
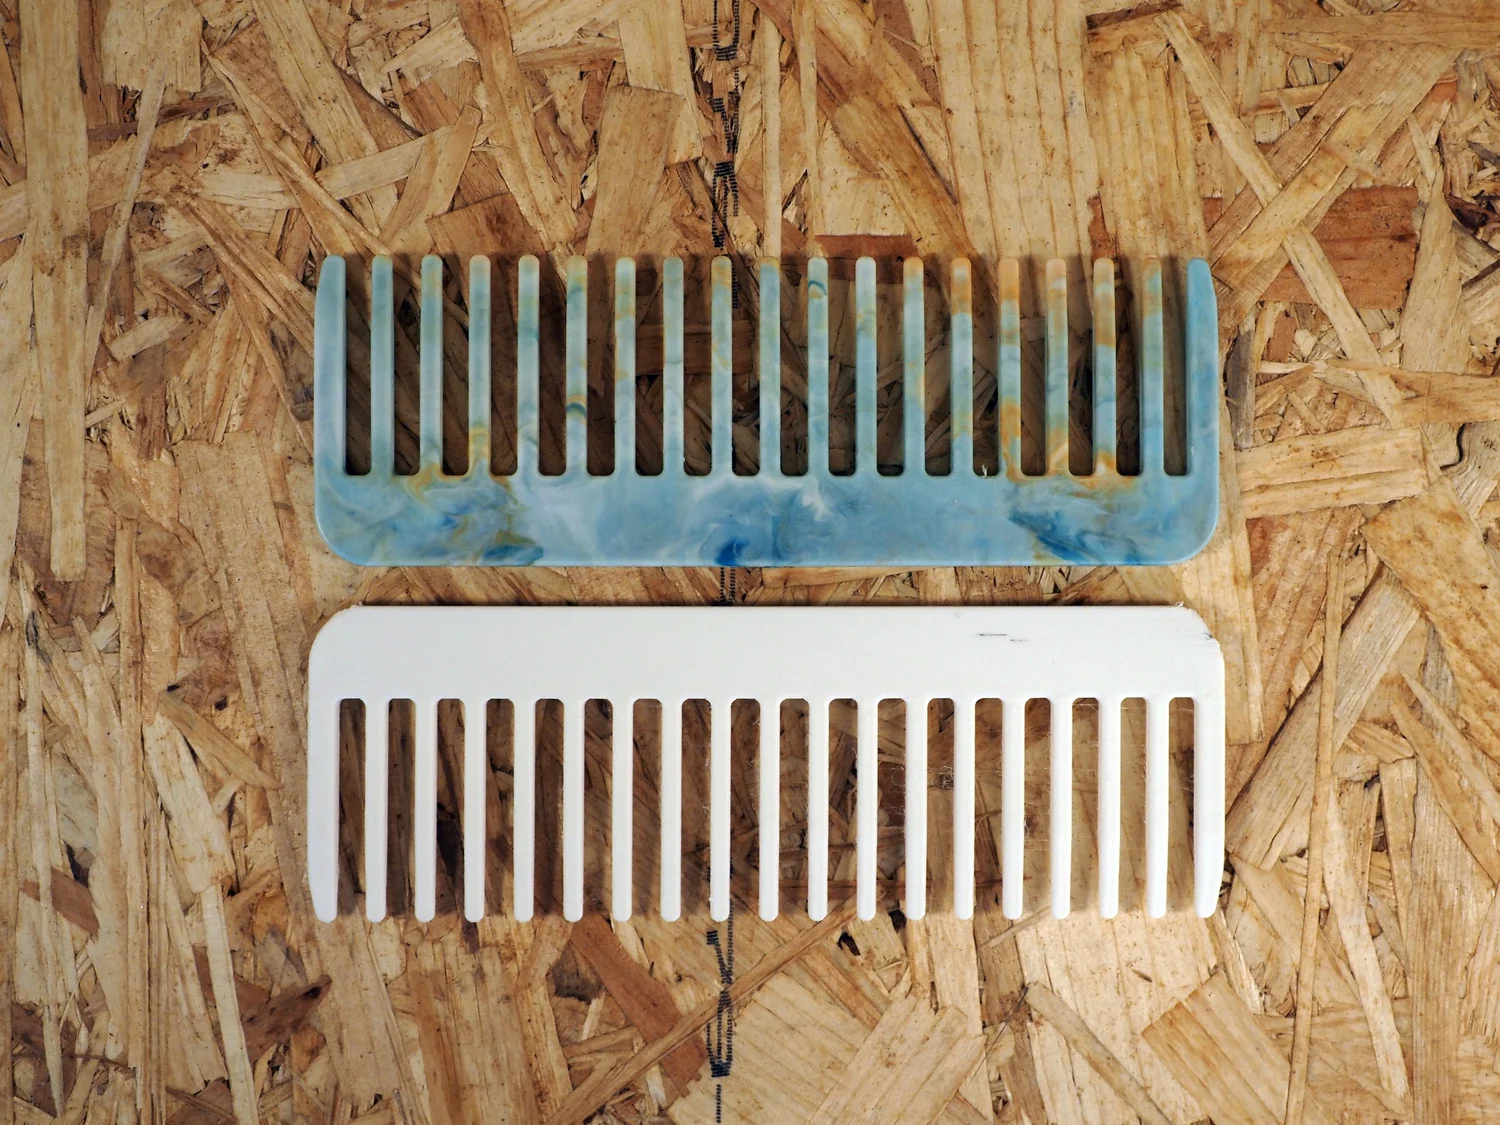
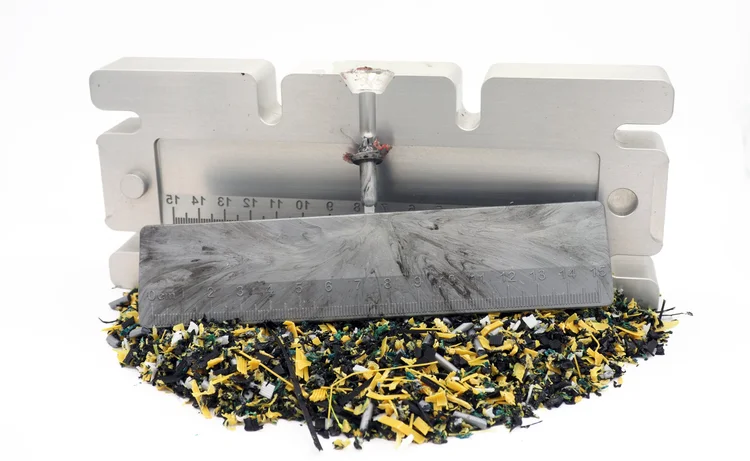
1 comb vs 42 combs in 3.25 hours
To match the injection-molded comb's strength we set the print to 100% infill and 1.5mm layer height. That single comb took 3 hours 15 minutes. In the same window the Injection Mini produced 42. Dropping the print infill to 30% halved the print time but compromised the comb's strength, and the machine still produced 28 in the same period.
To match this output with 3D printers you would need 35 of them.
Match the method to the job.
Tick the boxes that describe your project. The card with the most ticks is usually the right call. Three columns because there are three real options, and the middle one is where most small workshops actually live.
If you need customisation or just a handful of parts.
- You need a personalised or intricate design.
- You want to iterate the geometry between every part.
- Your production run is fewer than 100 units.
- Upfront tooling cost is a blocker, you cannot front a mold.
- You want to experiment with different materials or specialty filaments.
- You need to modify the design mid-batch.
- You are making one-offs, replacement parts, or short runs.
If you need 100 to 500 parts without committing to aluminium tooling.
- Your run is more than a handful but under a few thousand.
- You want to validate the product before committing to a metal mold.
- You already have an SLA or FDM printer alongside the injection machine.
- You want to test multiple mold revisions before locking the design.
- The part fits within the resolution and durability limits of a printed mold.
- You want recycled feedstock economics without the tooling lead time.
If you need volume, strength, or cheap recycled feedstock.
- You plan to produce more than 500 units of the same part.
- Per-unit cost matters more than upfront cost.
- You want to use recycled plastic at £1 to £2 per kilogram.
- The product needs to be strong and durable in use.
- You want a finished surface straight off the machine.
- Parts must match each other within tight tolerances.
- You need throughput, dozens of parts an hour rather than per day.
- You want to keep material waste low by reusing your own offcuts.
Resources that pair with this guide
Three picks from the Sustainable Design Studio resources library. How to use the molds in practice, how to inject PLA from 3D printing waste, and how to design products that actually work on this kit.
 Guide
Guide
Mold use
How to use the molds in practice, plus the common problems and how to fix them.
 Guide
Guide
How to inject PLA
Turn 3D printing waste into injection-molded products on the Injection Mini V2.
 Guide
Guide
Good product design
What makes a recycled product viable on this kit, and the design choices to avoid.
Still not sure which fits your project?
Send us a sketch, a target unit count, and a budget. We have shaped dozens of recycled product runs and can tell you in one reply whether you should print, mold, or do a bit of both.