
How to make recycled plastic sunglasses, V2 build
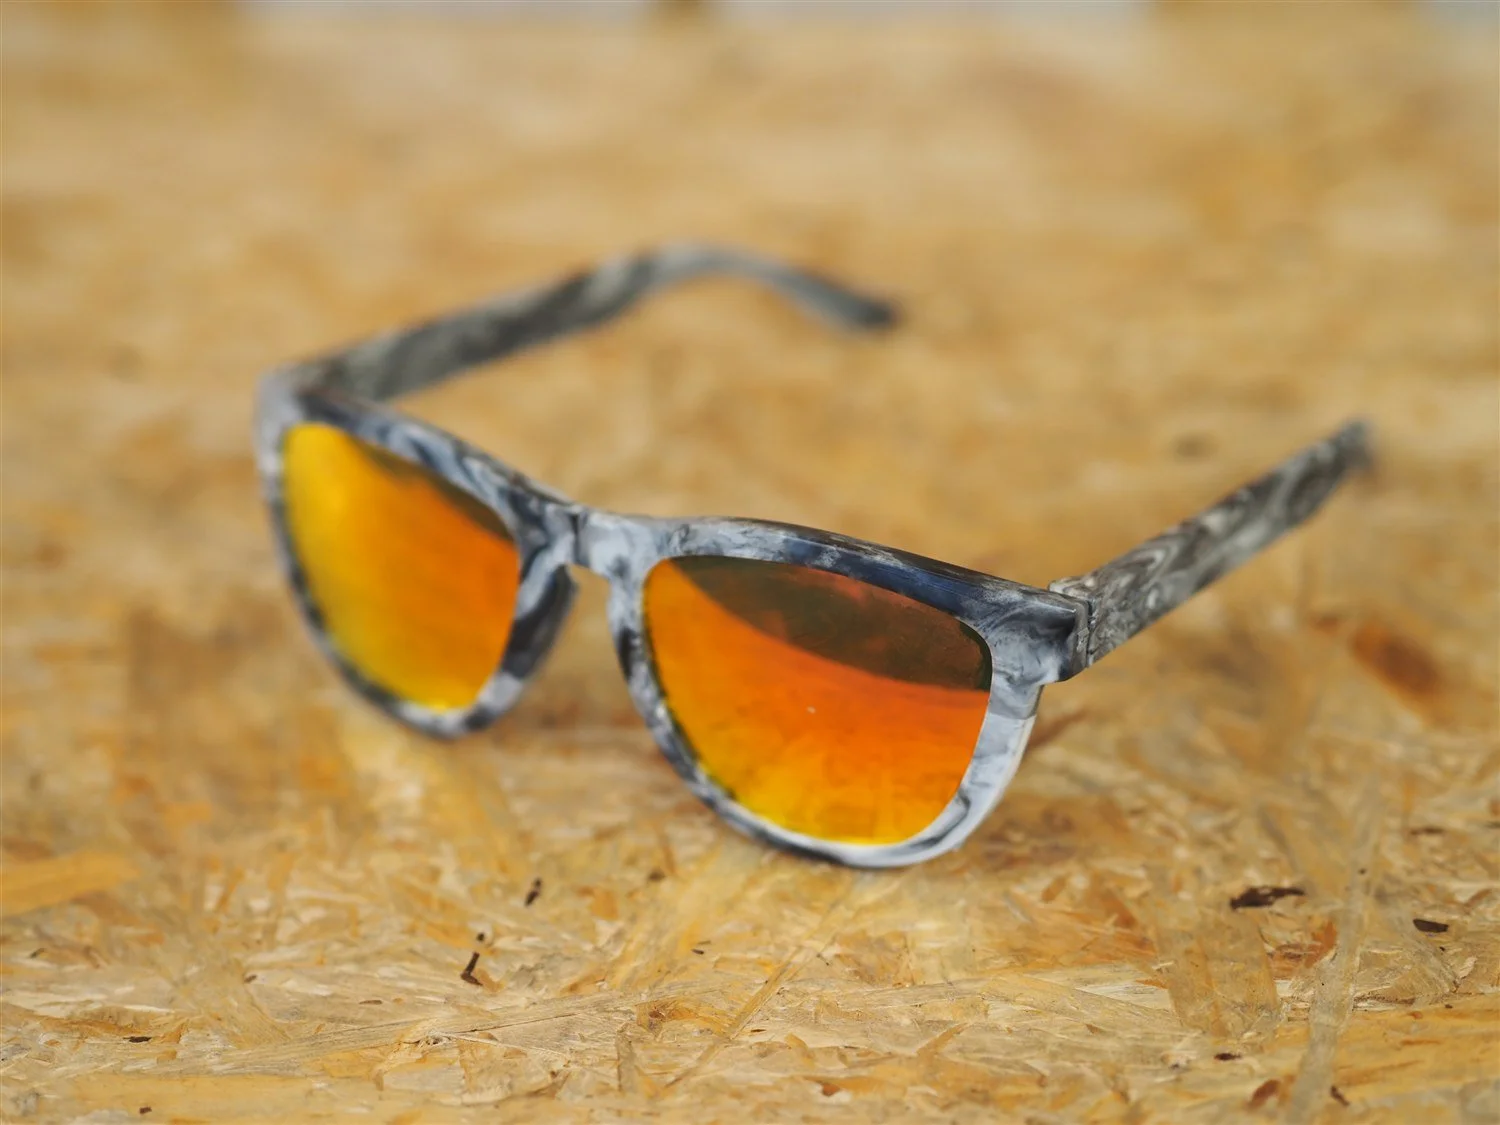
A second-generation pair, with the lens slots formed in-mould.
The V2 build guide for the Sustainable Design Studio sunglasses mould contains 22 steps utilising the two moulds for the frame and the arms. Covering the full step-by-step process to create a wearable pair of recycled polypropylene sunglasses that utilise Oakley Holbrook, Frogskin, or Sutro replacement lenses.
V2 differs from the original guide in two ways. The lens slots are formed in the mould by removable inserts, so there is no Dremel routing step. The frame and the arm moulds both have two locating pins that form the arm screw holes. Making this one of the fastest moulds to create sunglasses yet.
What you need
Pick your model first. Holbrook, Frogskin and Sutro differ in frame shape, arm shape and lens, so each one has its own matched pair of moulds and you buy the set for the silhouette you want. Everything below is per pair once that choice is made.
Sustainable Design Studio equipment
- Arbour Injection Machine V2 or Injection Mini V2. Either machine runs this build.
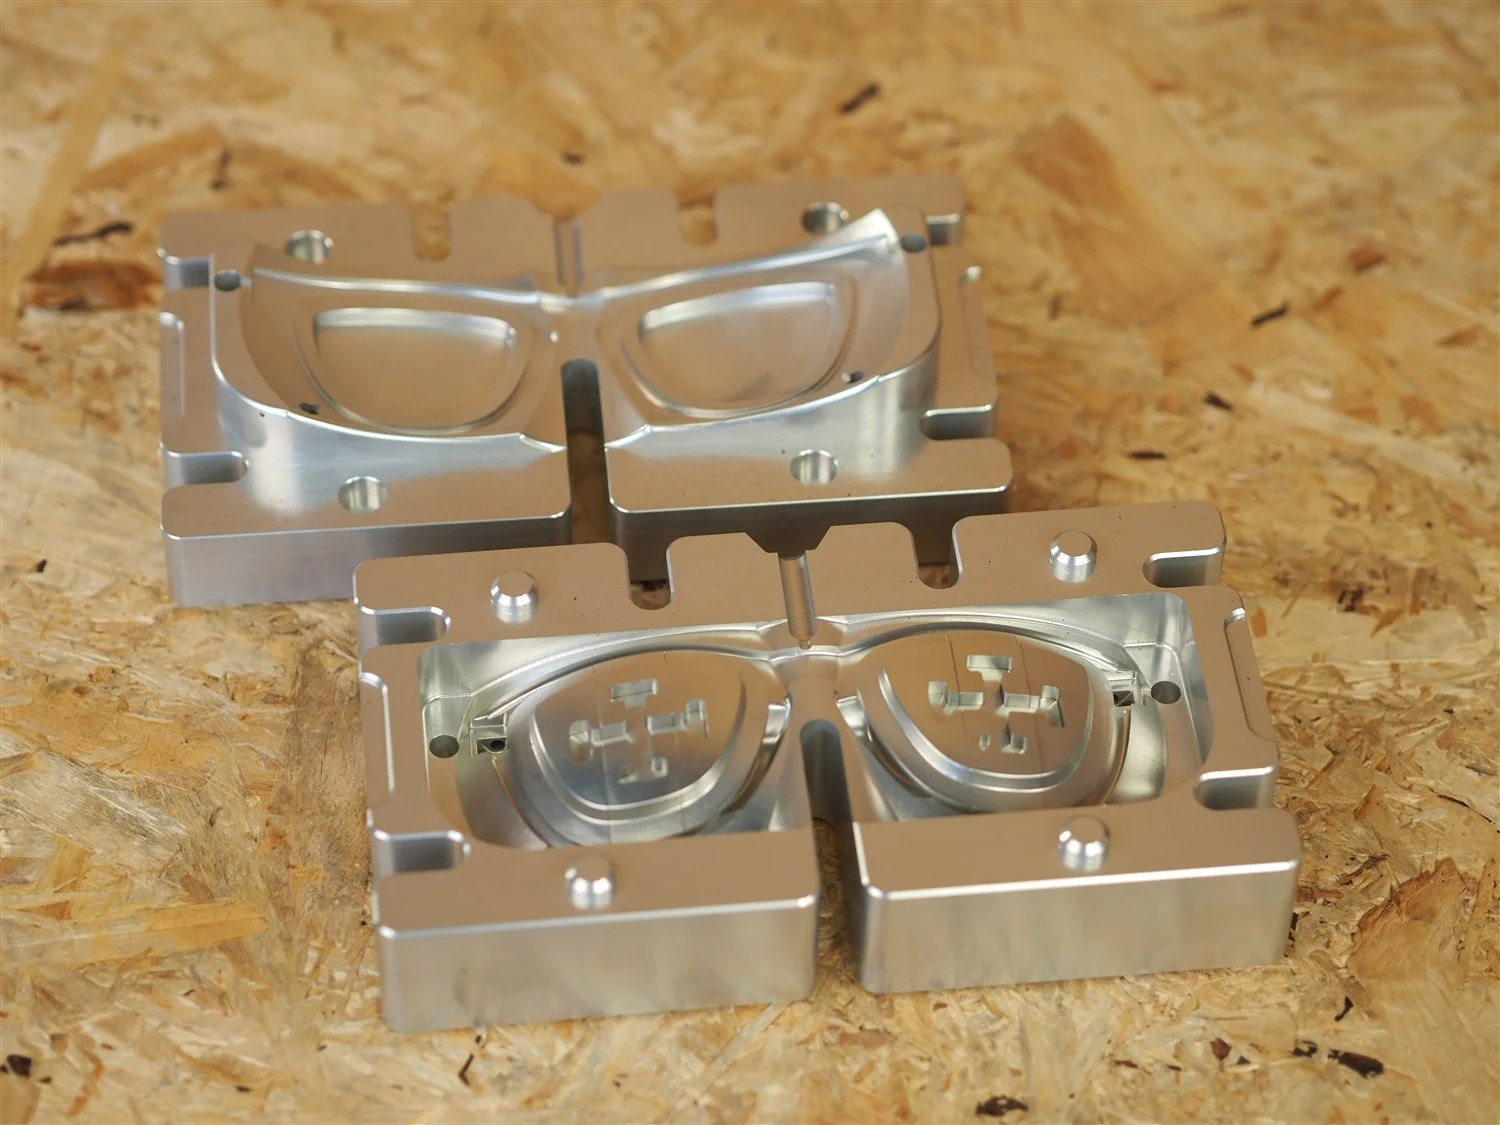
- Sunglasses Mould V2 frame mould and arm mould, in your chosen model, from the online store
- Mould release spray
- Two hinge screws, M1.6 to M2 x 10mm countersunk, one per temple. Pick the size to suit your plastic, see below
- Basic workshop tools, see Basic Workshop Tools
- PPE: heat resistant gloves, safety glasses, see Basic PPE
Recycled plastic
Approximately 25 grams of injection-grade recycled polypropylene (PP) per pair. Good clean sources include:
- Fishing nets
- DVD cases
- Food containers, cleaned and label-free
- Bottle caps, PP only (check the recycling symbol)
The plastic must be clean, dry, and free of contamination. If you are unsure how to identify PP, see the Plastic Identification guide.
Choose your model
Three models, each a different Oakley-style silhouette. The difference is not only the lens: the frame profile and the arm shape change too, so each model has its own frame mold and its own arms mold. Choose before you order. All three lenses are 1mm thick, off-the-shelf replacements available from any specialist eyewear-parts supplier.
| Model | Frame shape | Arm shape | Replacement lens code | Mould set |
|---|---|---|---|---|
| Holbrook | Classic square, flat profile | Straight, squared temple | OO9102 (57mm) | Frame mould + arms mould |
| Frogskin | Round, retro | Slimmer, tapered temple | OO9013 | Frame mould + arms mould |
| Sutro | Wrap-around sport, single lens | Wider, curved temple | OO9406 (37mm) | Frame mould + arms mould |
Hinge screws
One per temple, securing the moulded arm to the frame through the hole the locating pins formed. Same hardware across all three models. The size is a choice, not a fixed spec. M2 is the larger of the two and the one to use on clean, strong plastic. On weaker or poorer quality plastic an M2 can split the hinge element, so drop to M1.6. The trade is that an M1.6 can leave the arms feeling a little looser in the hinge. Judge it on the plastic you are actually moulding with.
| Component | Specification | Notes |
|---|---|---|
| Hinge screws, good plastic | M2 x 10mm countersunk (x2) | One per temple, countersunk, Phillips drive. Hex is available if you prefer. Holds the arms firmest of the two. |
| Hinge screws, weaker plastic | M1.6 x 10mm countersunk (x2) | The safer choice when the plastic is weaker or of poorer quality, where an M2 can split the hinge element. Expect the arms to feel a little looser than they would on an M2. |
Assembly tools
- Small Phillips screwdriver for the M1.6 or M2 hinge screws. Ours are Phillips, and hex versions are available if you prefer
- Two 13mm spanners for the M8 mould bolts and nuts
- Soft, flat work surface (a folded microfibre cloth works)
- Flat-tip or needle-nose pliers, for easing the moulding out of the mould
- Hex or Allen key, for removing the pin inserts
- Plastic model snips, for cutting the sprues and gates
- Lint-free cloth (for cleaning the inside of the frame and the lenses)
- Fine craft knife or scalpel (for trimming any flash from the mold seam)
Step by step build process
Twenty-two steps in three parts. The frame and the arms are separate mouldings, each with its own mould, and each mould follows the same cycle: assemble it, inject, then take it apart to get the part out. The last two steps put the pair together.
Mould the frame
Assemble the frame mould, inject, then take it apart again and finish the frame. Steps 1 to 3 build the mold up, step 4 injects, steps 5 to 8 are the demolding sequence, and steps 10 to 12 fit the lenses and tidy the part while it is still warm.
-
 Step 1
Prepare the frame mould
Clean both halves of the frame mould. Apply a light coat of mould release spray to every cavity surface, including the faces the lens-area inserts sit against.
Heat the mould to 60°C using an oven, heat gun, or a mould heater if your setup includes one. A warm mold helps the recycled PP flow into the thin frame sections without short shots or cold lap lines.
-
 Step 2
Seat the lens inserts and fit the two locating pins
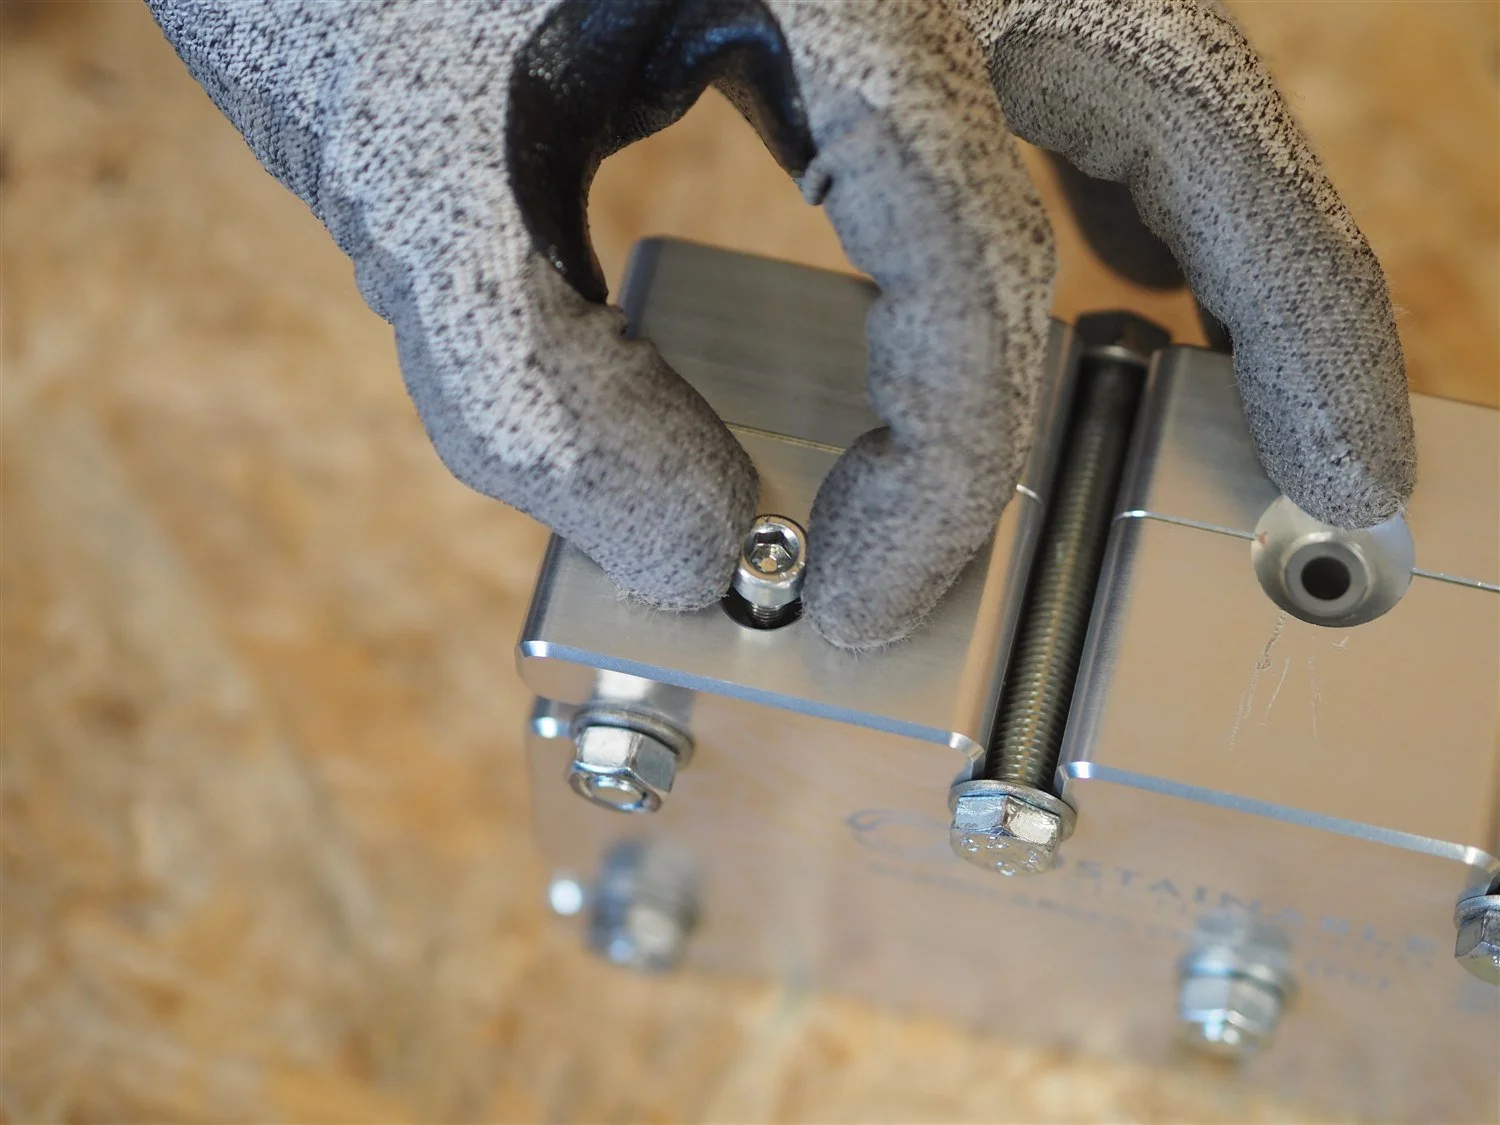
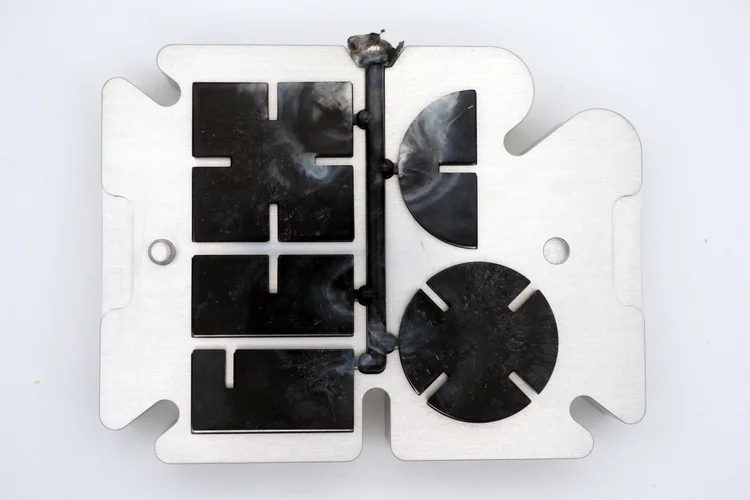
Every cycle starts here. Place the four lens-area inserts into each lens opening, eight in total. These form the lens slots in the mold, which is why the V2 build has no Dremel routing step.
Then fit the frame mold's two locating pins. The pins form the holes that the arm screws pass through at the end of the build. Miss them and the frame comes out with nowhere to attach the arms.
-
 Step 3
Close the mould and tighten the main locking bolts
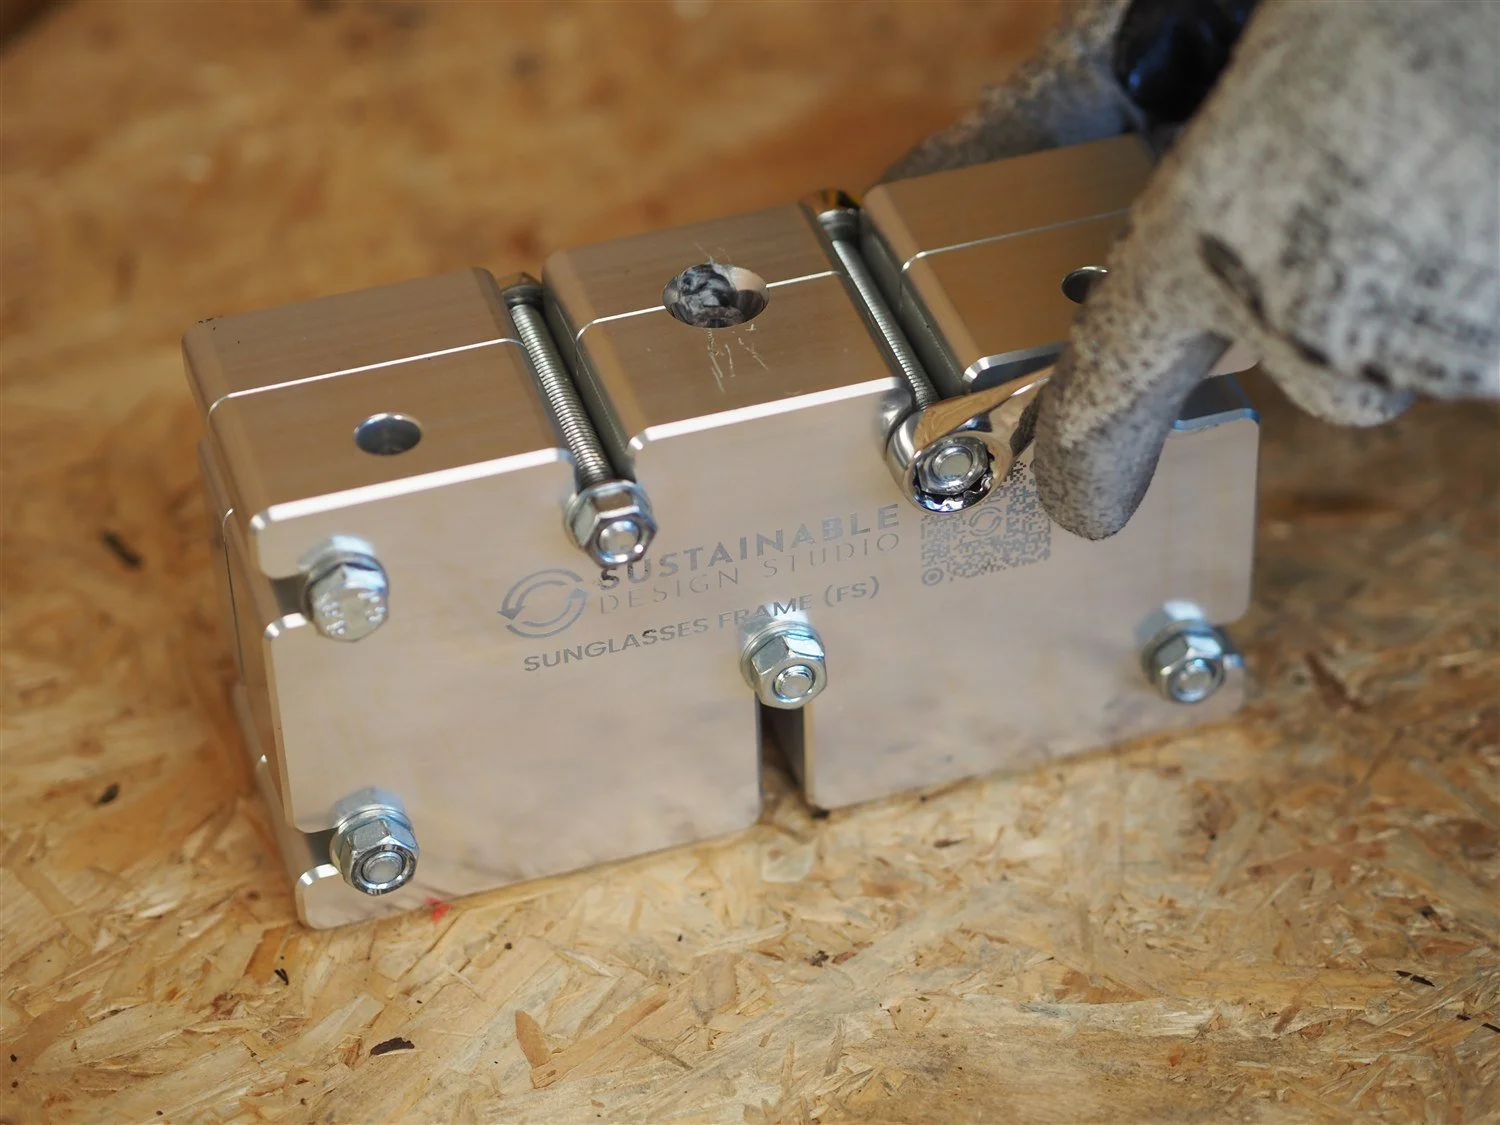
Bring the two halves together and fit the M8 x 80mm main locking bolts and nuts. Ideally, tighten them in a cross pattern. Tighten each one firmly but not to your maximum, because the injection pressure makes them harder to undo later.
Uneven tightening flashes the parting line and leaves a visible witness around the finished frame.
-
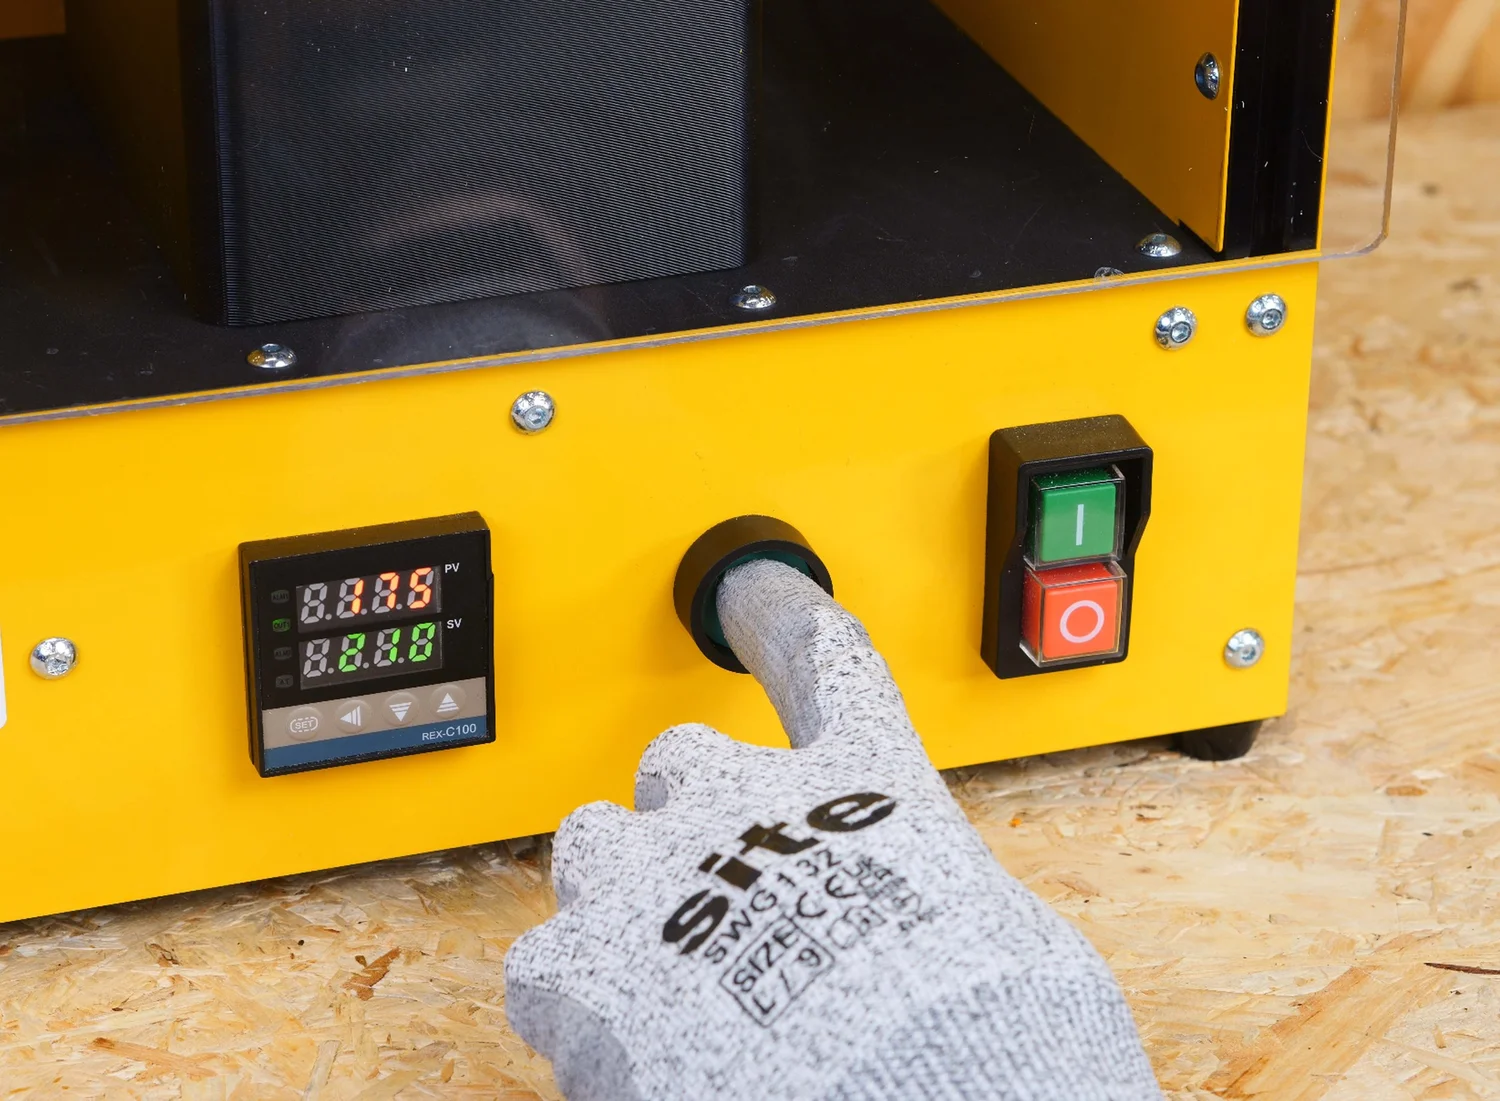 Step 4
Inject the frame
Set your machine to 220°C, whether that is the Arbour Injection Machine V2 or the Injection Mini V2. Fully load the barrel with recycled PP and wait for it to melt. Then inject the full shot into the mold.
-
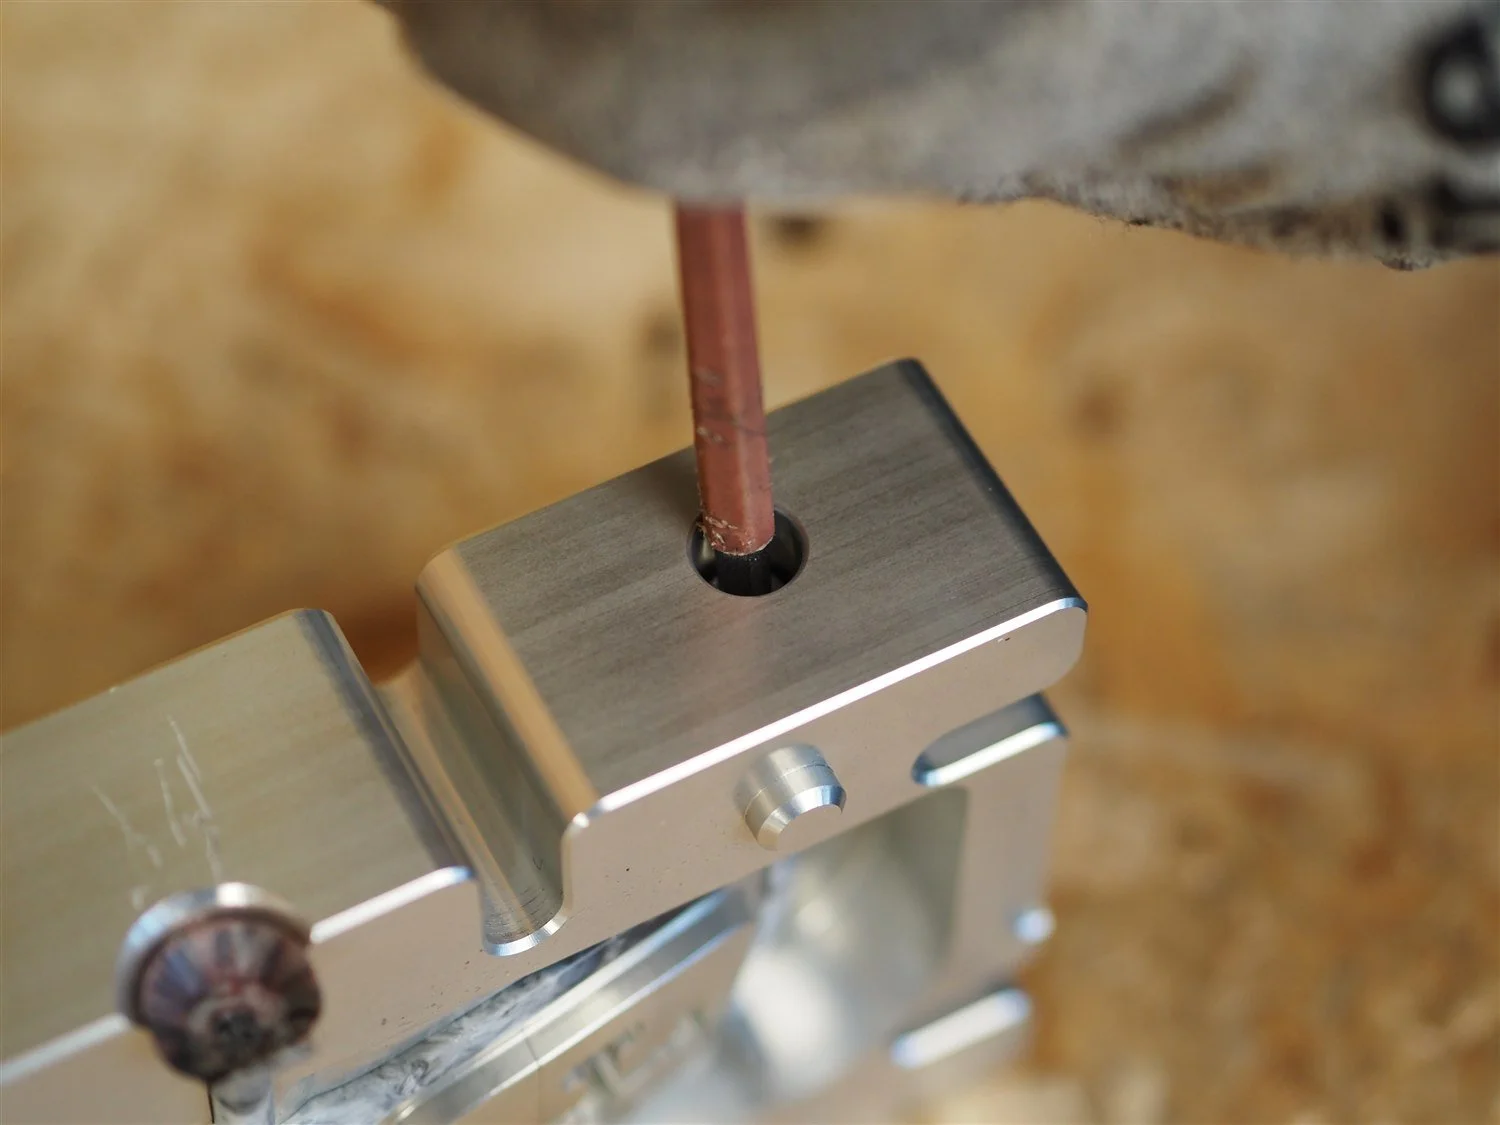 Step 5
Remove the two locating pins
With the mould still bolted shut, draw both locating pins straight out. They pass through the moulded frame and form the holes the arm screws go into later. Place these in a safe location so that they are not damaged or lost.
-
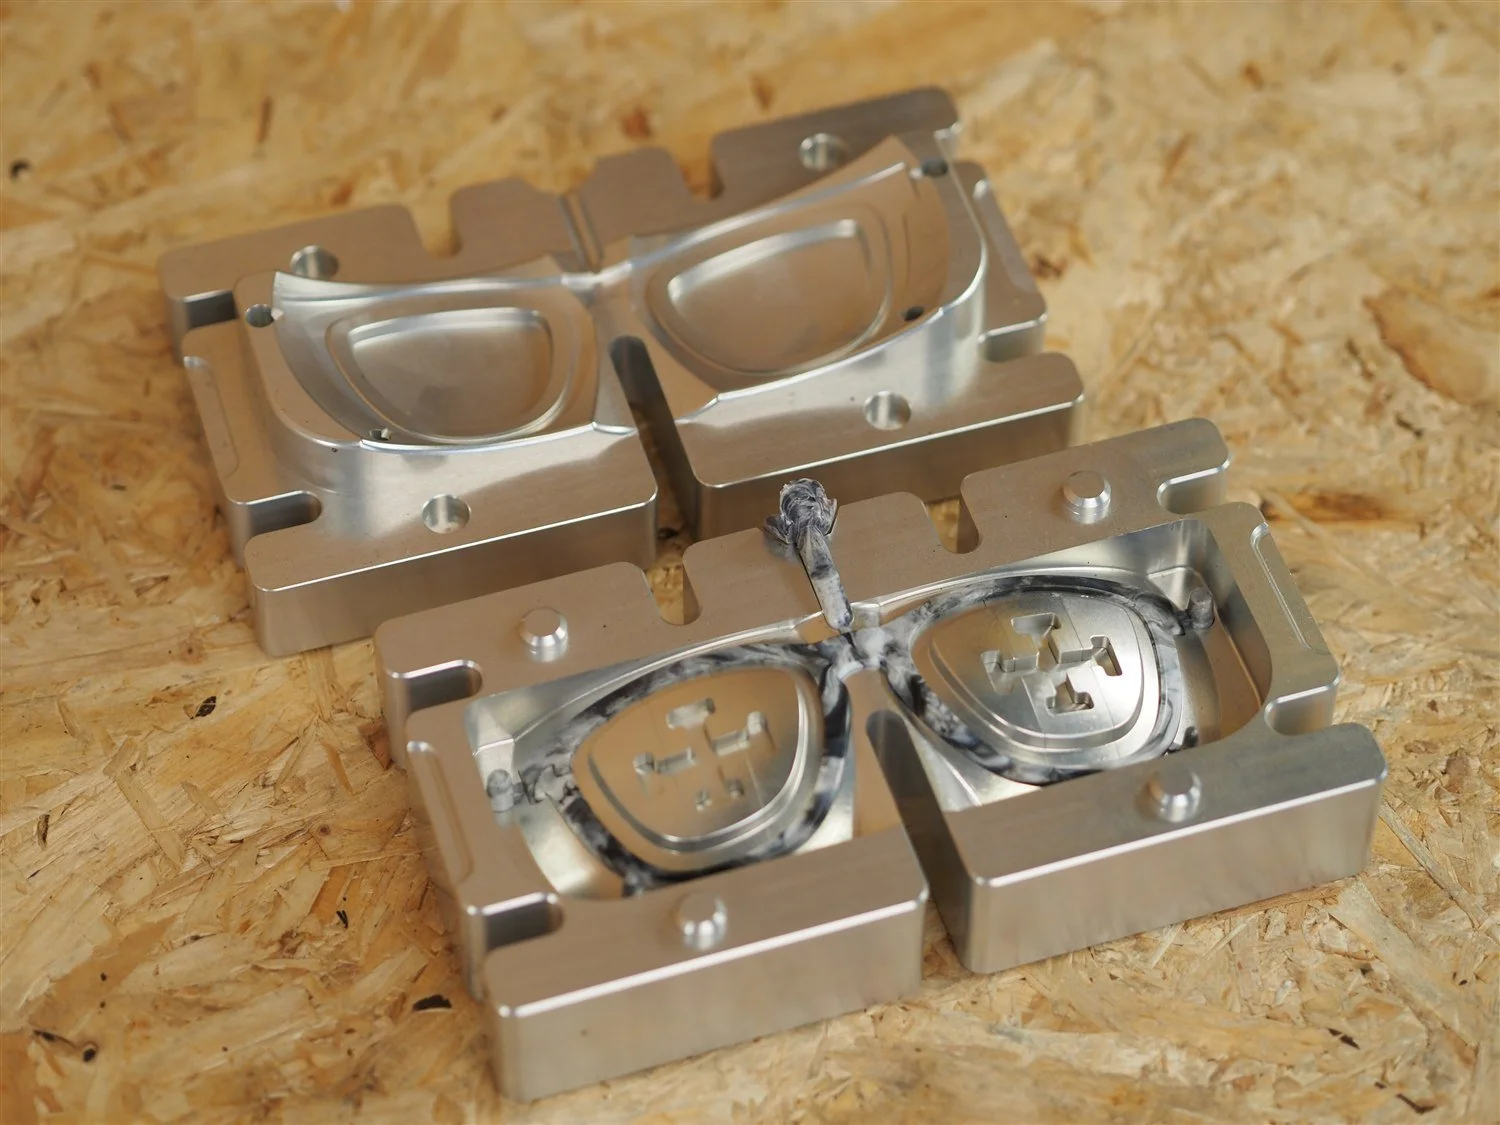 Step 6
Undo the locking bolts and open the mould
Undo the main locking bolts and nuts and lift the top half away in a clean parallel motion. The moulded frame stays in the lower half with all eight lens-area inserts still in it.
Do not lift the frame out by hand. It comes out on the four pulling pins, which is the next step.
-
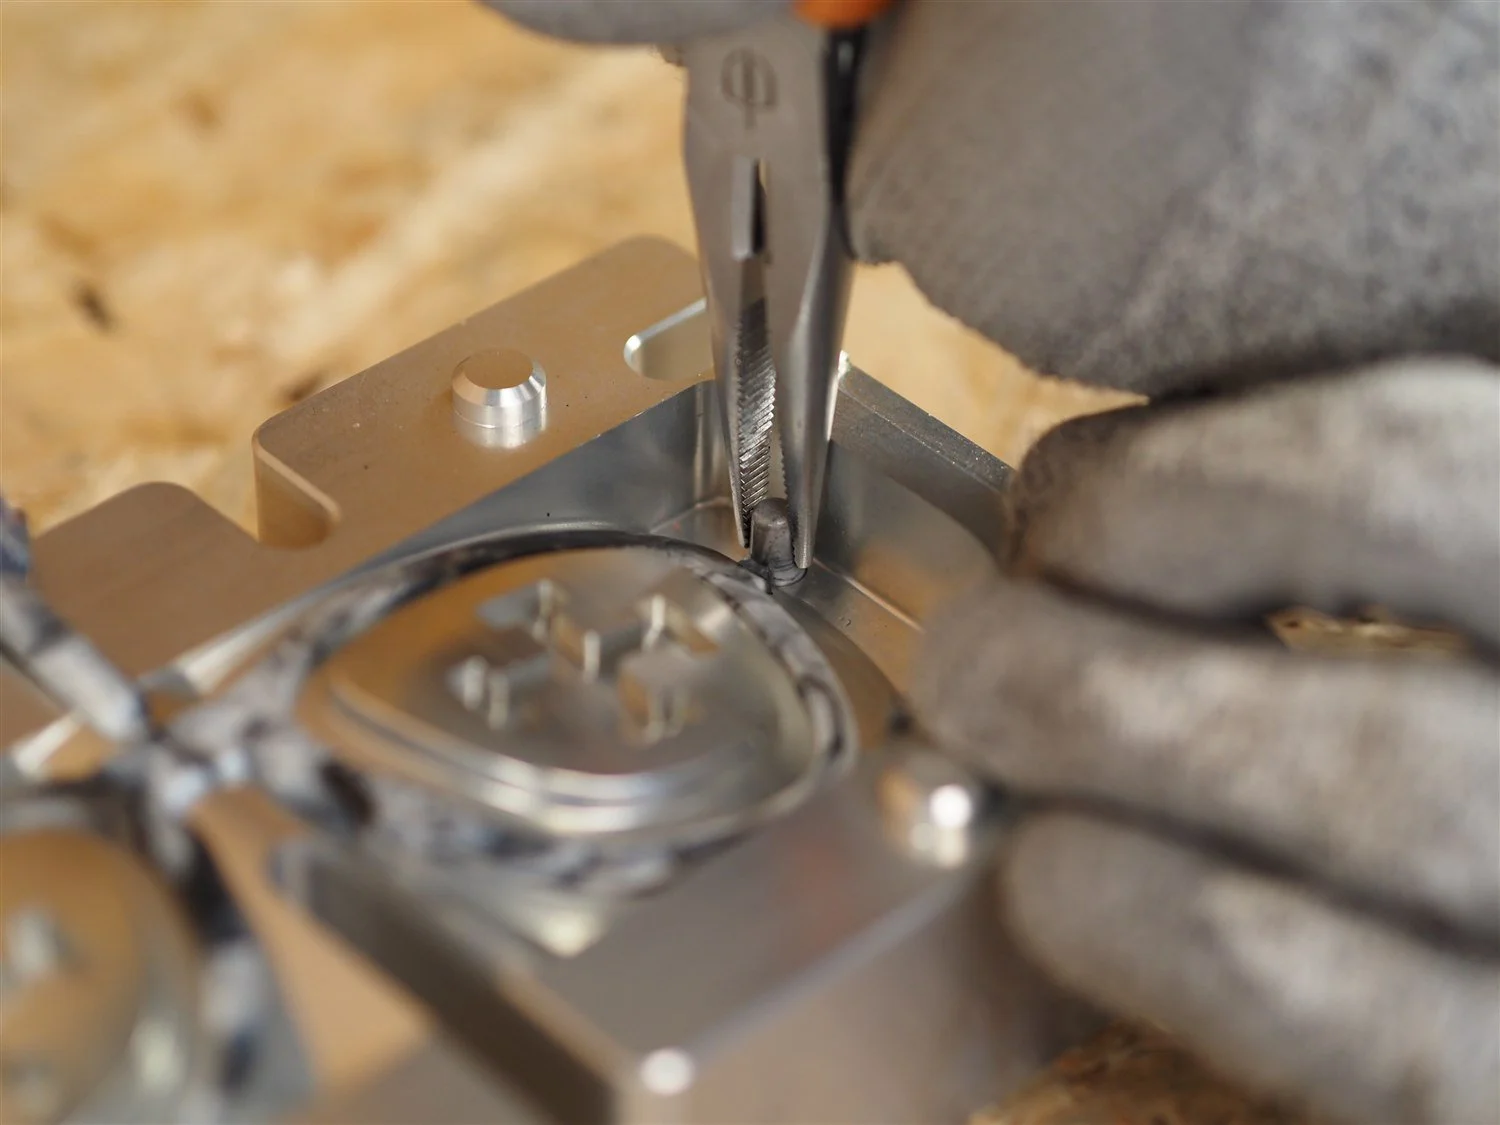 Step 7
Pull the frame out on the four pulling pins
The frame has four pulling pins moulded onto it. Grip each one with pliers and lift the frame evenly out of the cavity. They are there so you never pull on the frame itself, which is what marks or distorts a part.
Only do this once the locating pins are out. With a pin still in, the frame is locked into the mould and pulling on it will damage the frame.
-
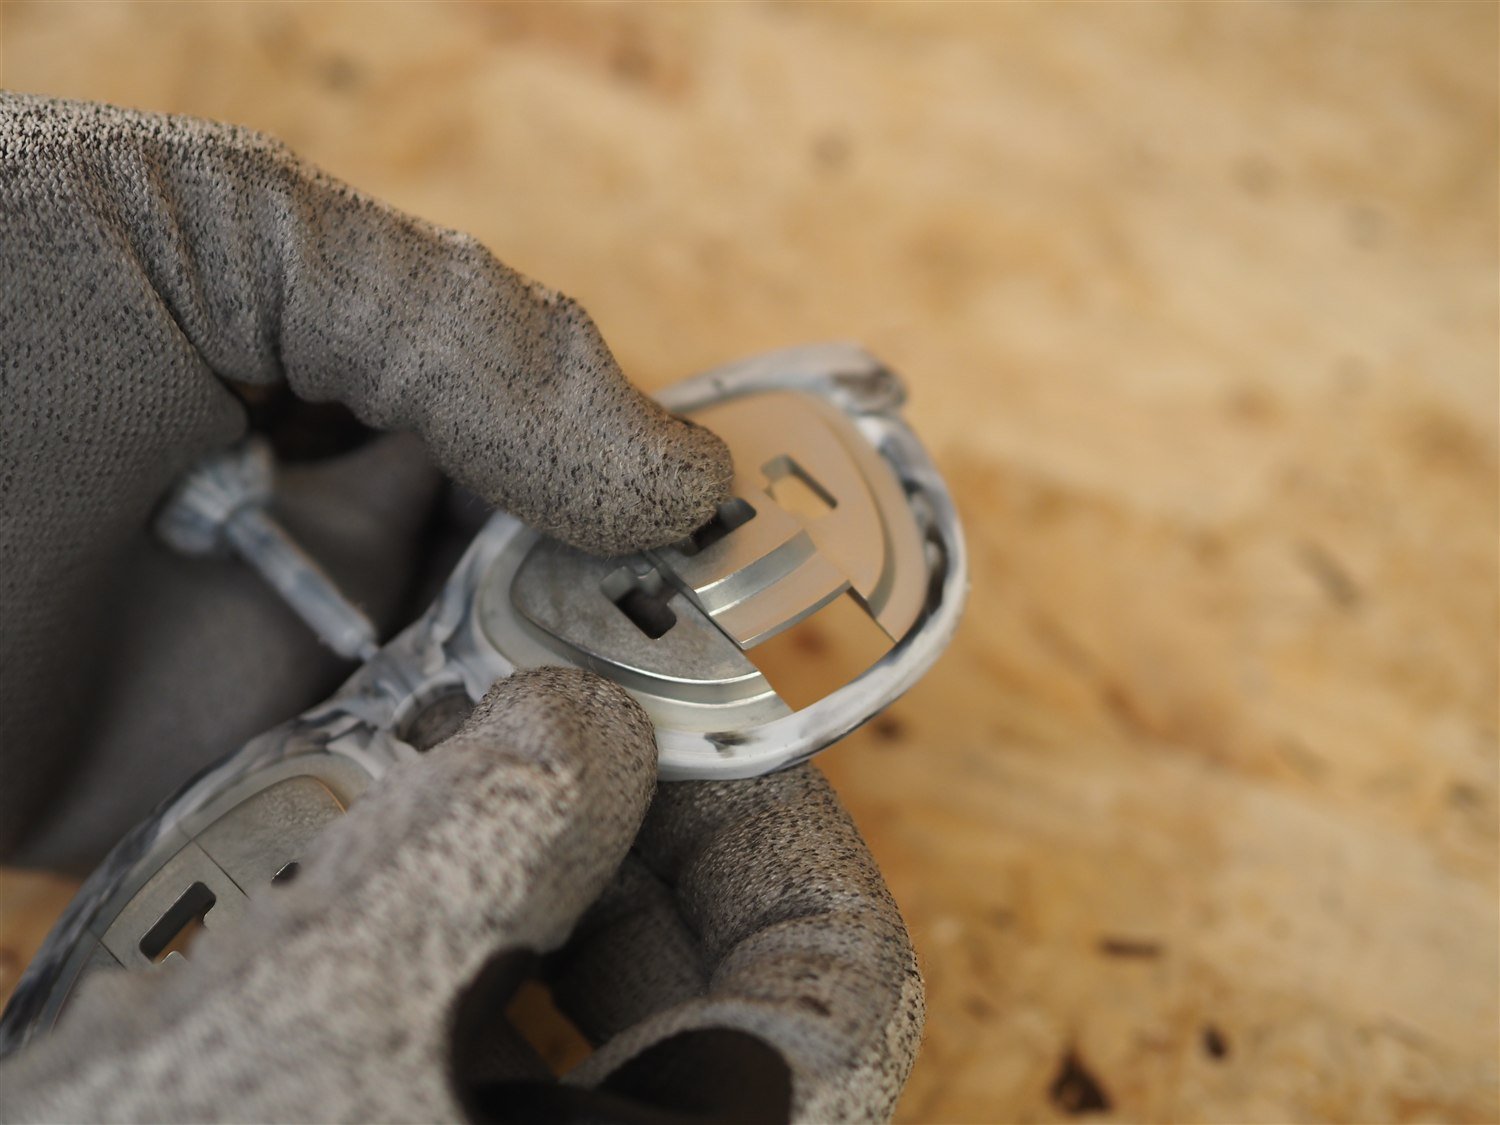 Step 8
Remove the North and South lens inserts
The order matters. Take the North insert out first, then the South. Lift each one down and out, wiggling slightly, using your hands to remove. Don't use metal objects such as pliers to remove these as they can damage the aluminium inserts.
-
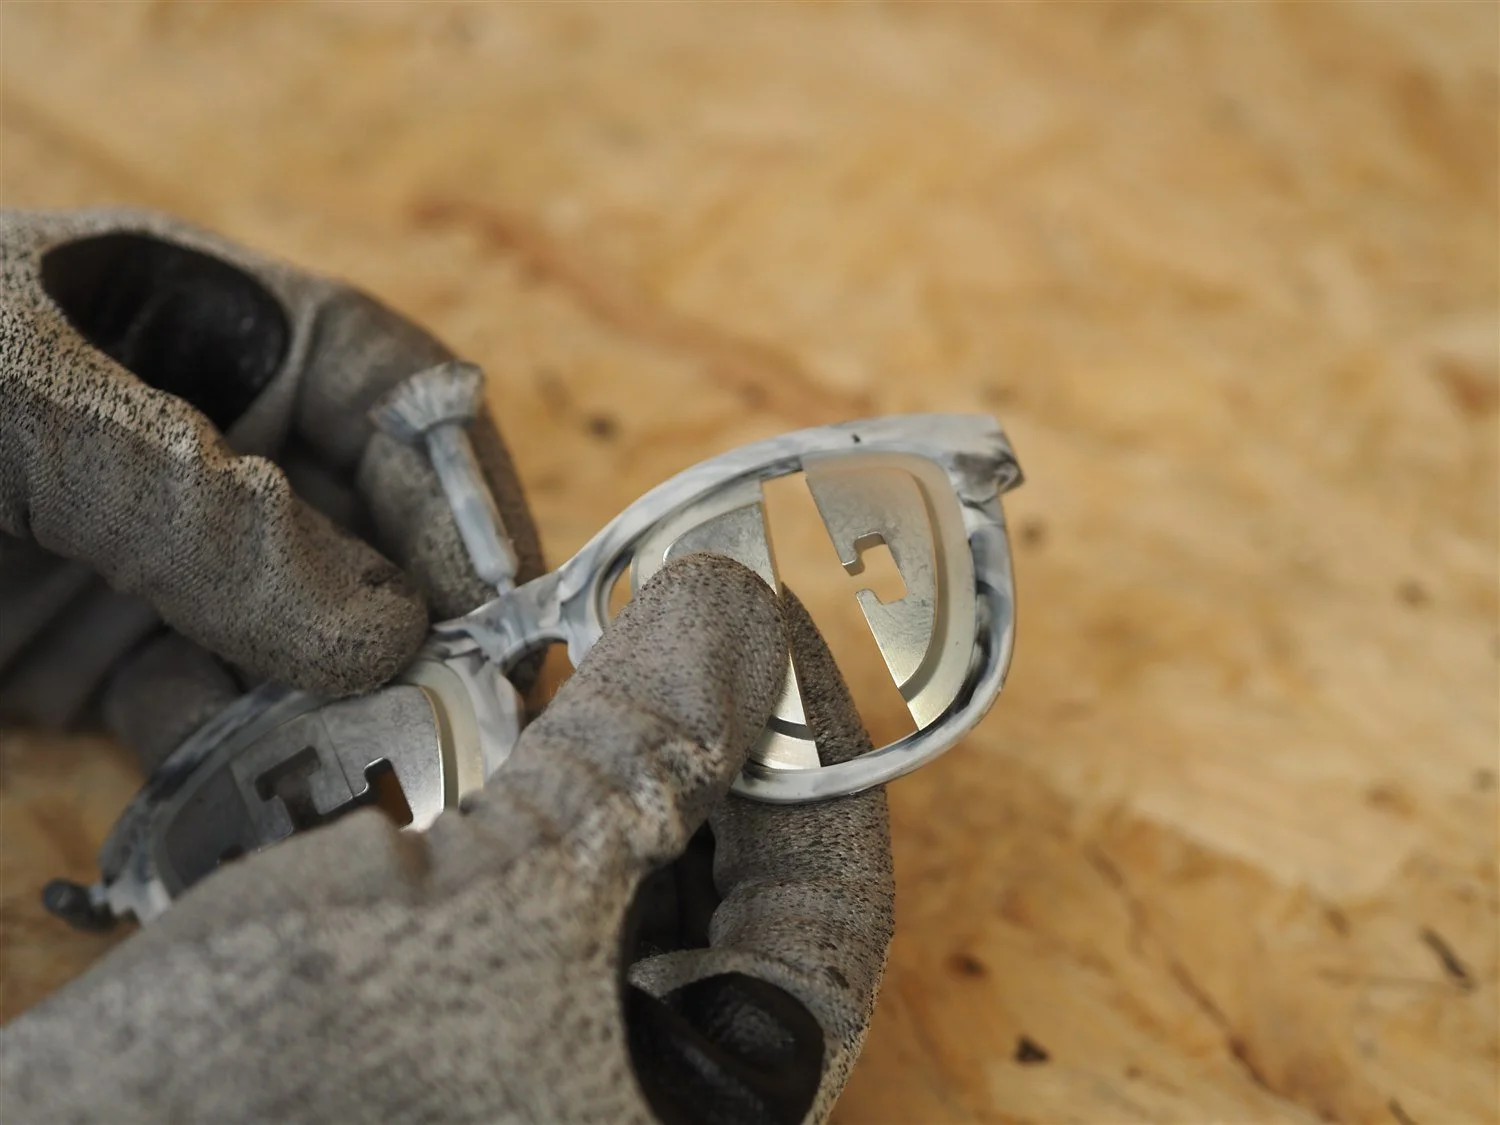 Step 9
Remove the East and West lens inserts
With North and South clear, the East and West inserts slide out of the lens opening. Work them out squarely rather than twisting.
Now repeat steps 8 and 9 again for the second lens opening.
-
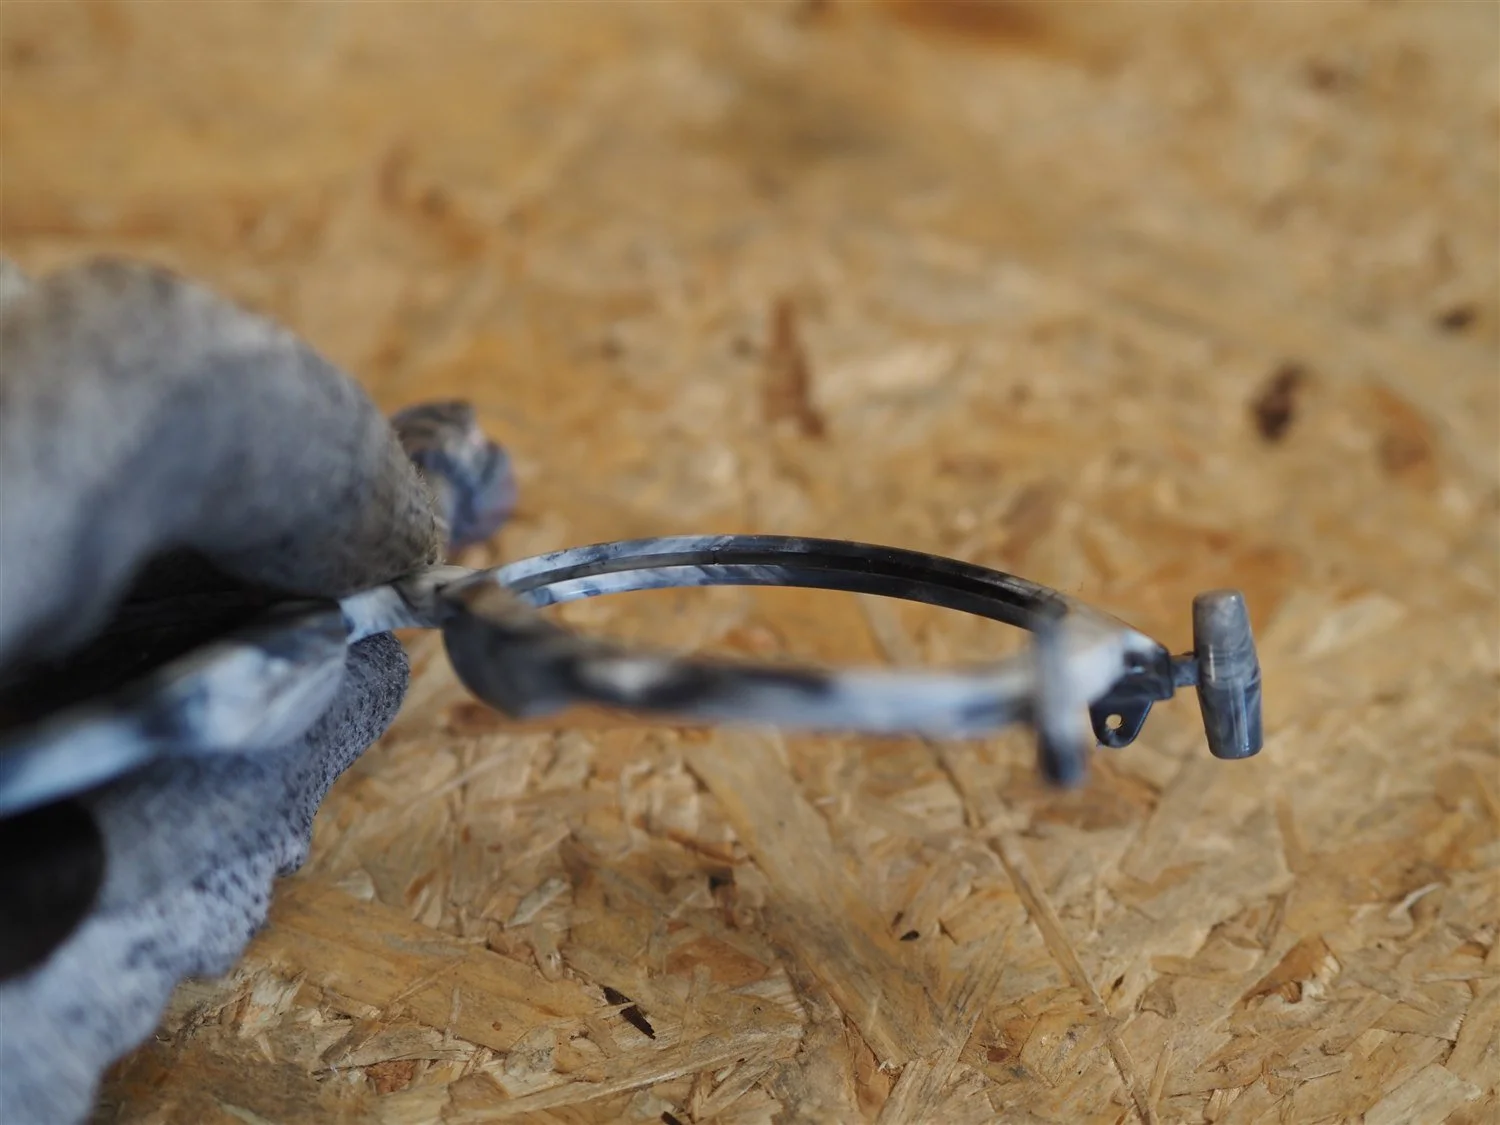 Step 10
Check the lens channel is clear
There should not be any flash in the channel, but check both eyes every time before you go near a lens. The fit is snug by design, so a ridge you can barely see is enough to stop the lens seating flat.
Run a fingertip or the back of a blade all the way round each channel. If you find anything, pare it back with a craft knife until the channel is smooth, then check again.
-
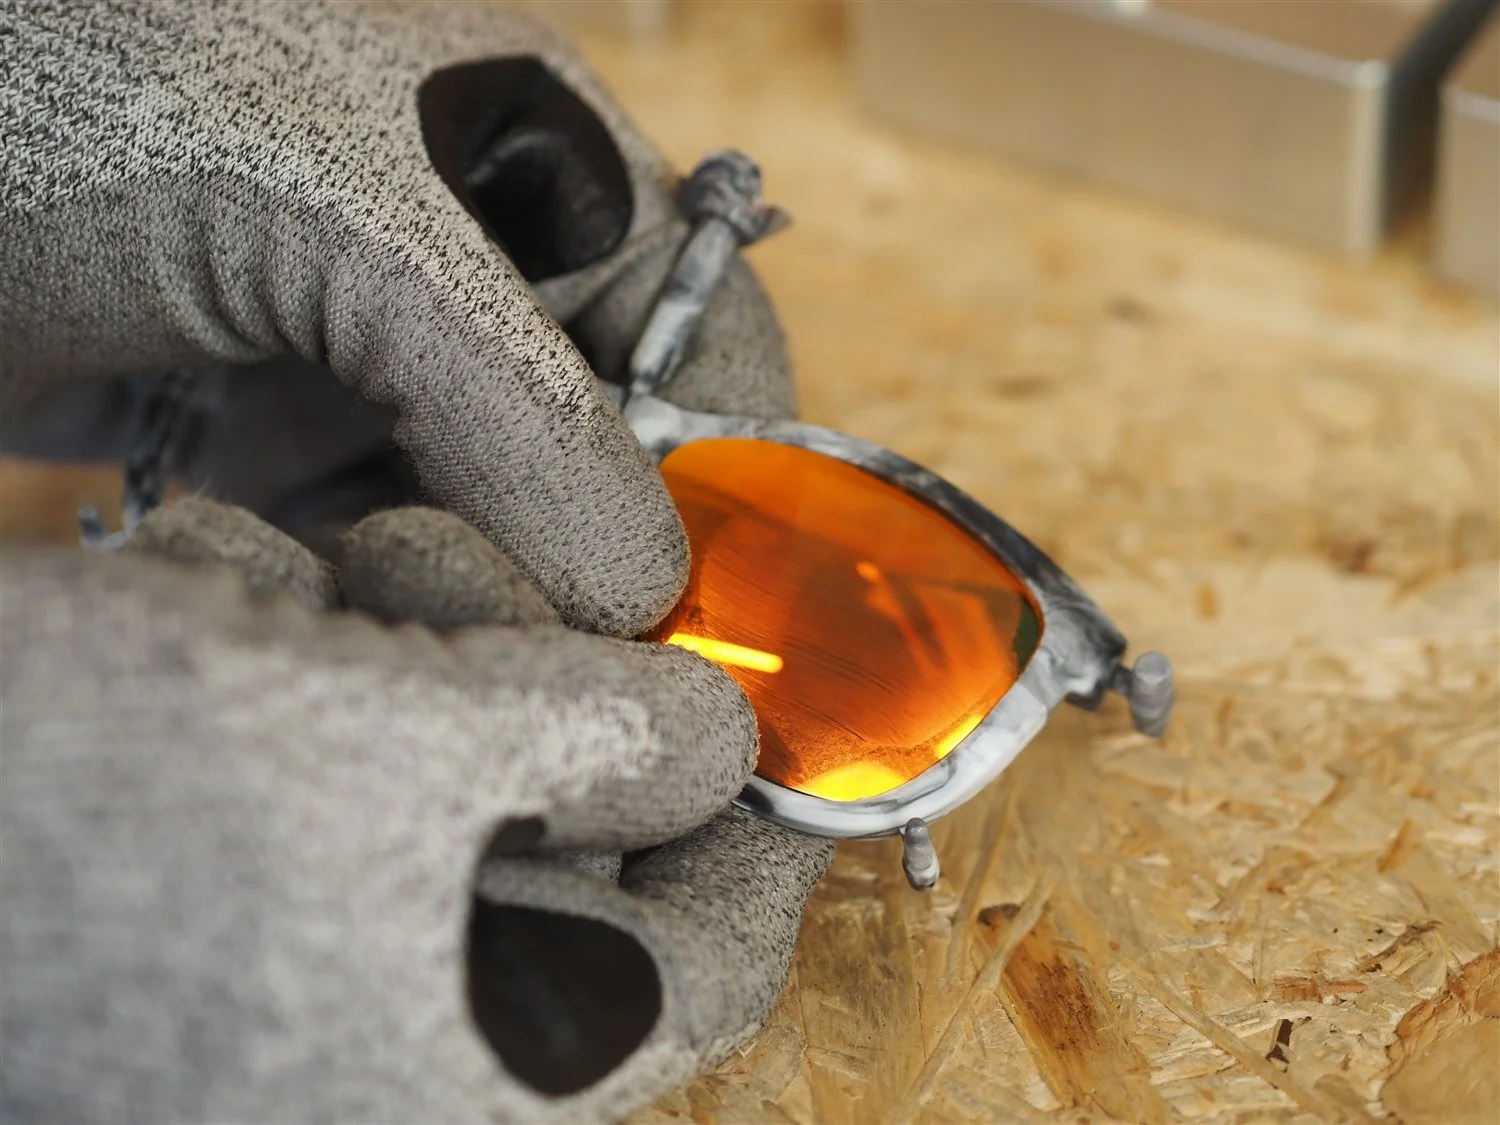 Step 11
Fit the lenses while the frame is still warm
Do this straight away. Recycled polypropylene stays slightly flexible while it is warm, and the lens is a tight fit, so a warm frame gives far more than a cold one. Leave it until later and the same lens becomes a fight.
Push the outer edge of the lens into the channel first, then work round and bring the nose-piece end in last. Starting at the nose end is what makes it hard. Lens codes for all three models are in the table in What you need above.
-
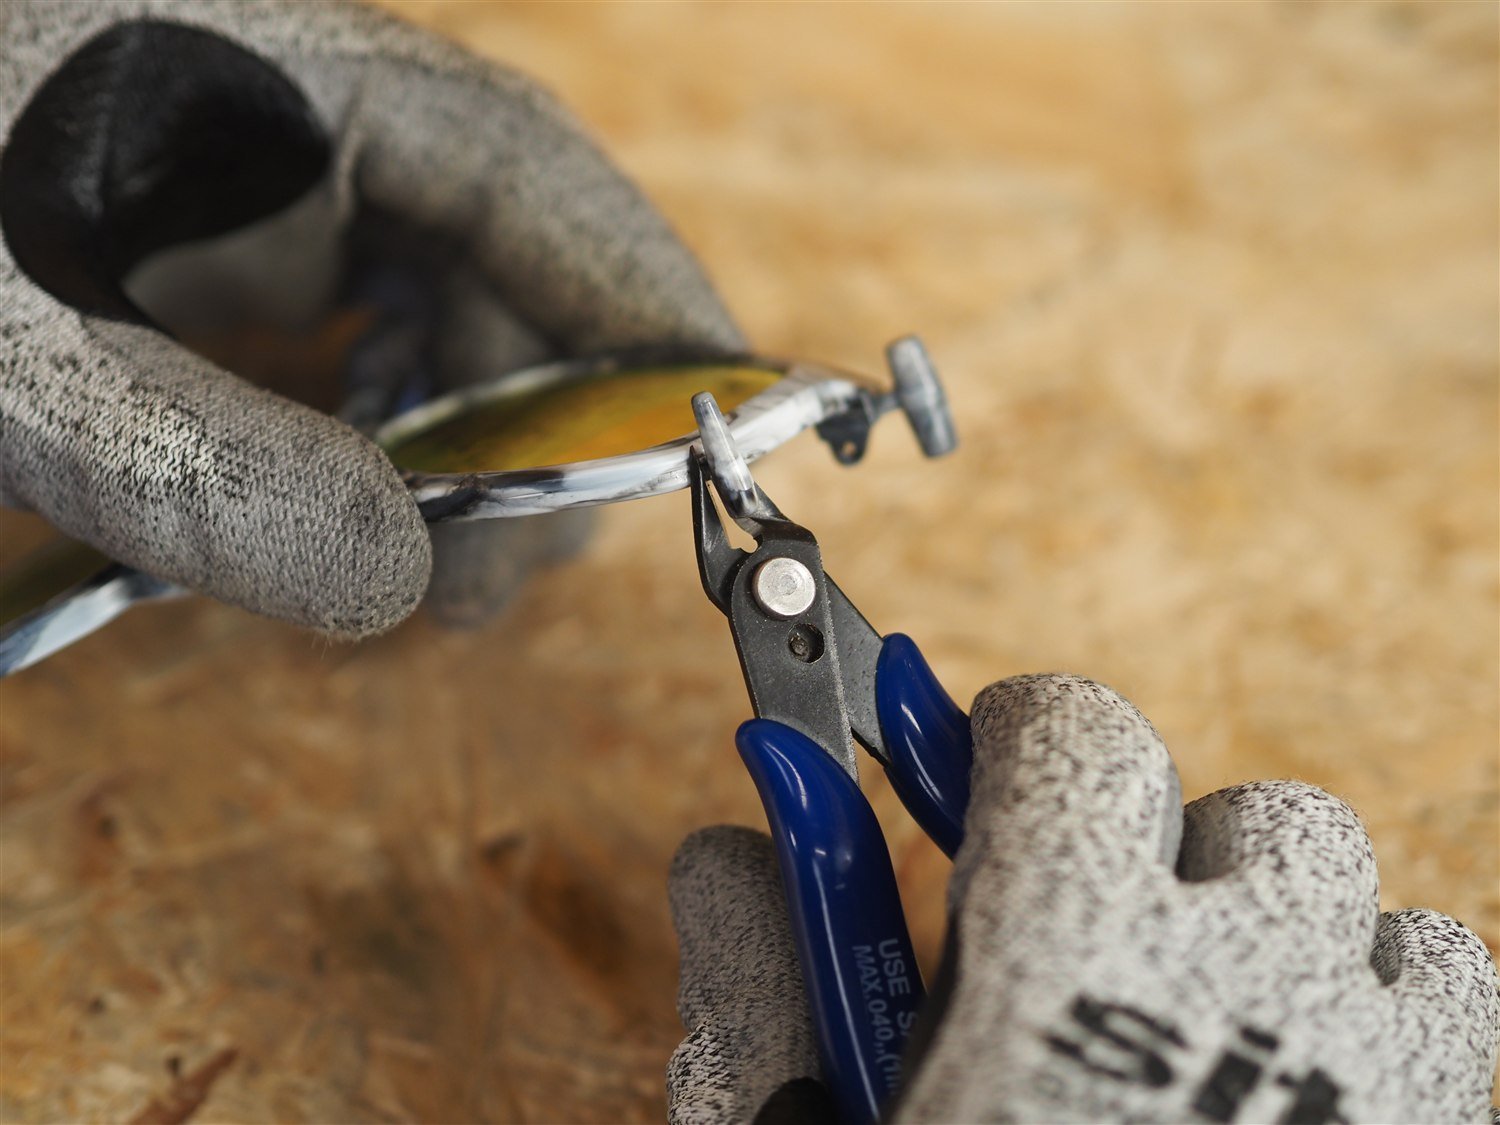 Step 12
Snip away the sprues, vents and pulling pins
With both lenses in, cut away the sprue, the vents and the four pulling pins. Plastic snips or a sharp craft knife both work, whichever you have to hand.
The frame is finished at this point. It goes back on the bench while you mould the arms.
Mould the arms
The arms mould runs the same assemble, inject, demould cycle, with its own pair of locating pins and no lens inserts.
-
 Step 13
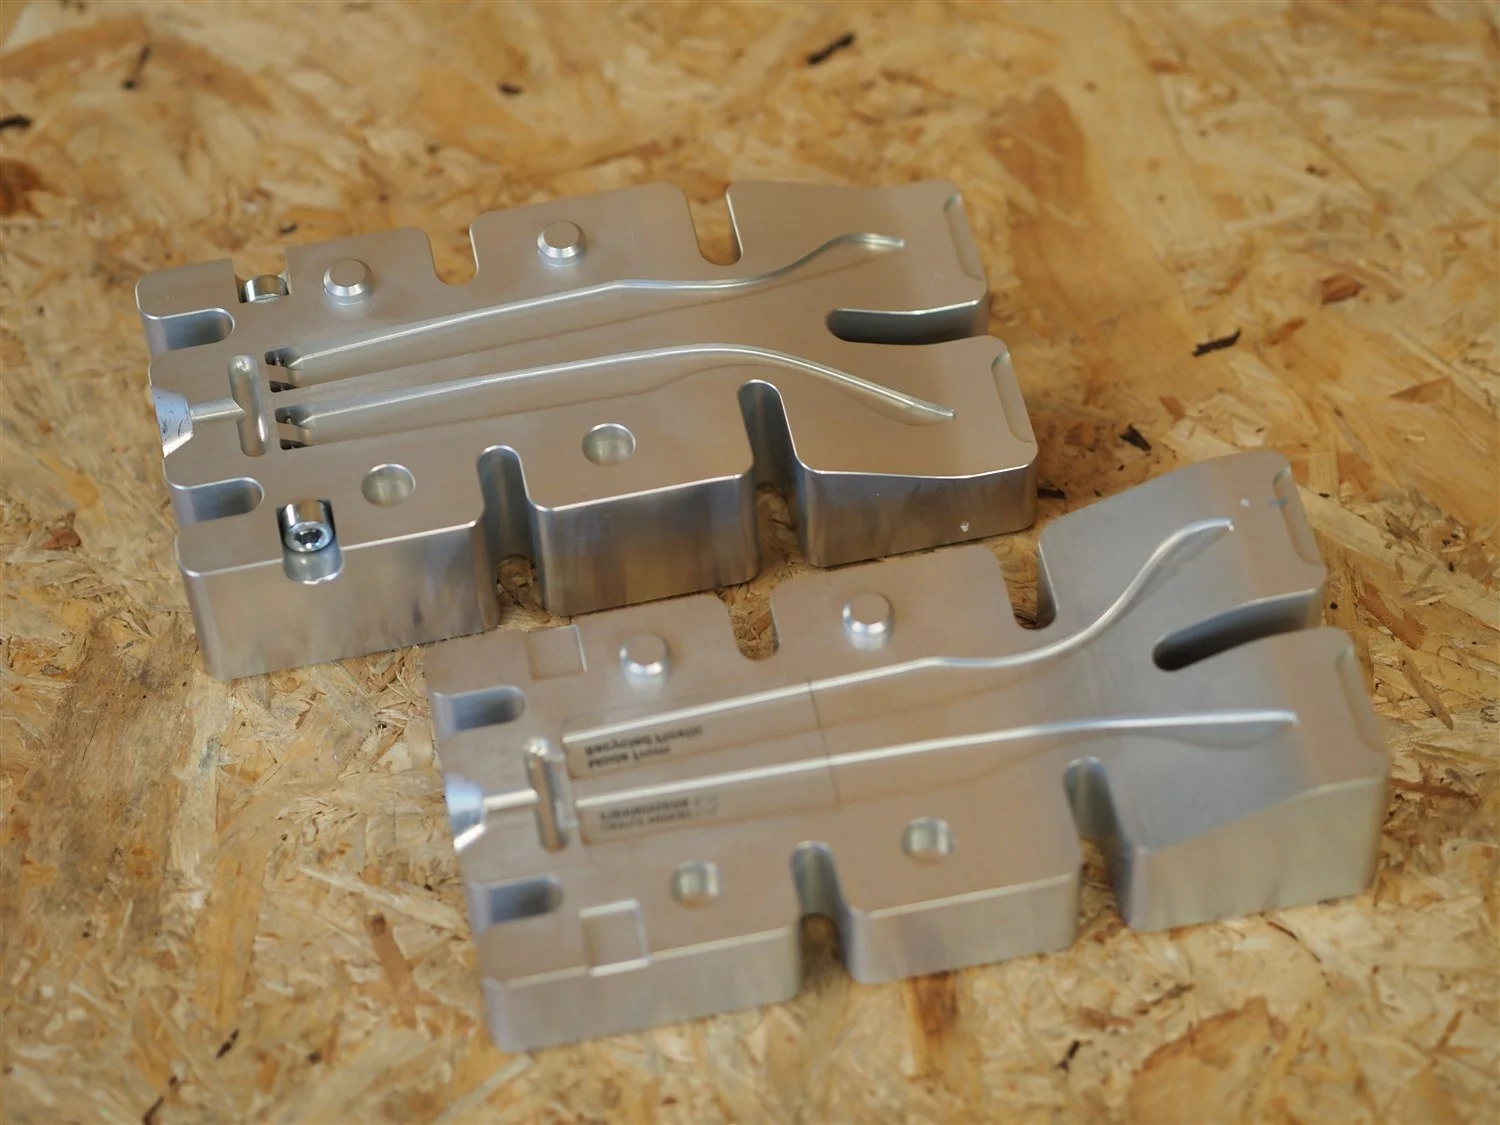
Prepare the arms mould
Clean both halves of the arms mold, spray the cavities, and bring it up to 60°C the same way you did the frame mold.
The arms mold has no lens inserts, so there is less to seat than on the frame.
-
 Step 14
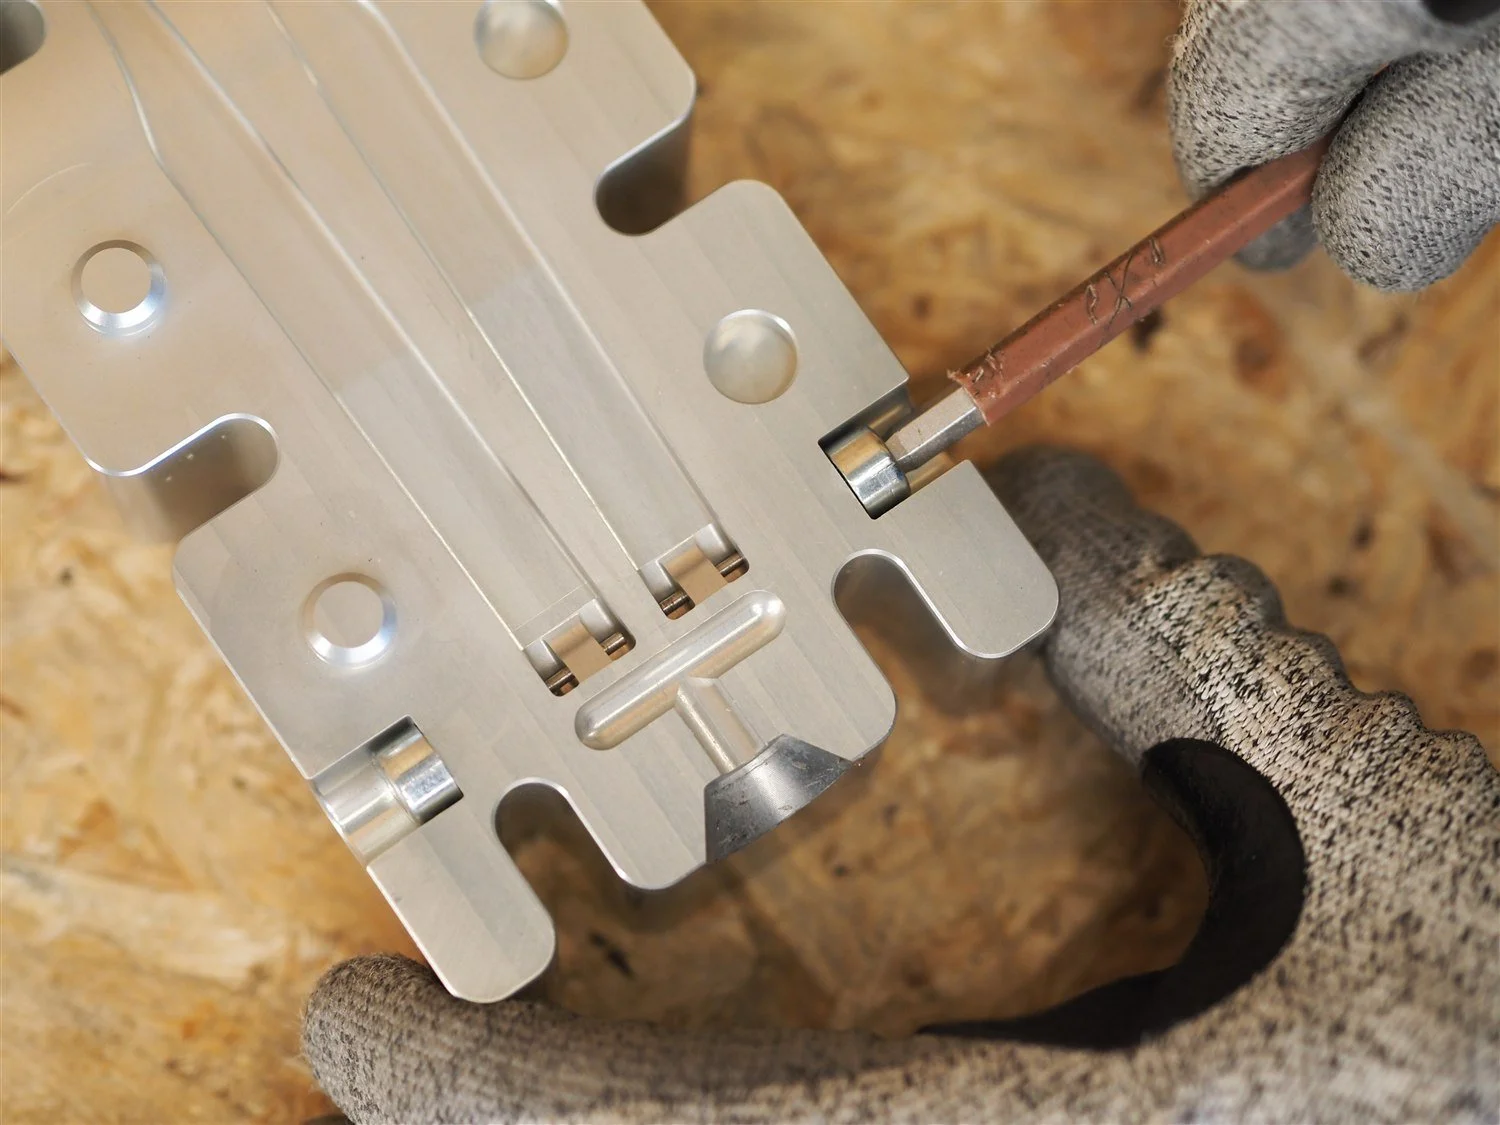
Fit the two locating pins
Fit the two locating pins. They form the screw holes in the arms, and they are set to line up with the holes the frame pins made in step 2.
Please note that the locating pins for the frames are different to the arms and must not be mixed up.
-
 Step 15
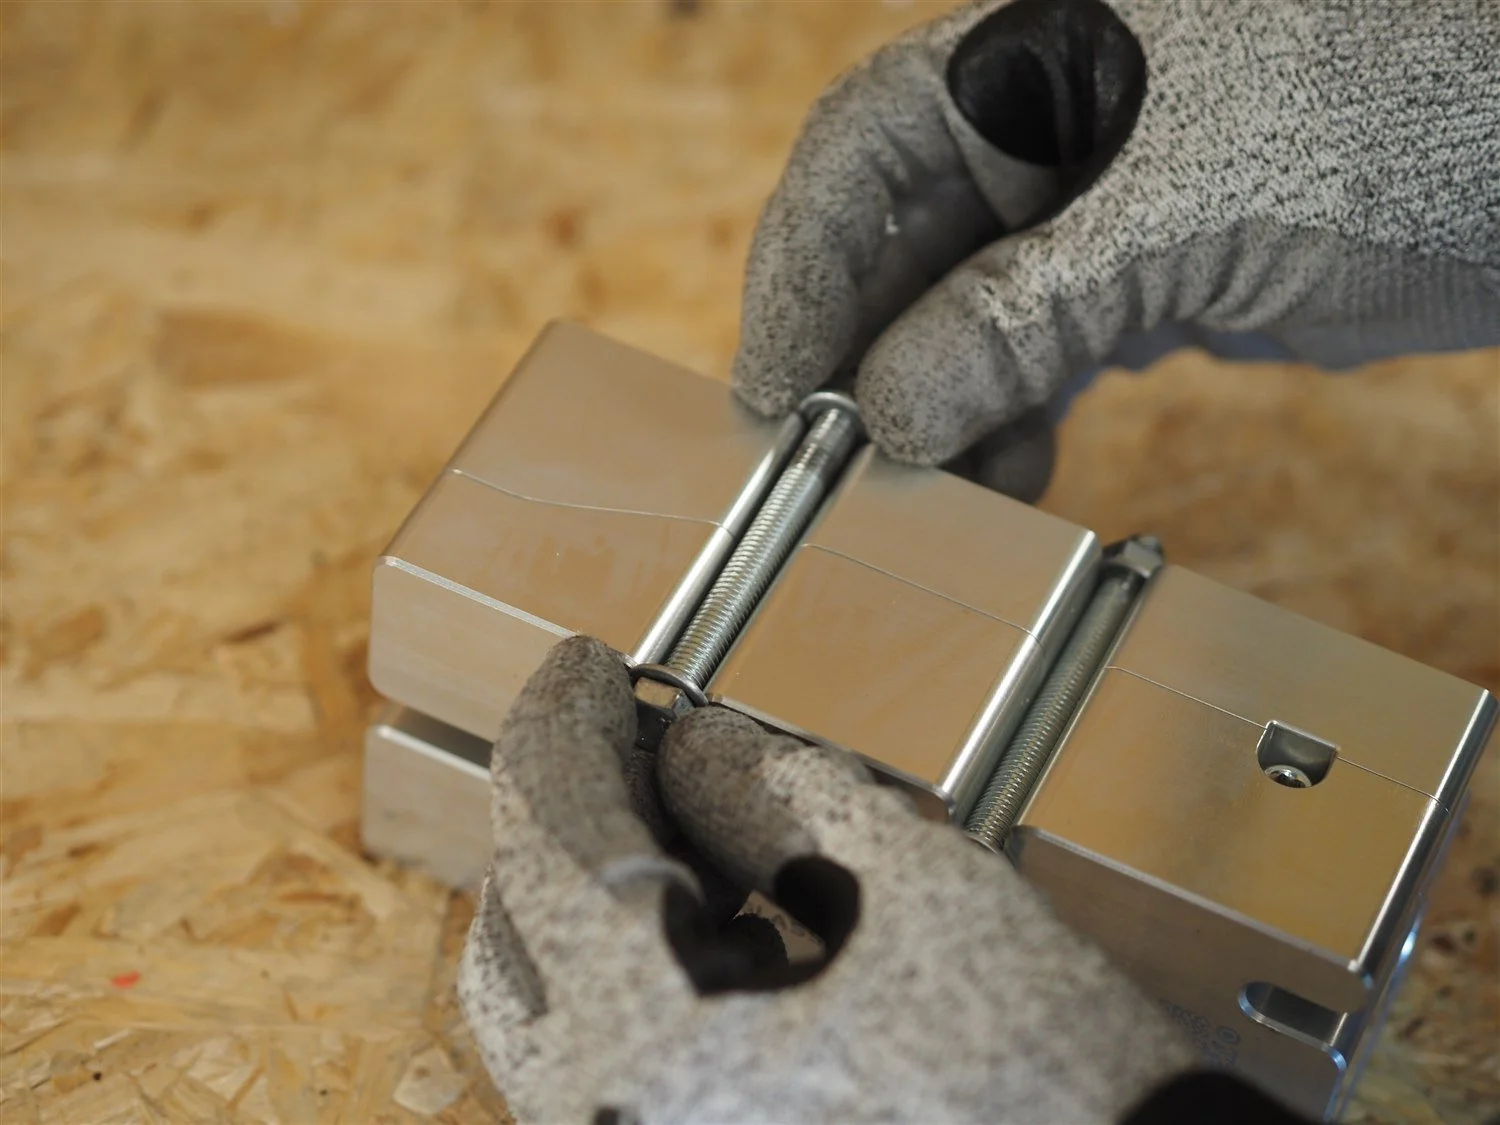
Close the mould and tighten the main locking bolts
Bring the two halves together, check they are seated square, and tighten the main locking bolts and nuts evenly.
Same hardware and the same even tightening as the frame mold in step 3.
-
Step 16
Inject the arms
Set the machine to 220°C and fill the barrel with prepared recycled PP, the same as the frame in step 4. Both arms and the runner come from a single shot.
-
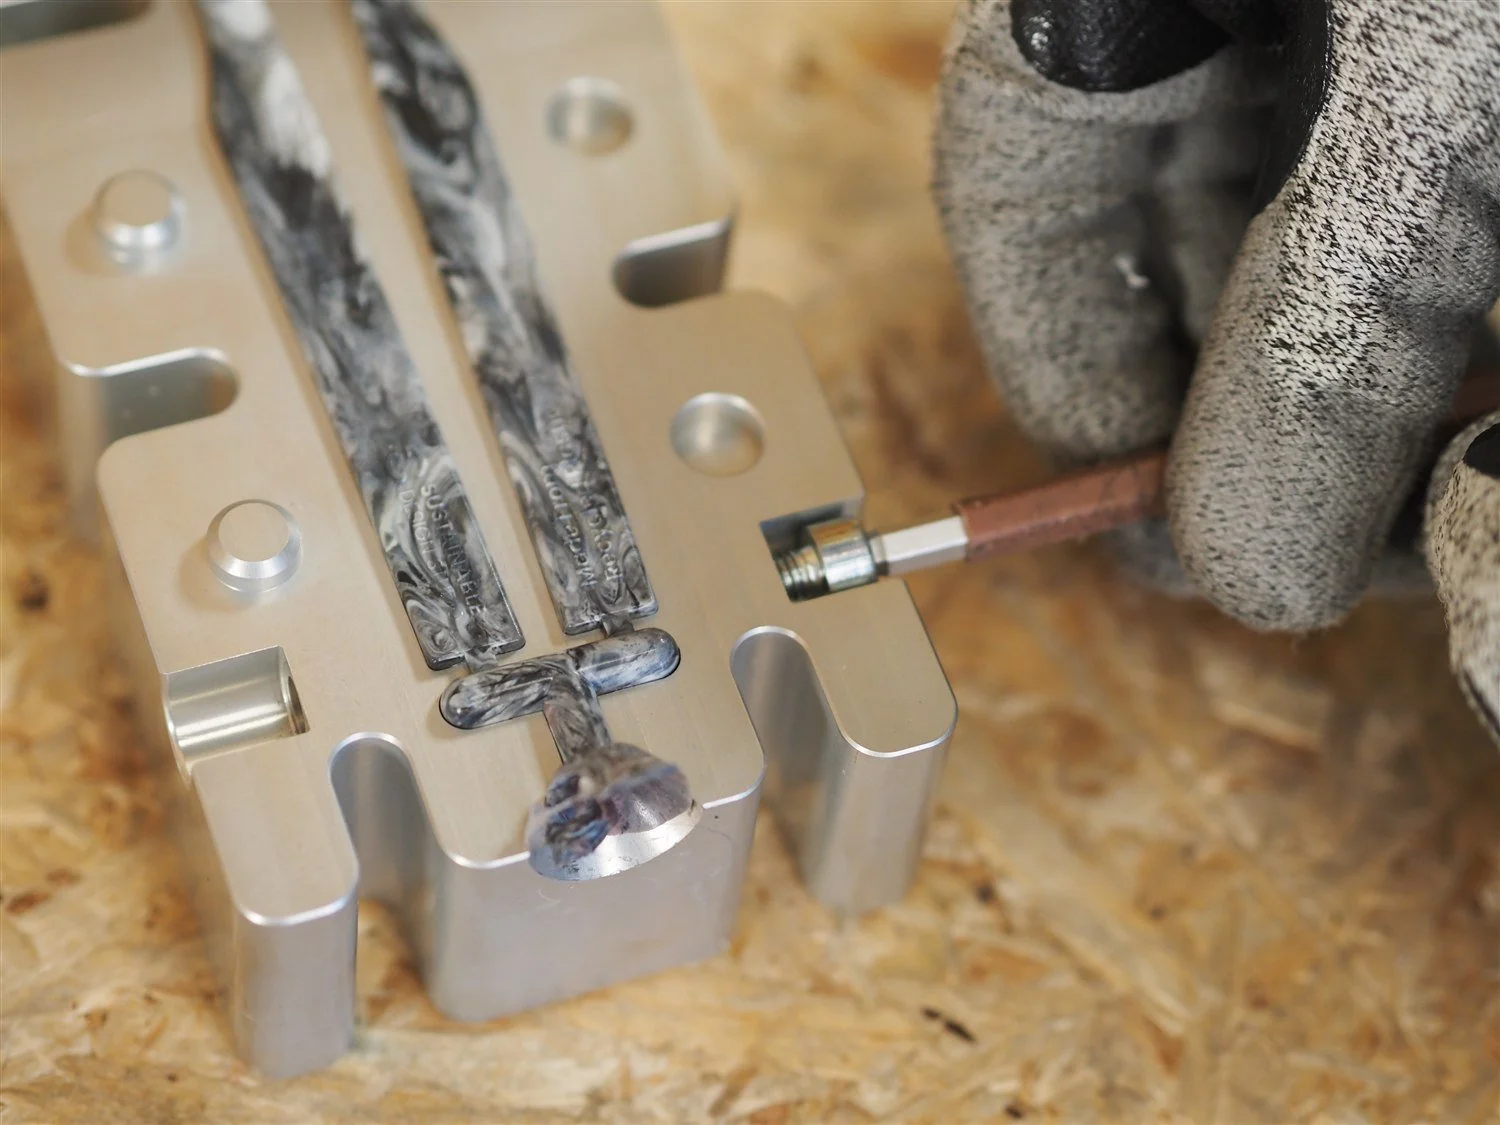 Step 17
Remove the arms mould's two locating pins
With the mould still bolted shut, draw both locating pins straight out. They form the screw holes in the arms, and they line up with the holes the frame pins made. Place these in a safe location so that they are not damaged or lost.
-
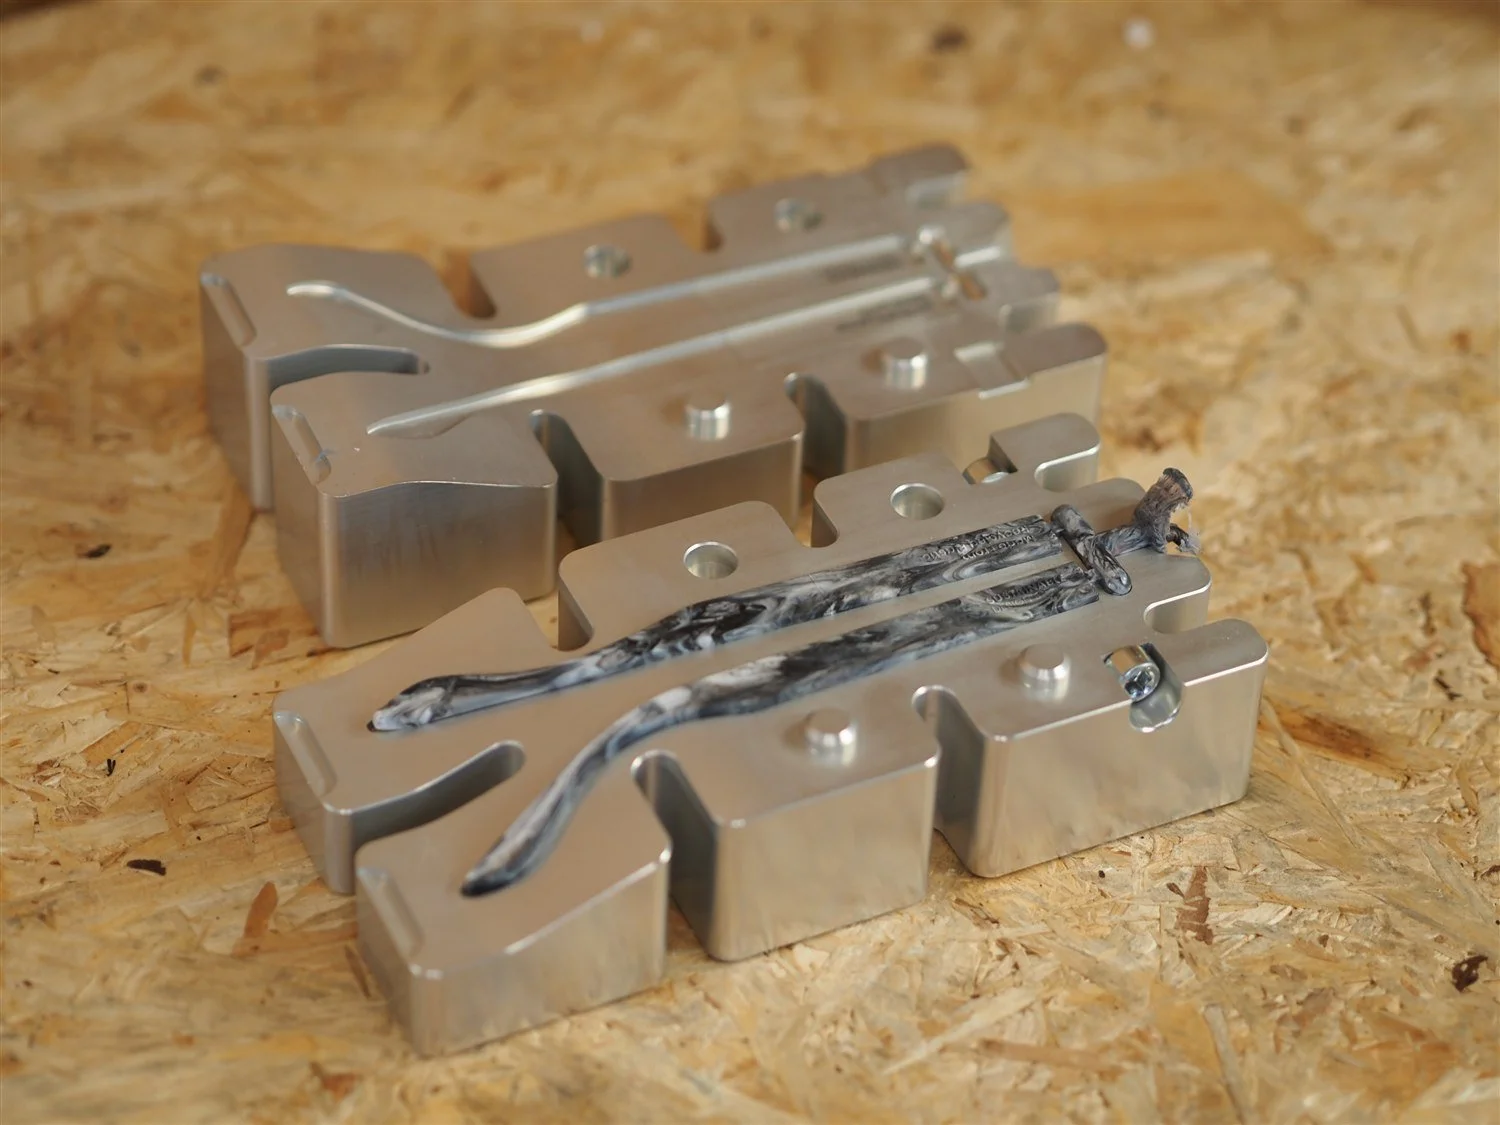 Step 18
Undo the bolts and open the arms mould
Undo the locking bolts and nuts and lift the top half away in a clean parallel motion. Both arms stay in the lower cavity, joined to each other by the runner.
The pins are already out, so nothing holds the arms but the cavity itself.
-
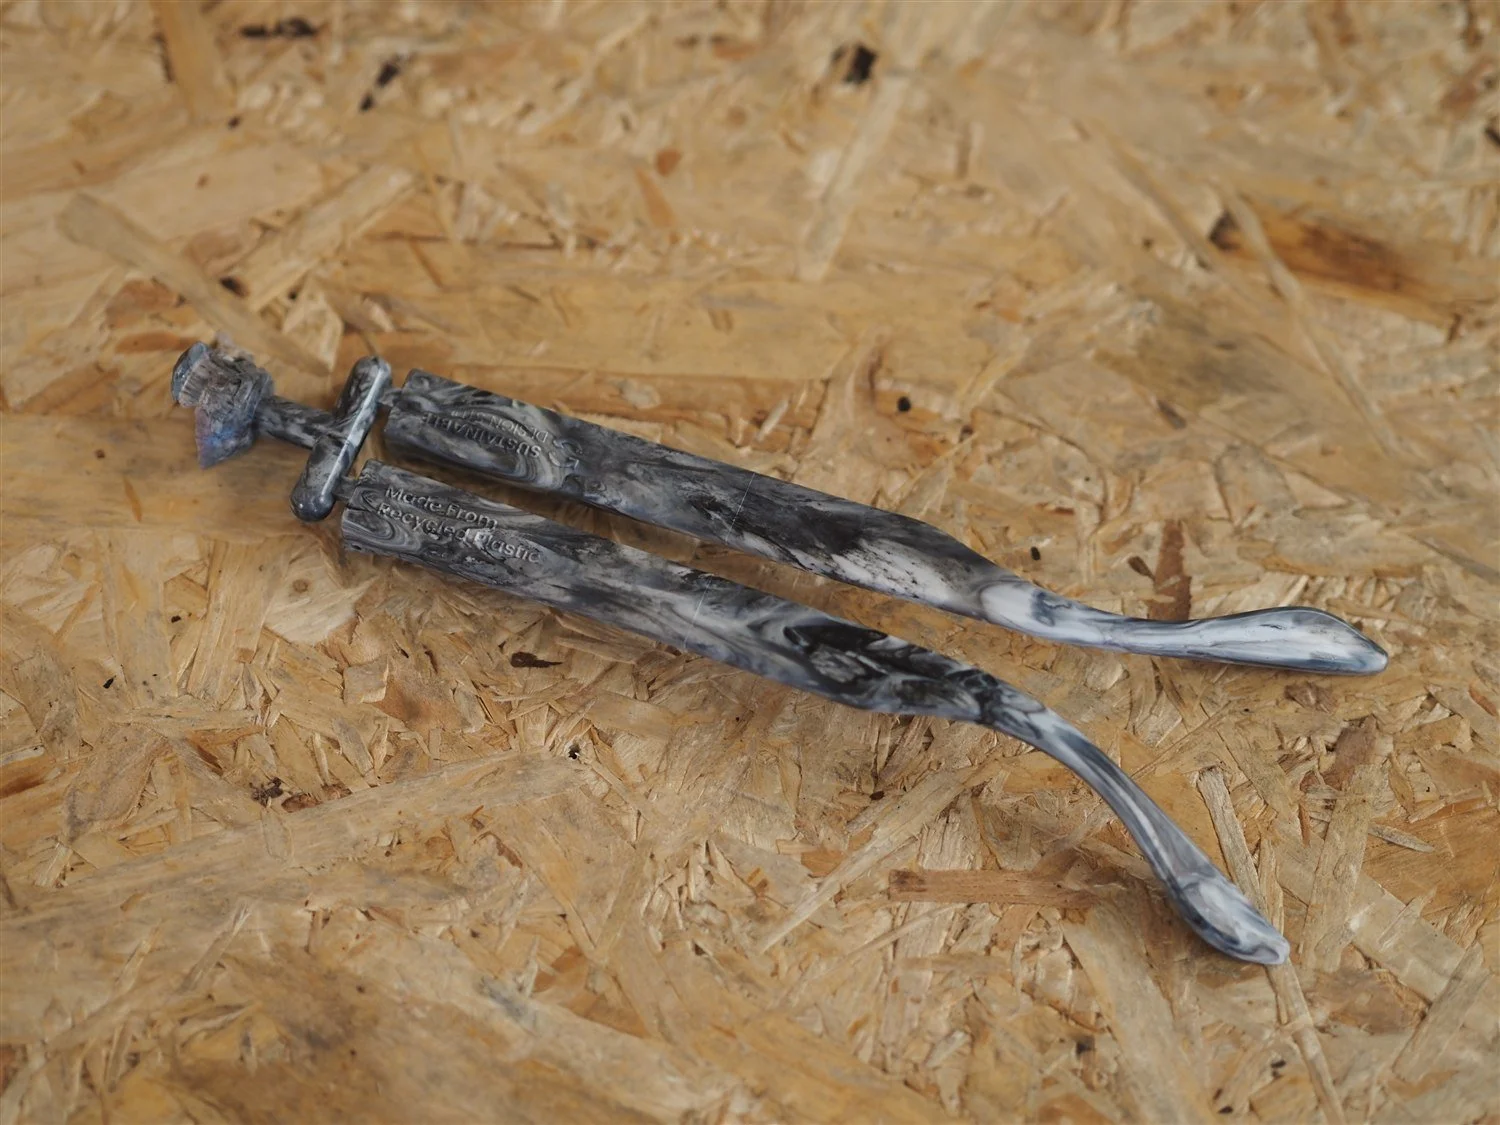 Step 19
Release the arms
Start at the end furthest from the nozzle injection point, not at the sprue end. Lift gently and slowly, rocking the arms back and forth rather than pulling straight up, and they will come away without stressing the part.
-
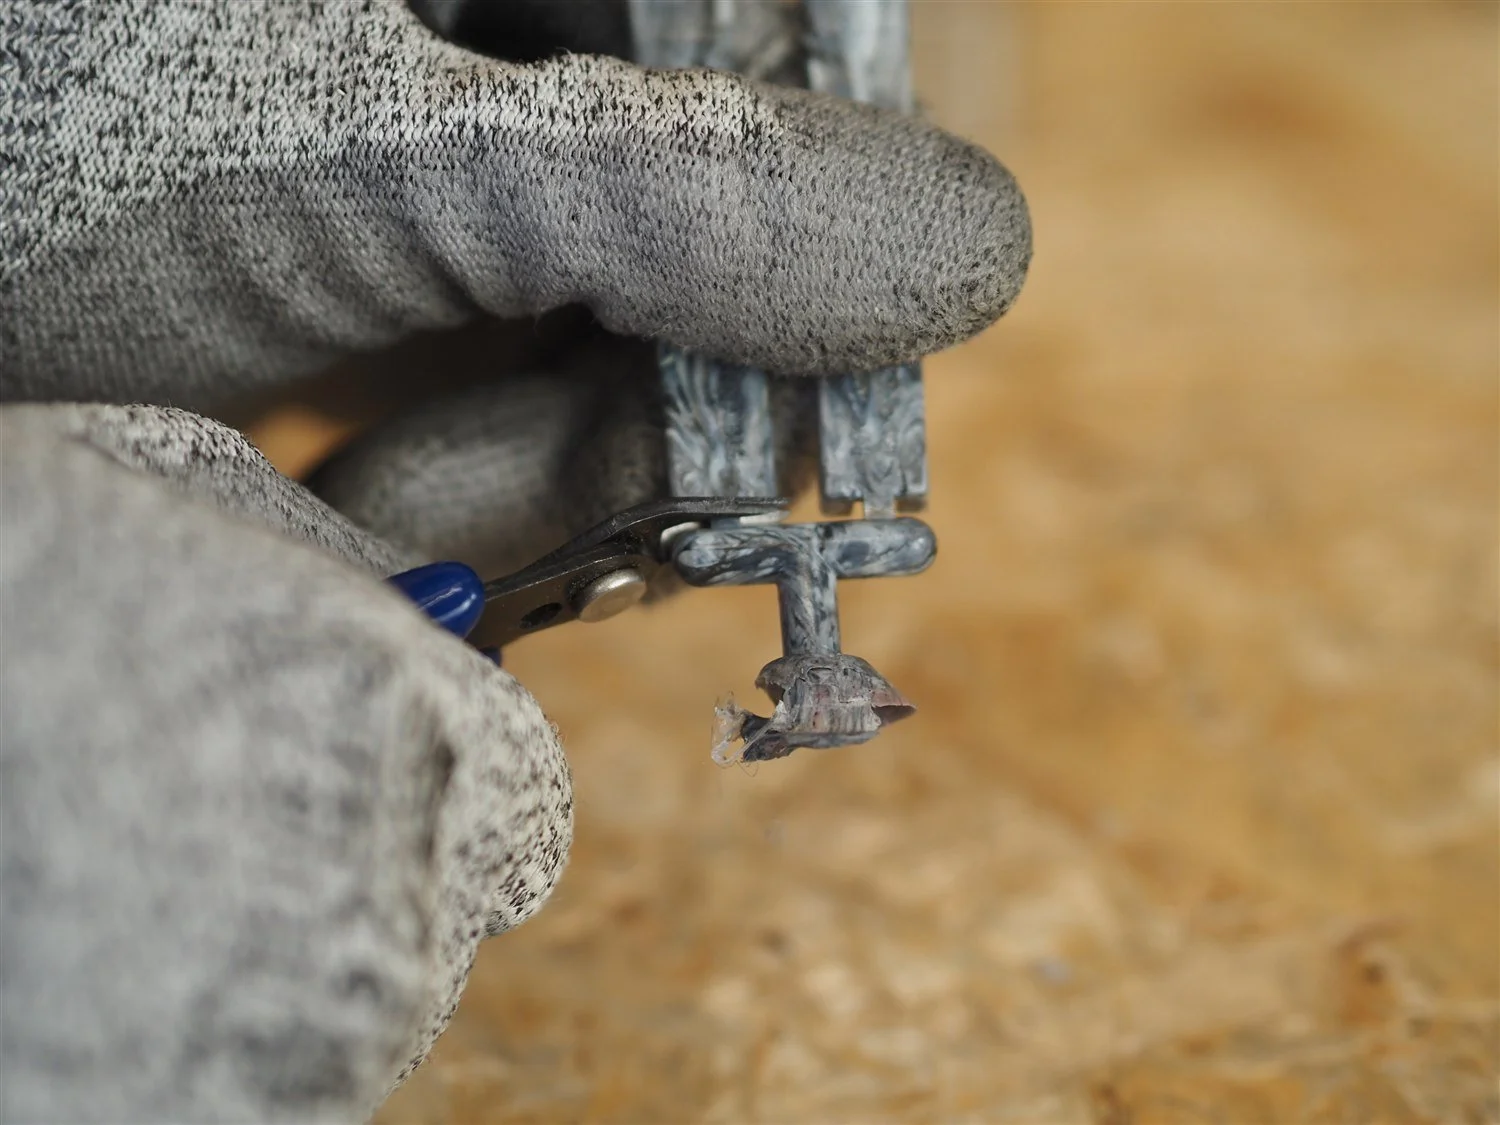 Step 20
Cut the sprue off the arms
Cut the runner and sprue away and separate the two arms. Plastic snips or a craft knife, the same as the frame.
Trim the cut ends flush so the hinge end sits flat against the frame later.
Assemble the pair
The finished frame and the two arms become a wearable pair.
-
 Step 21
Attach the arms and finish
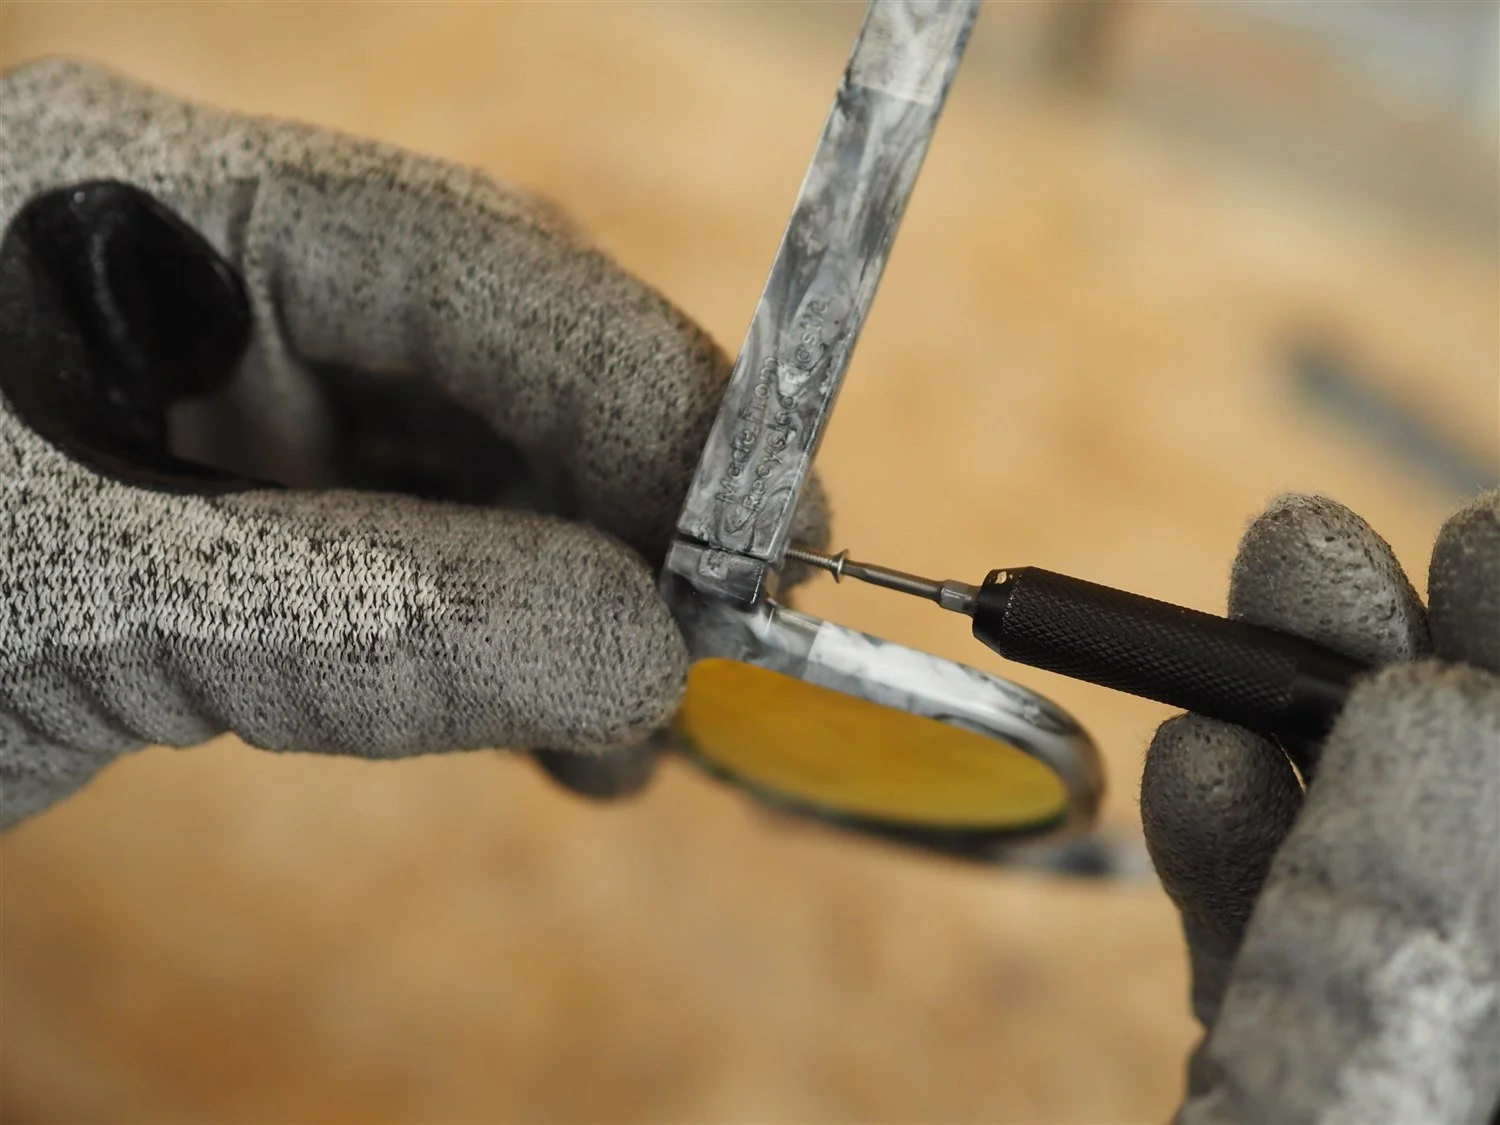
Line each arm up with the frame and drive a 10mm countersunk screw through the hole the locating pins formed. Use M2 if your plastic is clean and strong, M1.6 if it is weaker or of poorer quality, because an M2 can split the hinge element in that plastic. An M1.6 can leave the arm feeling a little looser, which is the trade for not splitting the hinge. Tighten with a small cross-head screwdriver to a firm hand-feel, no power tools.
-
 Step 22
Check the finished pair
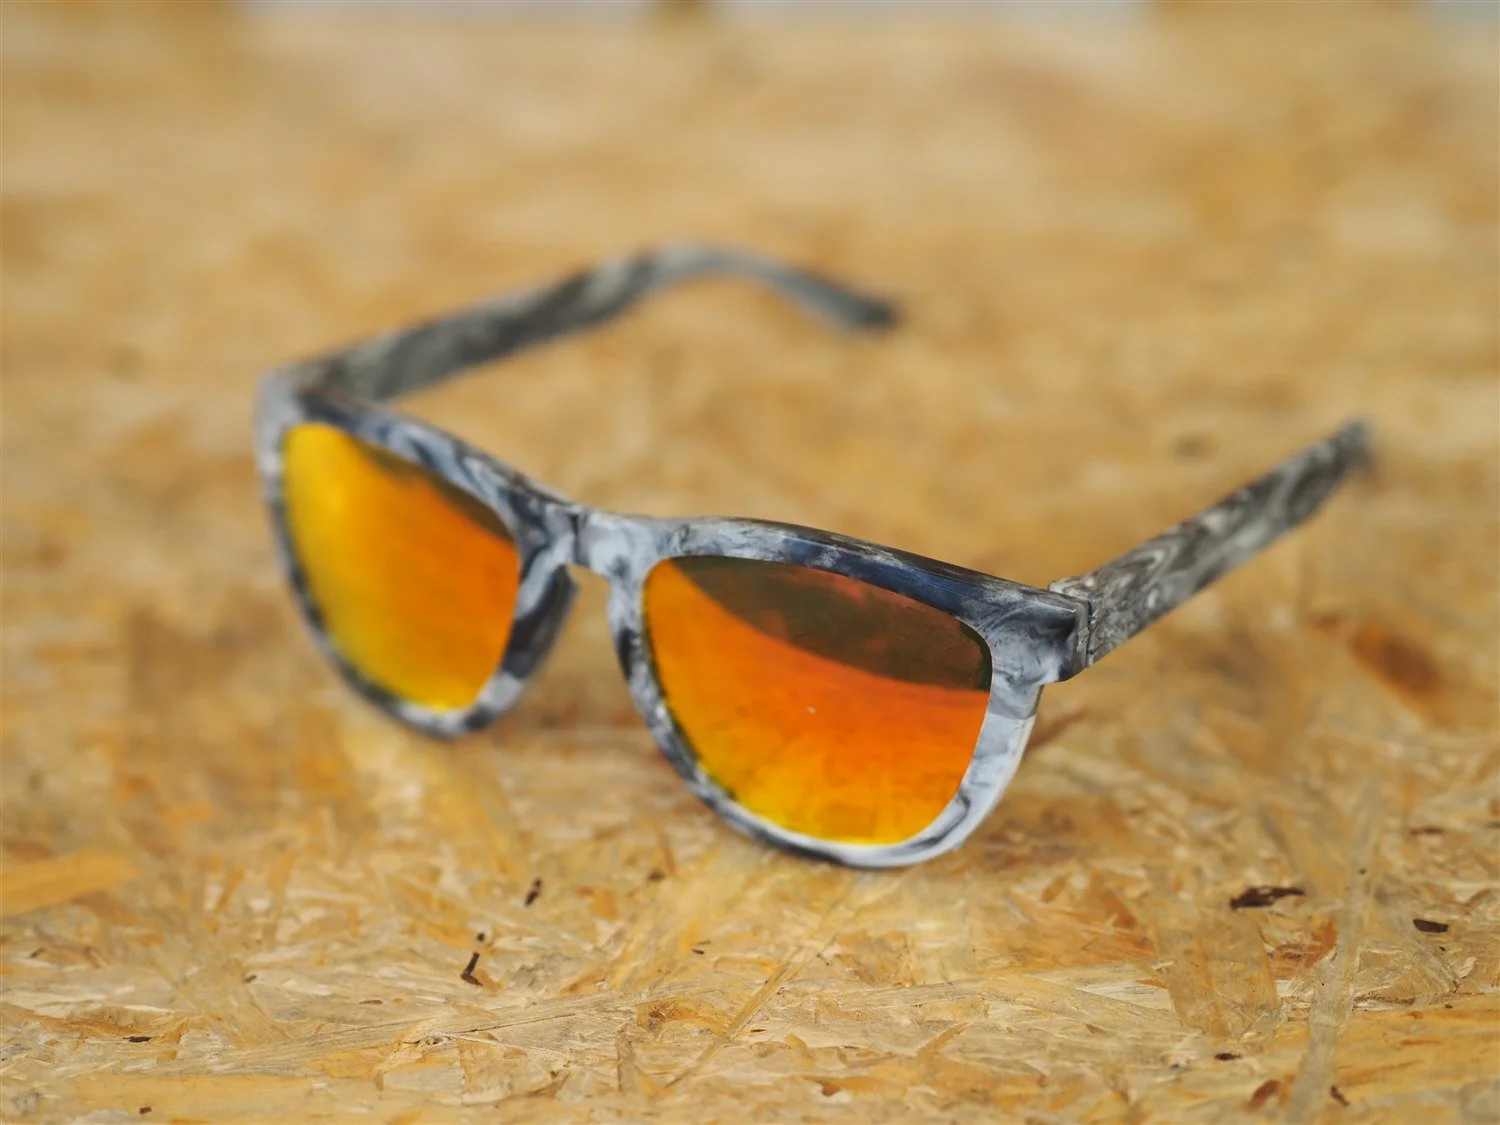
Trim any flash along the mold seam with a sharp blade and wipe the lenses with a lint-free cloth.
Fold both arms in and out a few times. The hinge screws should feel firm without binding, though a little more play is normal if you went with M1.6. Check both lenses are sitting flat in their channels, with no gap at the nose-piece end.
That is a wearable pair, made from recycled plastic in two mouldings.
Tips and troubleshooting
Six common gotchas on the V2 build, with the fix that usually clears each one. The first three are specific to the V2 moulds.
Lens-area inserts will not lift out
Check the order. North and South must come out first, on both lenses. If you have tried East or West first they will bind against the molded frame, because the geometry interlocks until N + S are clear. Re-seat N + S if they have shifted, then take them out in the right order before the East and West will release.
Locating pin will not draw out
Check you are turning it anticlockwise, and draw it while the mould is still warm. PP shrinks onto the pin as the part cools, so the longer it sits the tighter the grip gets. Letting it cool makes a stuck pin worse, not better. Never open the mould to get at a stuck pin. The pin runs through the part itself, so opening the halves with it seated bends the pin and tears the hole it just formed.
Lens too tight or too loose in the slot
Fit the lenses while the frame is warm and freshly injected. That is when the channel gives, and a frame left to go cold can make a correctly sized lens feel far too tight. If that is not it, check the lens matches the mould set you used. A Sutro lens will not seat into a frame moulded in the Holbrook tooling, and the arms will not match either, because the models differ in frame shape and arm shape as well as lens. With the right model in hand, a tight lens is almost always flash on the parting line: trim it with a fine craft knife and try again. A loose lens points to the wrong model or a worn mold insert.
Short shots or thin frame sections
The barrel temperature is the first thing to check. Push the barrel up by 5 to 10 degrees Celsius and try again. Also confirm the mold is warm before injection: cold tooling produces short shots and patchy surface finish in PP.
Visible witness around the frame
The main locking bolts were tightened unevenly. Work in a cross pattern, finger-tight all round first, then snug each one a touch at a time.
Frame stuck in the cavity
Make sure the locating pins are removed. Confirm release spray was used at the preparation step. Work quickly while everything is still warm, a warm frame lifts where a cooled one grips. Do not pry with sharp tools, you will scratch the cavity. If it keeps happening, check the mould was at 60 degrees Celsius before injecting.
Need a different silhouette?
Three Oakley-style models are available as matched mould sets: Holbrook, Frogskin, and Sutro. Each set is a frame mould and an arms mould, because the models differ in arm shape as well as frame shape and lens. If you want a silhouette we do not make, or a fully custom mold set for a private label run, get in touch.
Start a custom mould enquiryResources that pair with this guide
Three picks from the Sustainable Design Studio resources library. The V1 design for the original Injection Machine, the watch guide as a sister-template build, and the mould-use fundamentals.
 V1
V1
How to make recycled plastic sunglasses (V1)
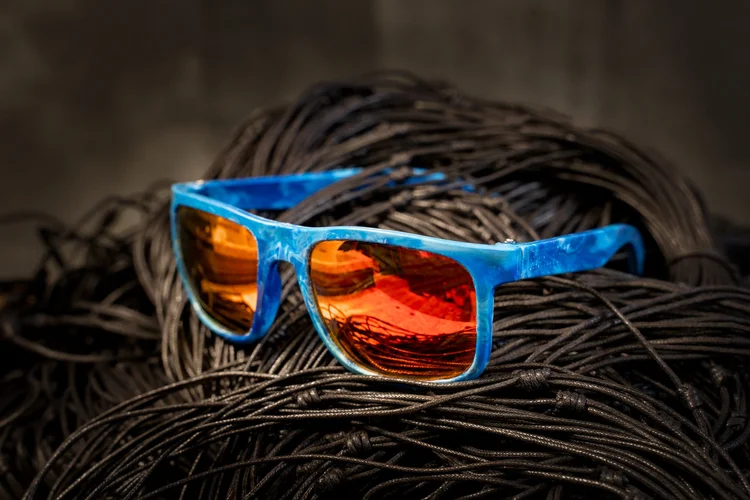
If you are looking for the V1 design, you can find it here. Same three shapes on the original Injection Machine, kept available for anyone still running that hardware.
 How-to
How to make a recycled plastic watch
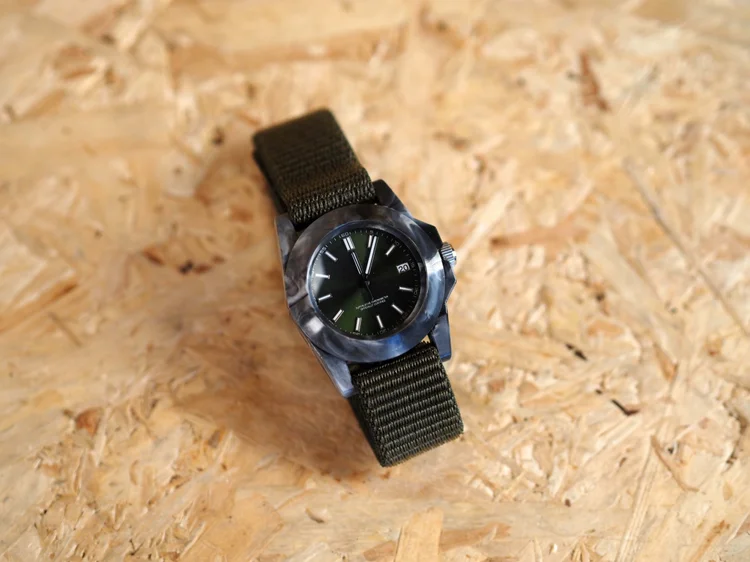
A second sister build using the same template. A watch case in recycled PP with an NH35 movement and a domed glass crystal.
 Guide
Guide
How to use your mould
The fundamentals of setting up, heating, injecting, and maintaining your Sustainable Design Studio Premium Mould.
First V2 pair come out wrong? Send a photo.
Show us the failed shot, which lens model you tried, and what plastic you used. We have walked plenty of first builds through the same steps and can usually point at the fix.