
How to make a recycled plastic torch
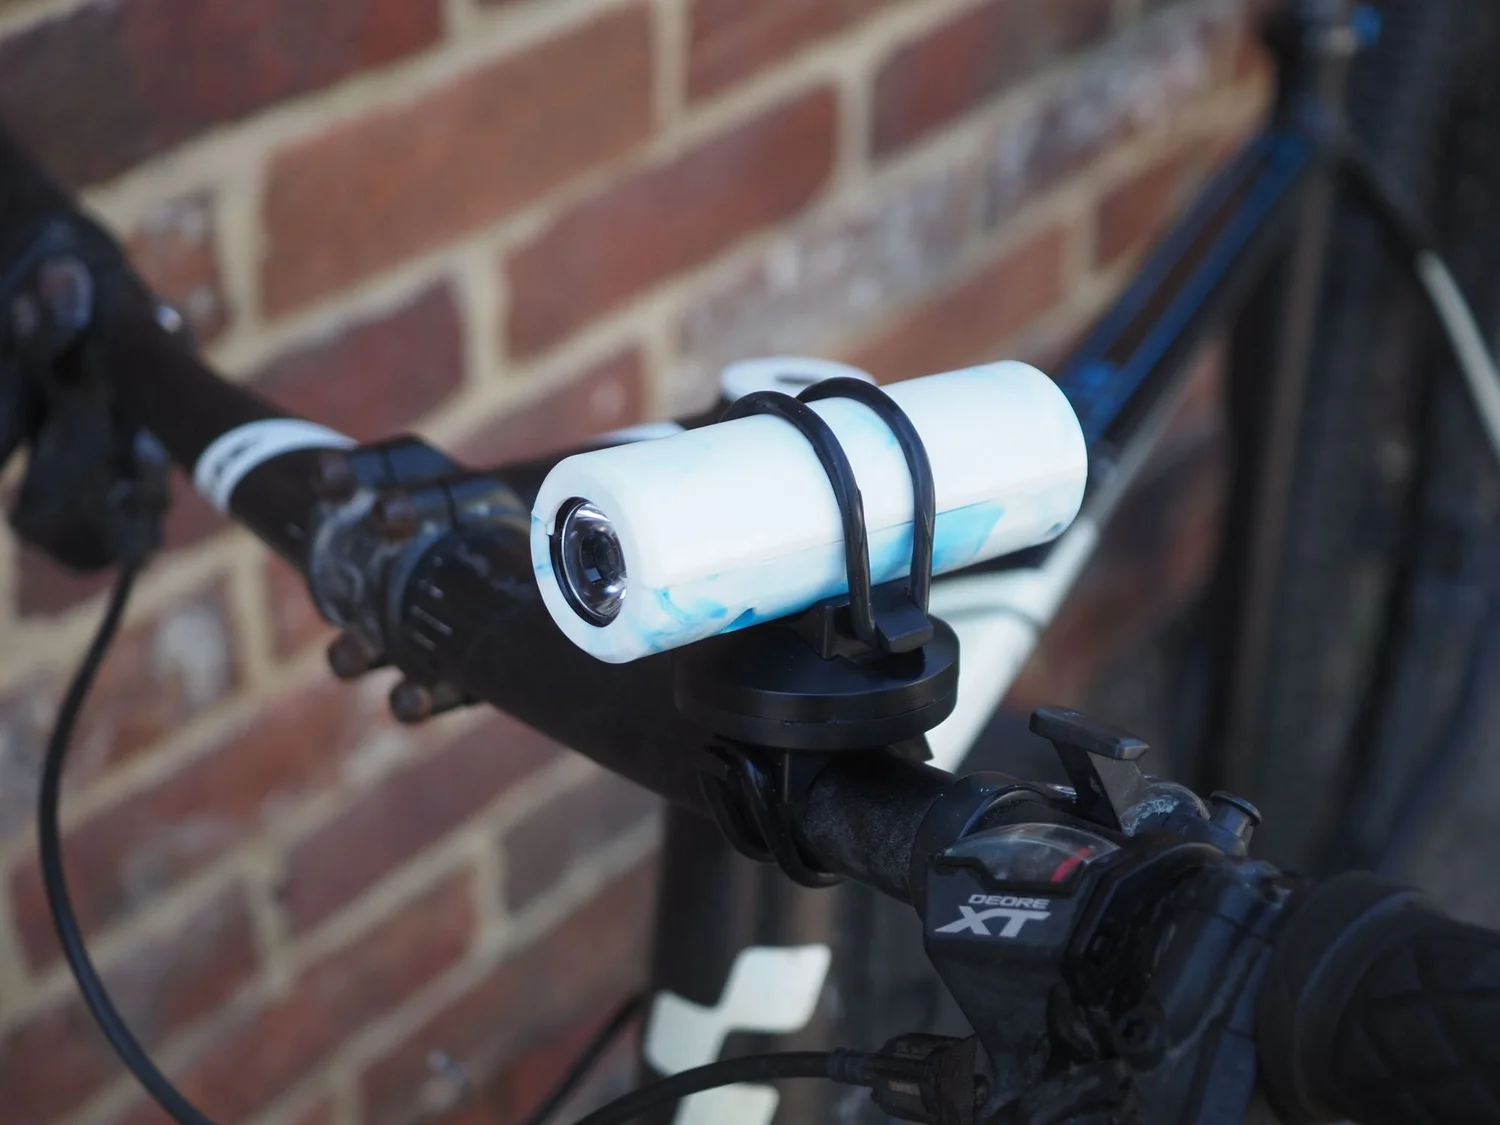
A torch and bike light, moulded from waste polypropylene.
A complete build guide for injection moulding a weather-resistant torch body from recycled polypropylene using the Sustainable Design Studio Torch Mould, then fitting the LED, battery and charging circuit yourself.
This one is a working product, not a demonstration piece. A 3W LED, a rechargeable cell and a USB-C charging circuit sit inside a moulded body that holds up outdoors, and the whole thing clips to a handlebar or lives in a pocket. Once you have the mould and the parts, a torch takes 15 to 30 minutes to make.
What you need
The mould, the plastic, and a short list of electronics. Everything on the component list is a standard off-the-shelf part, and one of them you can pull out of something already destined for the bin.
Sustainable Design Studio equipment
- Torch Mould, Premium Mould #24
- Injection Mini V2 or Arbour Injection Machine V2
- Mould release spray
- Basic workshop tools, see Basic Workshop Tools
- PPE: heat resistant gloves, safety glasses, see Basic PPE
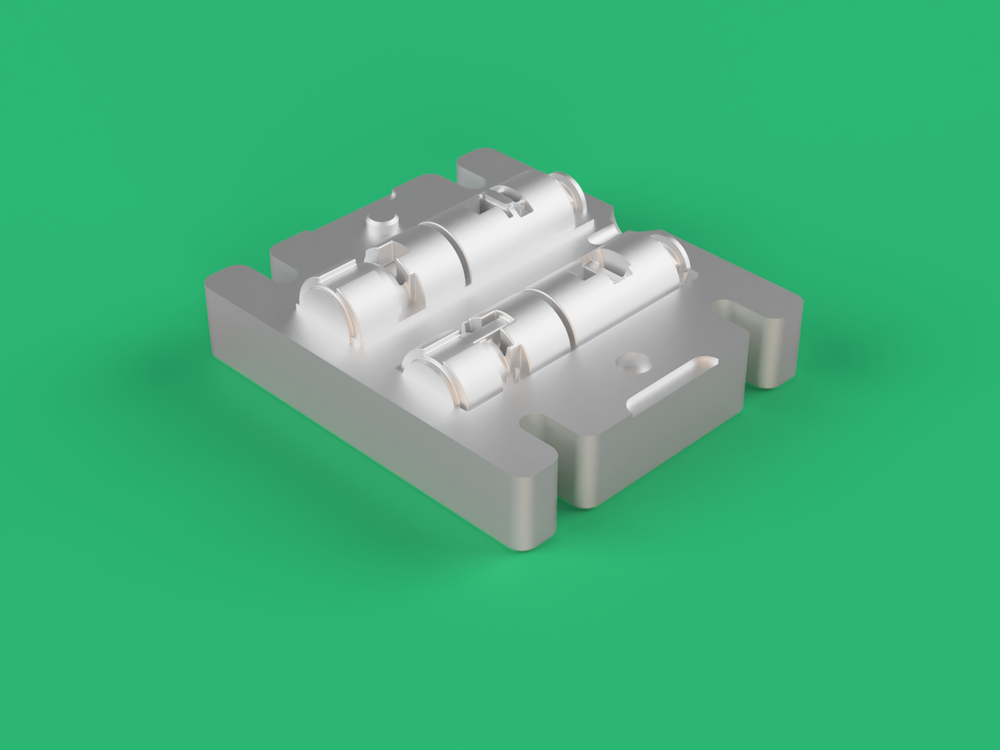
The Torch Mould is a two-part aluminium tool with a lot of geometry in it: curved and drafted faces throughout, so the body releases cleanly and holds its shape under load. It arrives ready to bolt up and run, and it is rated for thousands of shots, which is what makes a torch worth producing rather than prototyping.
Recycled plastic
Roughly 34g of clean recycled polypropylene (PP) per torch. Good sources include:
- Fishing nets
- DVD cases
- Food containers, cleaned and label-free
- Bottle caps, PP only (check the recycling symbol)
Use PP, not HDPE. This body is structural and HDPE is too soft: it flexes and distorts over time, and the screw bosses give up first. If you are unsure how to tell them apart, see the Plastic Identification guide.
Electronics and hardware
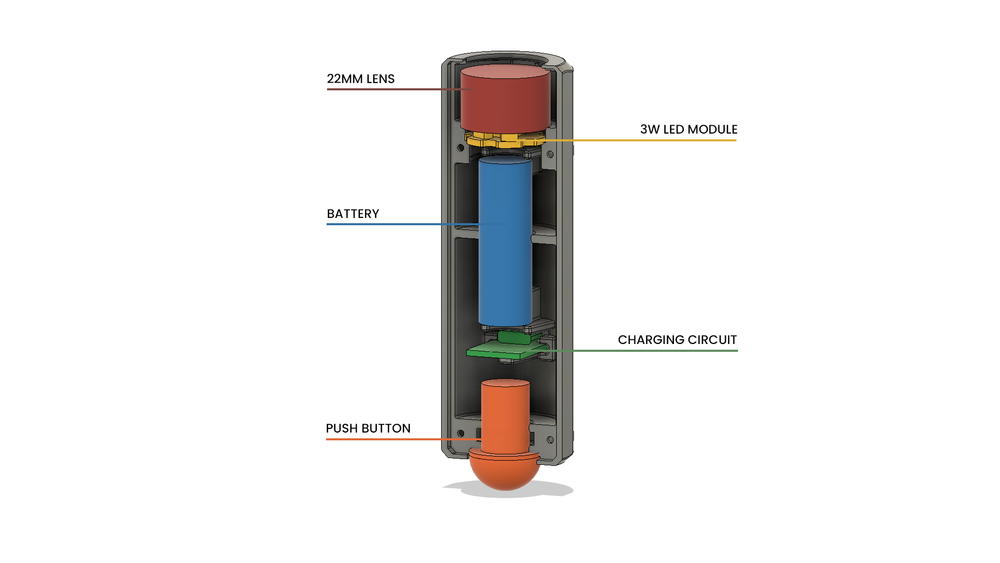
Six parts make a working torch. Specifications are listed first so the list still works when a supplier link dies.
| Component | Specification | Notes |
|---|---|---|
| LED module | 3W, 3-5V, constant current | The constant-current driver matters. A bare LED on a raw cell will not last. |
| Push button | 12mm waterproof, locking | Locking means it stays on without being held. Waterproof keeps the body rating honest. |
| Lens | 22mm, 45° | Clips straight onto the LED, which makes assembly easier. |
| Charging circuit | USB-C battery charging board | Handles charging and protection. Do not omit it. |
| Battery | 13400 lithium cell | Salvage one from a disposable vape, or buy new. Read the safety note below before salvaging. |
| Body screws | M2 x 6mm countersunk self-tapping (x4) | These close the two halves of the torch. |
| Wire | 26AWG, ~180mm red, ~100mm black | Enough to route around the components without strain. |
Optional: a handlebar mount if you are using it as a bike light, and a silicone USB-C cover to keep water out of the charging port.
Salvaging a cell from a disposable vape
Millions of disposable vapes are thrown away every week, each with a perfectly good lithium cell inside. Reusing one is exactly the kind of recovery this whole site is about, and it is the cheapest way to power your torch. It is also the step where care actually matters.
- Discharge the vape fully before opening it, and open it with insulated tools.
- Inspect the cell. If it is dented, swollen, punctured, corroded or leaking, recycle it and find another. Damage is disqualifying, not a repair job.
- Never short the terminals, and never solder directly to a bare cell body. Use the tabs, or a holder.
- Charge it the first time somewhere you can see it, on a non-flammable surface, and stay in the room.
- Always pair it with the USB-C charging and protection board. That board is what stops over-charge and over-discharge.
Prefer to buy new? A new 13400 cell is inexpensive, widely available, and drops straight in. Nothing else about the build changes.
Step by step build process
Six steps from a warm mould to a torch on your handlebars. Steps 1 to 3 are the moulding, steps 4 to 6 are the electronics and assembly. Once you have the mould and the parts in front of you, a torch takes 15 to 30 minutes.
-
 Step 1
Prepare and warm the mould
Clean both halves of the mould and give the cavity a light coat of release spray. Bolt the two halves together and tighten evenly, working across the corners rather than round them, so the parting line stays true.
Bring the mould up to temperature before the first shot. A warm mould is not optional here. The body has deep, narrow features and a cold cavity gives you short shots and visible weld lines where the plastic meets around the button and lens openings.
-
 Step 2
Inject the body
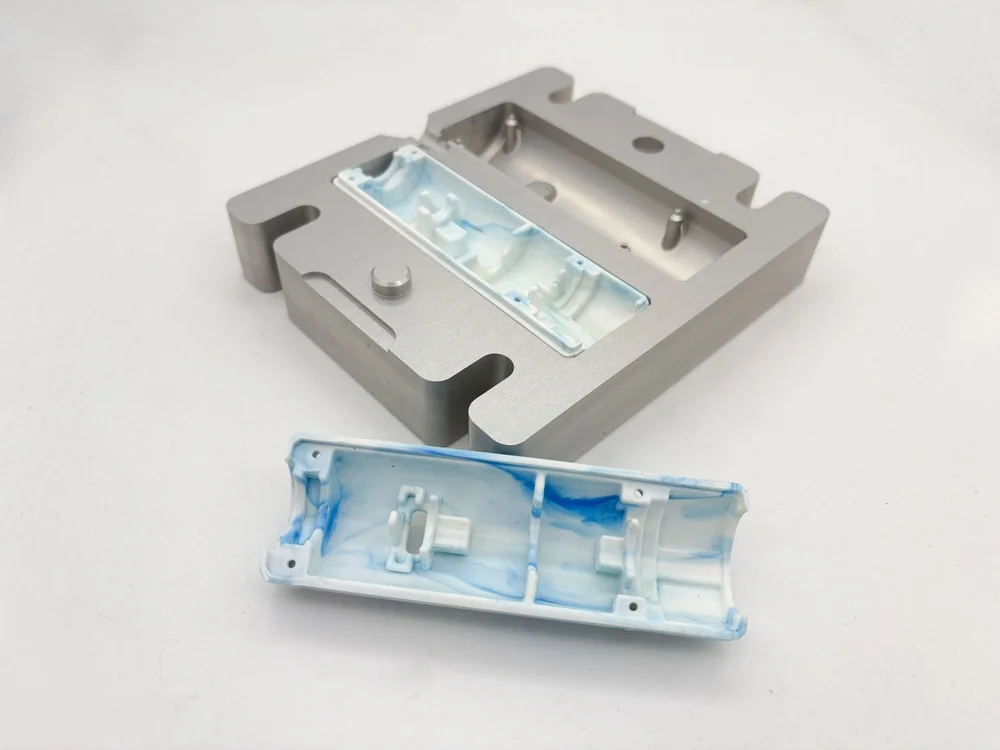
Load about 34g of clean, dry recycled PP and inject the full shot. Hold pressure for a moment after the stroke ends so the part packs out rather than sinking as it cools.
Use PP, not HDPE. HDPE is too soft for a structural body: it flexes in the hand, distorts over time, and the screw bosses strip. If a shot comes out short, raise the temperature in small steps rather than forcing more pressure.
-
Step 3
Demould while it is still hot
Open the mould and take the part out while it is still hot. This is the step people get wrong. The design has a lot of pinch points, and as the body cools it grips the core harder, so a part that would have lifted out easily at temperature can become a fight five minutes later.
Wear heat-resistant gloves. If a part does resist, warm the mould again rather than levering at the edges of the moulding.
-
 Step 4
Wire the electronics
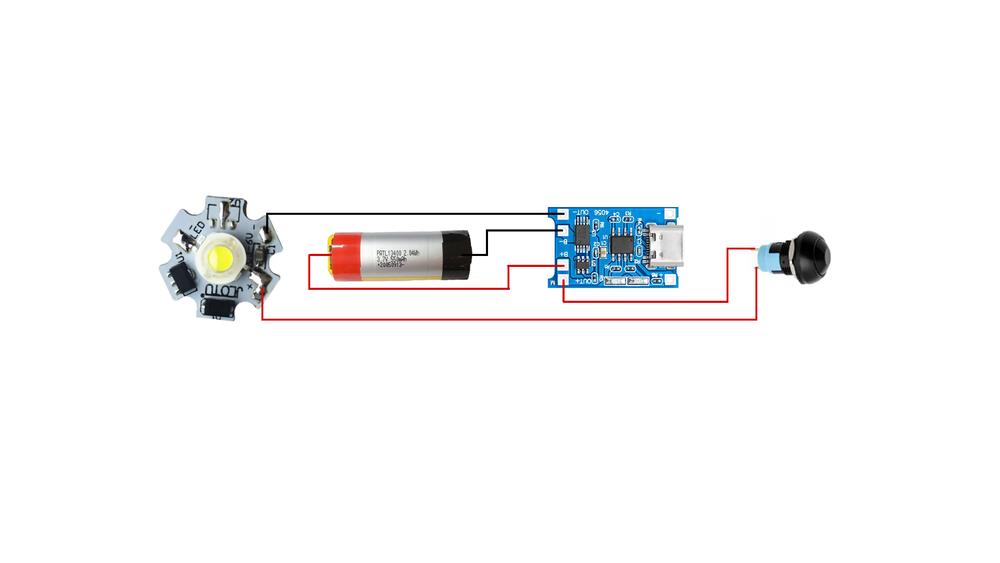
Cut roughly 180mm of red and 100mm of black 26AWG wire and solder the loom together following the wiring diagram: LED module, locking push button, USB-C charging circuit, and the cell.
Test it on the bench before it goes anywhere near the body. Press the button, confirm the LED lights and locks on, then plug in USB-C and confirm the charge indicator behaves. Finding a cold joint now is a two-minute fix. Finding it after assembly is not.
-
 Step 5
Assemble the torch
Every component has its own seat inside the body. Clip the 22mm lens onto the LED first, it locates far more easily as one piece, then drop each part into place and route the wires around them rather than across them.
Close the two halves and fit the four M2x6mm countersunk self-tapping screws. Take them to firm and stop. These are self-tappers going into moulded plastic bosses, and over-tightening strips the thread rather than making it tighter.
-
 Step 6
Mount it and go
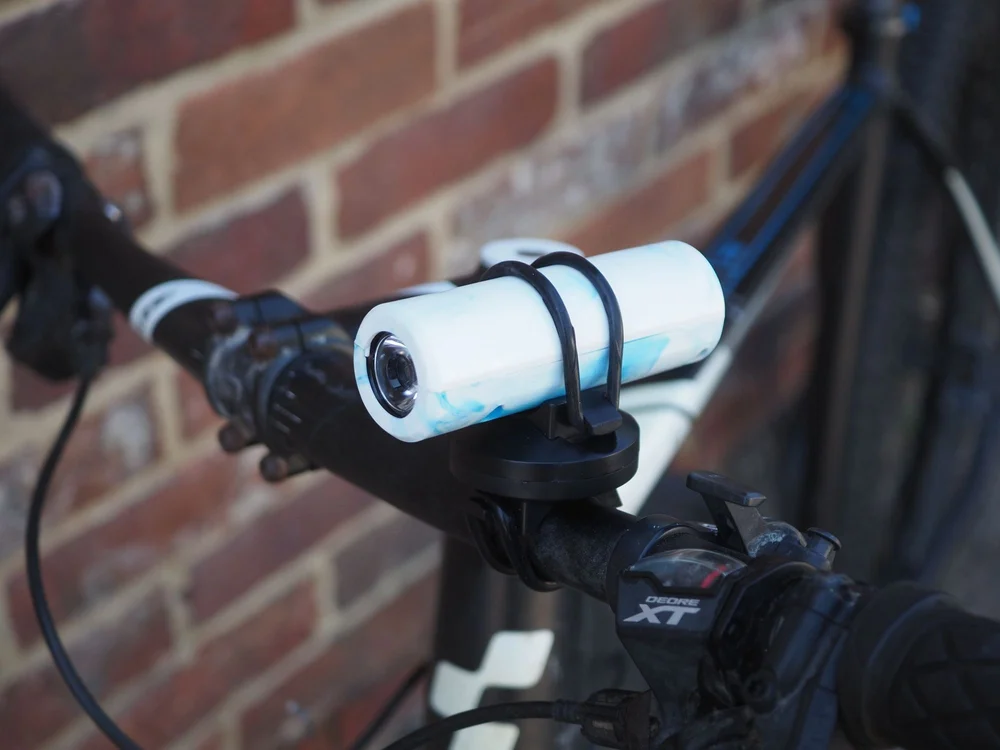
Fit the optional silicone cover over the USB-C port if you are using the torch outdoors, and clip it to a handlebar mount if it is going on a bike.
Give it a full charge before the first proper outing so you know the runtime you actually have, rather than the runtime you hoped for.
Tips and troubleshooting
Eight things that commonly go wrong on this build, and what usually clears each one. Worth a skim before your first shot.
Short shots, or the body will not fill
The deep features around the button and lens openings are the first to starve. Get the mould properly warm before the shot and make sure the barrel is fully up to temperature, then raise the temperature in small steps. Adding pressure instead of heat tends to give you flash rather than fill.
Flash along the parting line
Thin plastic escaping between the halves. Check the faces for debris, then retighten the bolts evenly rather than cranking one corner. Uneven clamp is the usual cause on this mould.
The part will not come out
This is almost always a timing problem, not a release problem. The body has a lot of pinch points and it grips harder as it cools, so a part that lifts out easily while hot becomes a fight once it is cold. Warm the mould again rather than levering at the edges.
The finished body flexes or distorts
You have used HDPE. It is too soft for a structural body: it bends in the hand, creeps over time, and the screw bosses fail first. Switch to PP and the same mould gives a rigid part.
Screws spin without tightening
The self-tappers have stripped their bosses. Take them to firm and stop. If a boss is already stripped, it is easier to mould a fresh body than to repair it.
Wires trapped or pinched when closing
Route wires around the components, not across them. Every part has its own seat, and the wire paths run between those seats. If the halves will not close with light pressure, something is in the way, so reopen rather than pull the screws down.
It lights on the bench but not once assembled
Usually a joint that was already marginal and finally broke when the loom was folded in. Test the loom before assembly, every time, and reflow anything that looks dull or grainy.
It will not charge, or charges then dies quickly
Check the USB-C board first, then the cell. A salvaged cell that has been sitting flat for a long time may not hold charge even if it looks fine. If it gets warm while charging, stop and recycle it.
Want a different light?
The Torch Mould produces one body shape, sized around a 13400 cell and a 22mm lens. If you need a different form factor, a bigger cell, a different optic, or a housing built around your own electronics, we design and manufacture custom moulds. Tell us what the product has to do and we will work back from there.
Start a custom mould enquiryResources that pair with this guide
Three picks from the Sustainable Design Studio resources library: where the plastic comes from, how to run the mould, and how to be sure you are melting the right material.
 Guide
Guide
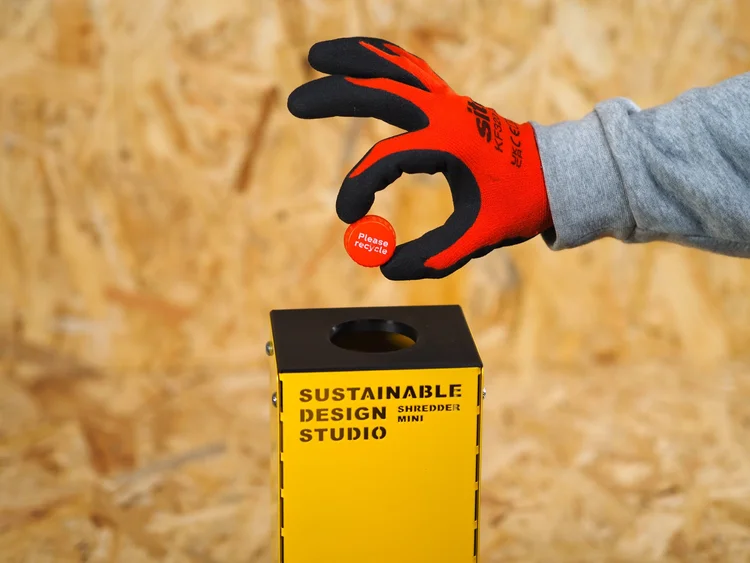
How to recycle your own plastic
What to collect, how to sort and shred it, and what to make with it. The whole desktop process, for one person at home.
 Guide
Guide
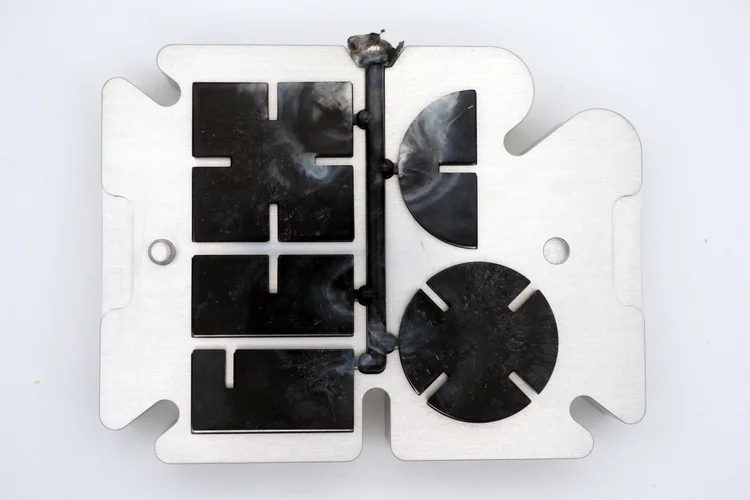
Mould use
Everything you need to know about using our moulds and handling the problems that come up most often.
 Guide
Guide
Plastic identification
Tell PP from HDPE before you melt it. Getting this right is the difference between a rigid torch body and a floppy one.
Built one? Stuck partway through?
Send us a photo of where you got to, what plastic you used, and what happened next. Most torch problems come down to mould temperature, demould timing, or a joint that was already marginal, and all three are quick to diagnose from a picture.